
The 'Digital mosiac' recipe creates elevation by printing several layers of white ink and varnish on top of the tile shape.
In the example below, the PDF contains the following information in a single layer.
A set of squares in spot color 2 to apply high gloss varnish.
The color image.
A set of squares in spot color 1 to apply white ink and varnish.


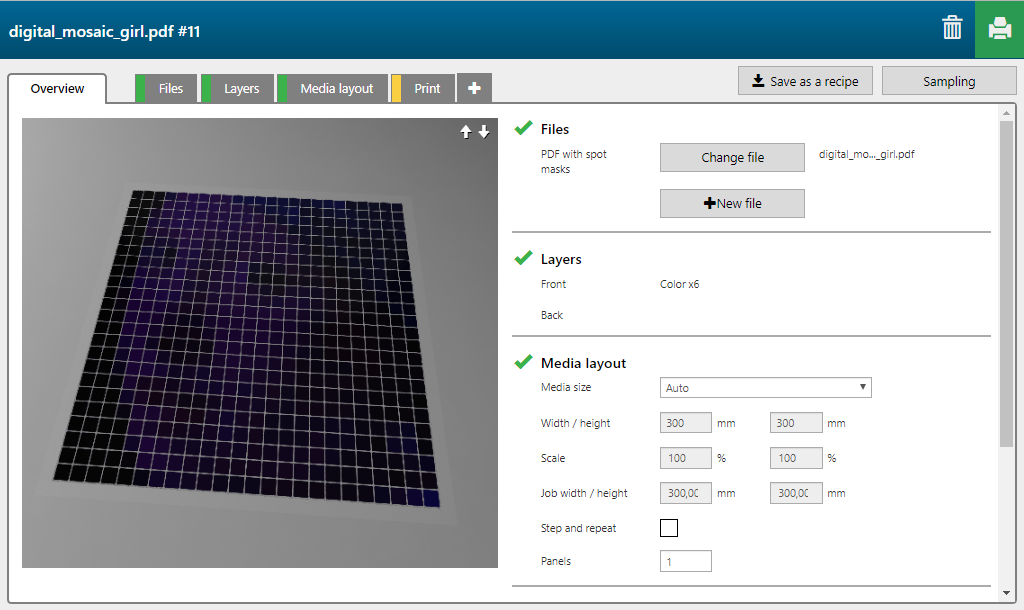
For this type of recipe, where spot colors are mixed with color information in the same PDF layer (so no special ink mask layers used), the 3D preview does not show "what you see is what you print". In this example the preview shows the blue squares, because blue represents the spot color used to print the varnish on top of the squares.
The 'Digital mosiac' recipe contains 6 layers, printed on the front side of the media.

|
Layer number |
[Layer name] |
[Layer source] |
[Print mode] |
Remark |
|---|---|---|---|---|
|
[Front] 2 |
PDF with spot masks - Color |
PDF with spot masks (whole PDF page is used as input) |
Quality CMYK+HGV |
The image is printed in CMYK and uses spot color 2 to print high gloss varnish. |
|
[Front] 1 |
PDF with spot masks - Color |
PDF with spot masks (whole PDF page is used as input) |
Production S1 to WV *) |
Spot color 1 is printed in white and with varnish. This layer creates the elevation. [Overprints] = 4 layers, so in total 5 layers. |
*) Production S1 to WV) is used because it uses two channels instead of just white, and varnish keeps the color bright. When you use black/dark colors to create the elevation, you need a lot of white ink to get bright colors on top of the elevation. It might be necessary to print 4 or 5 white layers to make sure you get the right colors.

