The 'Prototype tiles' recipe prints your design directly onto the ultra-lightweight white Forex. The innovative use of Forex printing for prototyping allows the creation of beautiful tiles that are lightweight and easy to carry. Mounting multiple tiles on large boards provides an additional benefit compared to loose tiles.
This is a 'cut first' application, because first a gap is engraved between the tiles and the image is printed on top. As a result, you will not see a white gap between the tiles but you will get the impression of real tiles. After cutting out the application you can use the cut layer to register your application to the table of the Arizona printer.
In the example below, the PDF contains the following information.
A layer to apply varnish.
A layer with the color image.
Information in spot color 'CutEngrave' to engrave the application.
Information in spot color 'CutContour' to cut through the application.

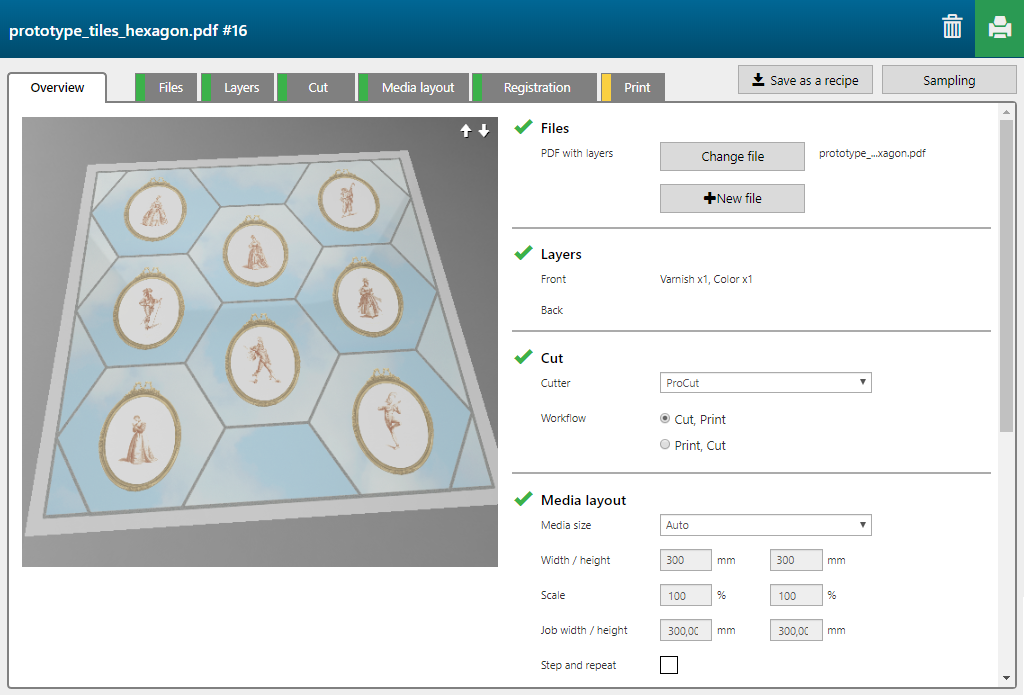
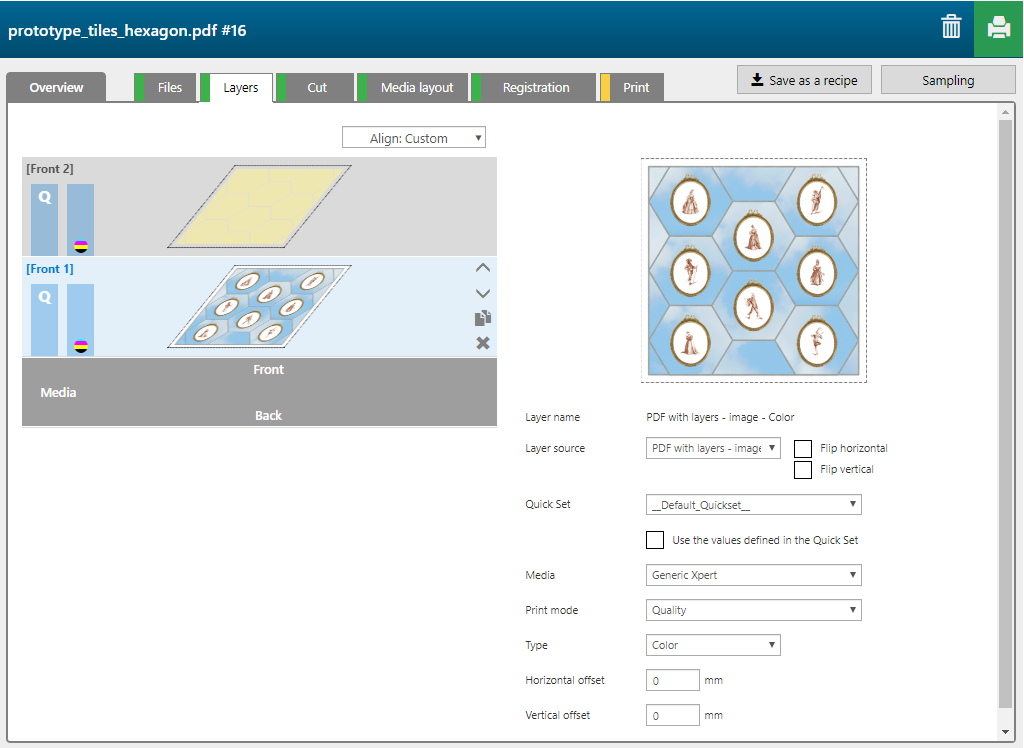
The 'Prototype tiles' recipe contains 2 layers, printed on the front side of the media.
|
Layer number |
[Layer name] |
[Layer source] |
[Print mode] |
Remark |
|---|---|---|---|---|
|
[Front] 2 |
PDF with layers - varnish - Shape detect varnish |
PDF with layers - varnish |
Express - High Gloss Varnish only |
The varnish layer is printed with varnish. |
|
[Front] 1 |
PDF with layers - image - Color |
PDF with layers - image |
Quality |
The image is printed in CMYK. |
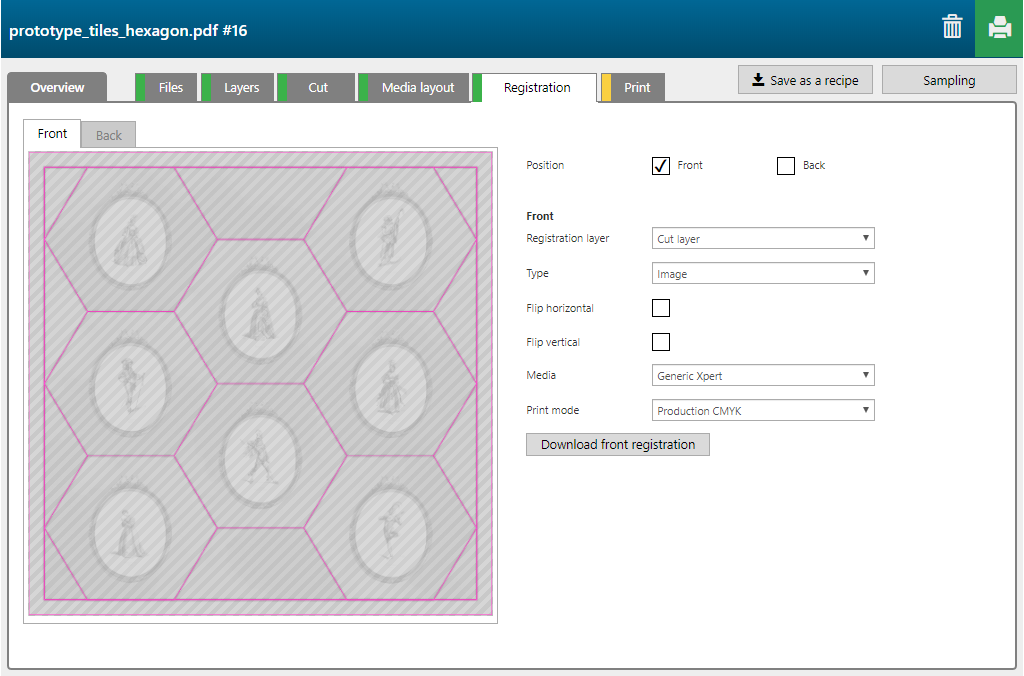
Based on the input in this tab, a cut layer is generated automatically.

By default, the cut layer, created in step 5, is the registration layer.