
The 'Print on objects' recipe allows you to print on pre-cut objects.
In the example below, the PDF contains the following information.
A layer with the color image to print on the objects.
A layer with the registration information used to position the objects correctly for printing.


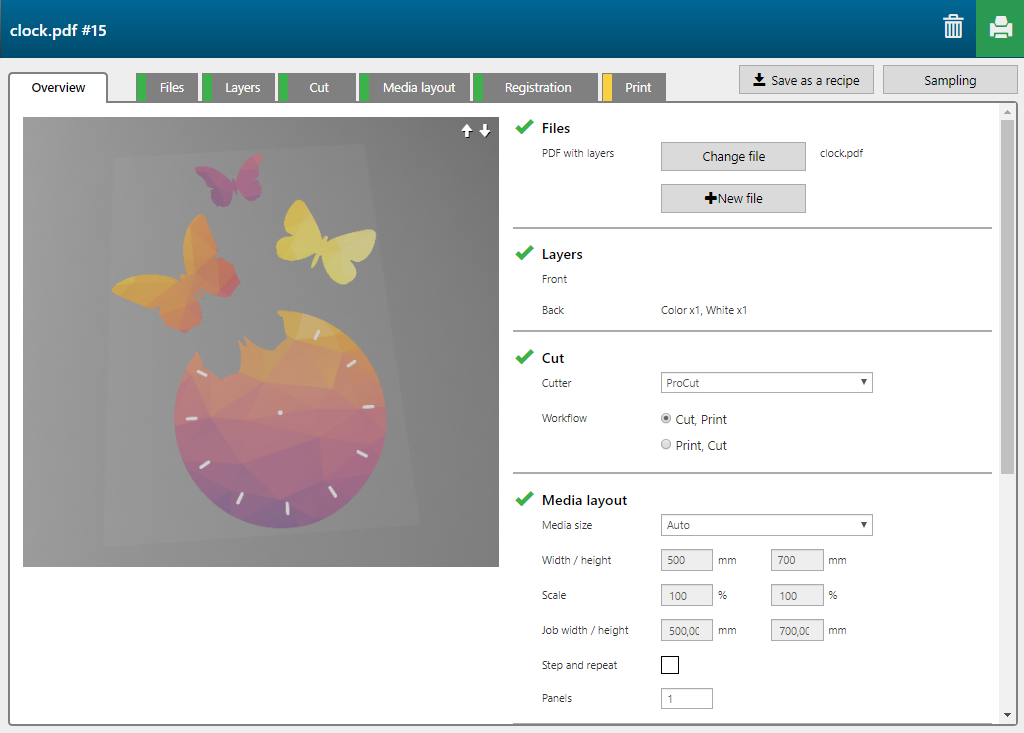
The 'Print on objects' recipe contains 2 layers, printed on the back side of the media.

|
Layer number |
[Layer name] |
[Layer source] |
[Print mode] |
Remark |
|---|---|---|---|---|
|
[Back] 1 |
PDF with layers - Color |
PDF with layers |
Fine Art |
The image is printed in CMYK. |
|
[Back] 2 |
PDF with layers - Shape detect white |
PDF with layers |
Quality-Density W only |
The complete shape of the image is printed in white. |
For this application we use pre-cut pieces, so the checkbox [Skip cut submission] is ticked.
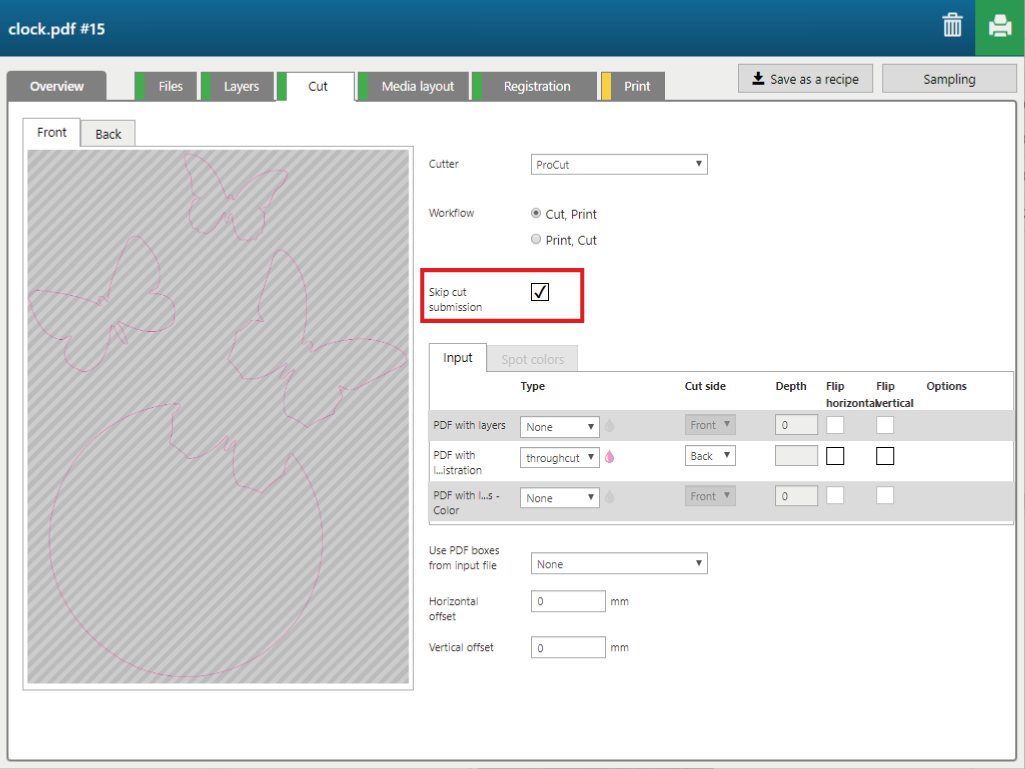
In the example below the number of copies to print is "4".
When you change the settings in this tab click on [Confirm settings] to confirm your entries.

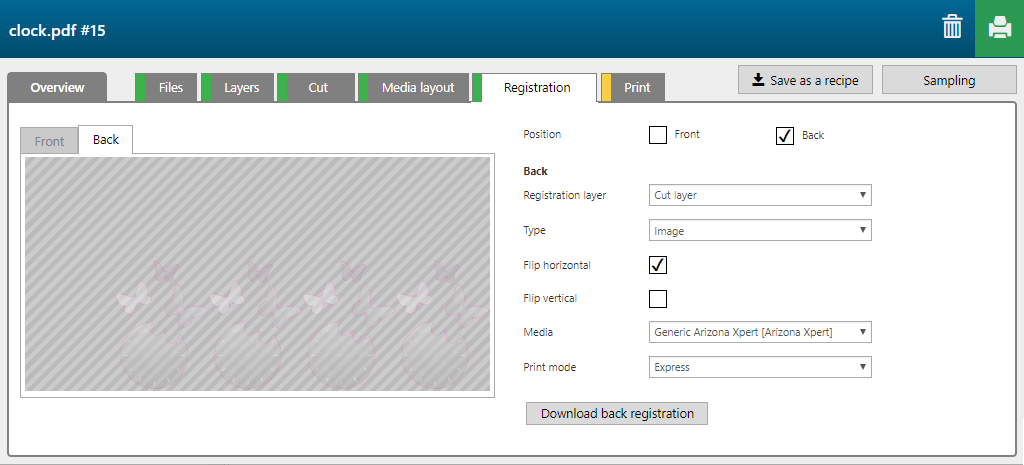
By default, the cut layer, created in step 5, is the registration layer.
When you want to print more than one panel you can use the option [Symmetric dual origin]. This option allows you to position the objects on one side of the table, while the objects on the other are side of the table are printed.

