
The 'Illuminated panel' recipe uses light blocking selectively across the image to allow more light through in some areas. When illuminated from behind, applications created with this recipe show a stunning effect.
In the example below, the PDF contains the following information.
A colored area to apply varnish.
The color image.
A colored area to apply black ink to block out the light when illuminated from behind.

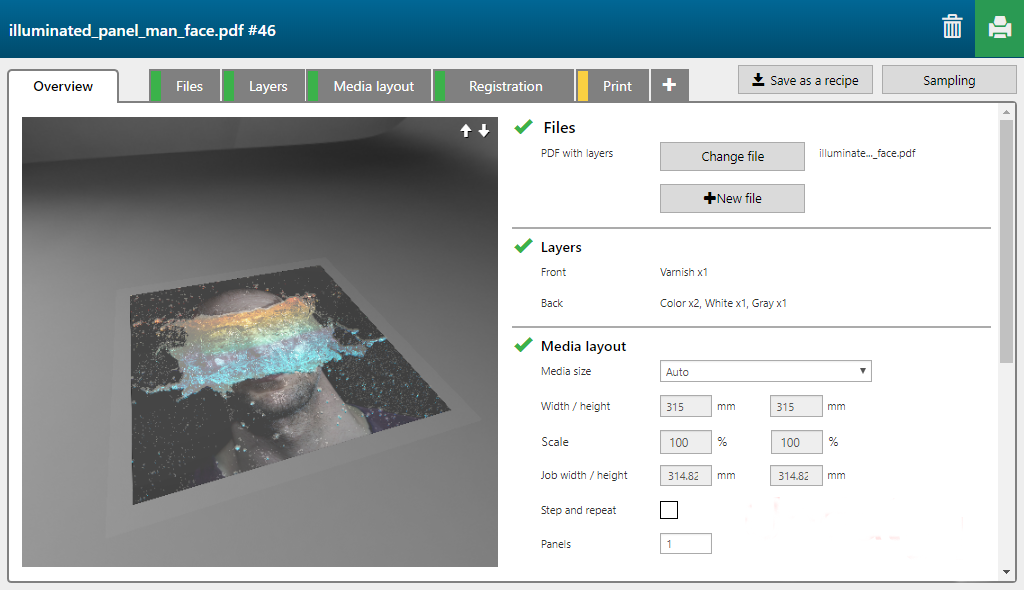
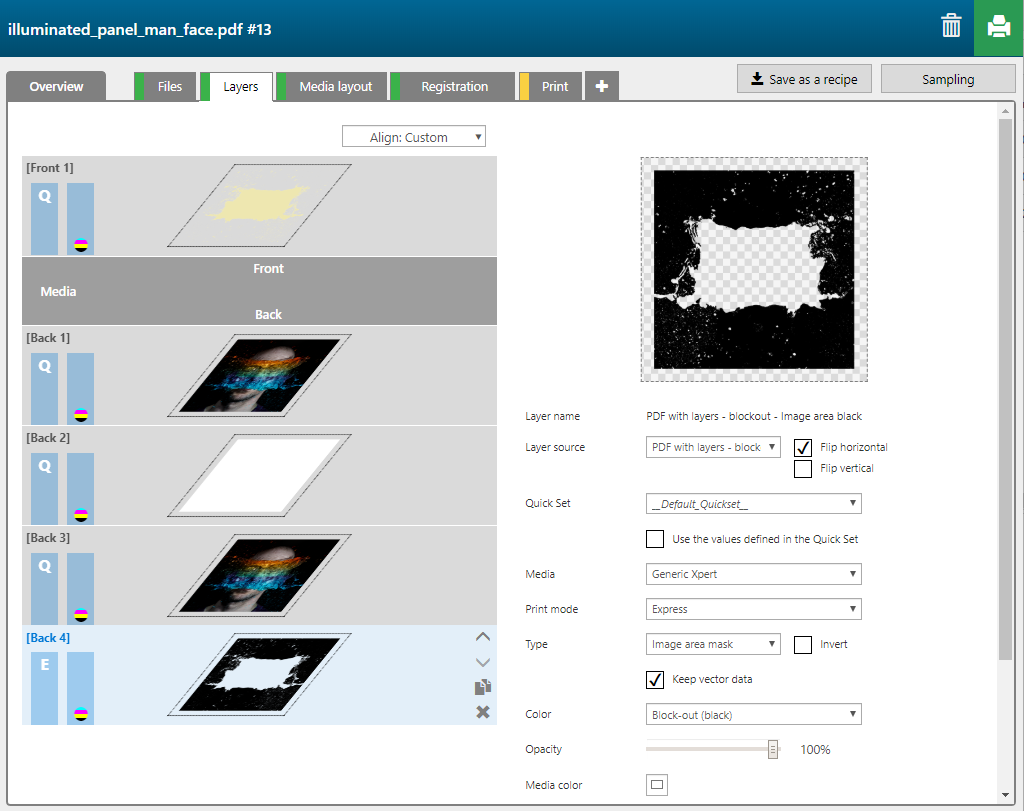
The 'Illuminated panel' recipe contains 5 layers, 1 printed on the front side of the media, 4 printed on the back side.
|
Layer number |
[Layer name] |
[Layer source] |
[Print mode] |
Remark |
|---|---|---|---|---|
|
[Front] 1 |
PDF with layers - varnish - Shape detect varnish |
varnish |
Express - High Gloss Varnish only |
The colored area in the varnish layer is printed with varnish. |
|
[Back] 1 |
PDF with layers - image - Color |
image |
Quality |
The image is printed in CMYK. |
|
[Back] 2 |
PDF with layers - image - Shape detect white |
image |
Quality-Density W only |
The complete shape of the image is printed in white. |
|
[Back] 3 |
PDF with layers - image - Color |
image |
Quality |
The image is printed in CMYK. |
|
[Back] 4 |
PDF with layers - varnish - Shape detect black |
blockout |
Express |
The colored area in the blockout layer is printed in black. |
This recipe uses a rectangle as big as the media size needed to print the application to help with registering both the front and the back on the table.


