The 'Day/night speed' recipe you can create an application that displays different images during day and when the back light is switched on. A second image is used to selectively block the back light.
This recipe is similar to the Day/night switch recipe, but uses faster print modes. E.g. the second image to selectively block the back light does not necessarily need to be printed in high quality. This results in an effect that is similar to the Day/night switch application, with good enough quality.
In the example below, the 2 page PDF contains the following information.
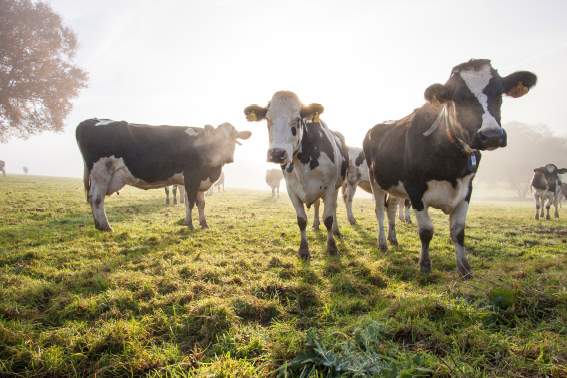
One page with a color image in daylight view.
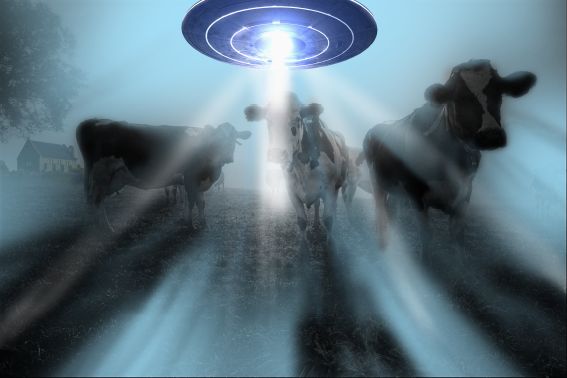
One page with a second image to selectively block the back light.

During the day, the white layer masks the image on the back layer. During the night, when the light is switched on, the white areas in the image on the back layer allow more light to go through the ink layers, and thus the image is visible on the front now.
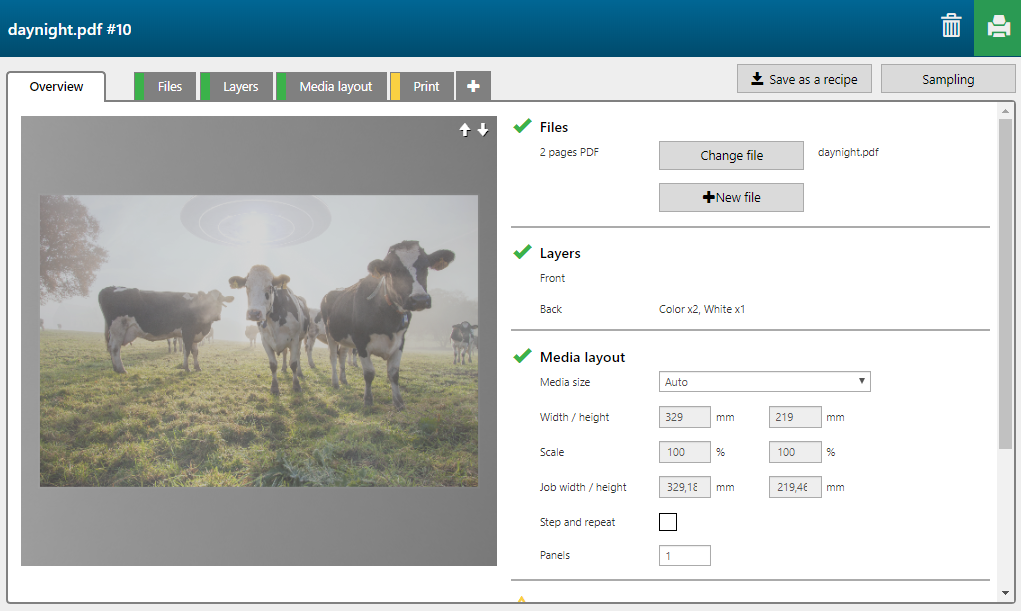
The 'Day/night speed' recipe contains 3 layers printed on the back side of the media.
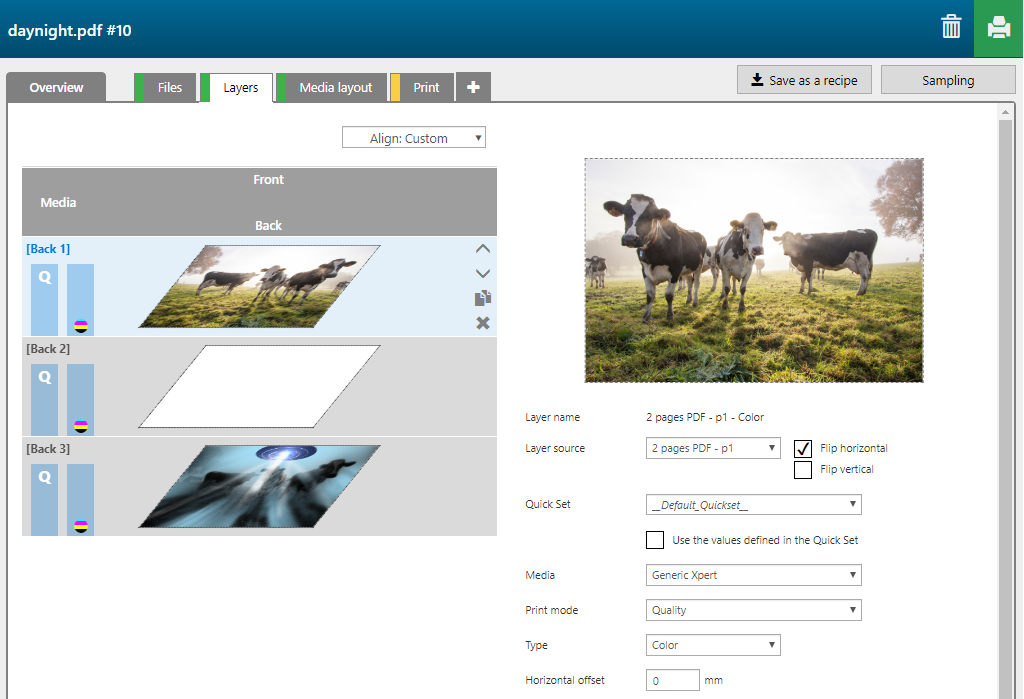
|
Layer number |
[Layer name] |
[Layer source] |
[Print mode] |
Remark |
|---|---|---|---|---|
|
[Back] 1 |
2 pages PDF - p1 - Color |
2 pages PDF - p1 |
Quality |
The image in page 1 is printed in CMYK. |
|
[Back] 2 |
2 pages PDF - p1 - Color |
2 pages PDF - p1 |
Production S1 to W |
The complete shape of the image is printed in white. |
|
[Back] 3 |
2 pages PDF - p2 - Color |
2 pages PDF - p2 |
Express |
The image in page 2 is printed in CMYK. |
You can generate cut paths for an application even if you don't have any cut paths defined in the PDF (either in a layer or as a spot color). In this case, the trim box of the PDF is used to generate the cut path.
Based on the input in this tab, a cut layer is generated automatically.