
The Tools and Utilities Module has four sub-modules: Maintenance, Special Prints, Shutdown, and System Logs. When you click on the Tools and Utilities tab, Automatic Maintenance always appears first. Click on the other icons to access the sub-modules.
Special Prints provides special prints for various purposes, such as reference, adjustment and alignments. Some are for operator use and others are for service technician use only.
Shutdown provides a way to properly power down the printer.
Generate Logs allows the operator to generate log files for service diagnostics and troubleshooting purposes.
Job Manager allows you to perform Automatic or Manual maintenance.
The Special Prints module displays two lists. The list on the bottom shows the available special prints. Some of these prints are used by service technicians to adjust and troubleshoot the printer. Some are of interest to the Operator, such as the Ship print, the table ruler prints, and the Nozzle Check print.
Special Prints of Interest to the Operator
the Ship print is used to determine that the printer output meets quality standards. A ship print that is printed at the factory is shipped with each printer. It can be used as a comparison with one printed at the customer site.
The Table Rulers are meant to be printed on the table to assist you to place media. These images are set up to print on the horizontal and vertical axes of the table. They are available in metric or imperial measure.
The Nozzle Check is used to determine if there are any clogged nozzles that can affect print quality (note that it is also available on the command toolbar in the Print Job Control module).
The list on the top shows all active jobs that are currently in the print queue. Add a special print from the bottom into the top list to make it active in the Print Job Control module. If you remove a job from this list, it is also removed from the Active job list and is not available to print. Special print instances that are removed from the Active list do not go to the Inactive list; they are simply removed.

1) Click a Special print to select it in the bottom window.
2) Click the Add button to place it on the top to add it to the print queue.
That special print is now available in the Active job list of the Print Job Control module.
Go to the Print Job Control module to actually print the special print. It will appear in the active job list and is printed like any other print job.
Refer to the sections that document the special prints for details on printing. For example, the Nozzle check print is documented in Checking Nozzle Performance. Note that some of the special prints are meant for service technicians only and are not for use by the printer operator.
Use the Shutdown icon when you need to turn the printer power off. The printer should be left powered On at all times but there are exceptions such as some service procedures, or if the printer requires a reboot. Refer to the section Turning Power ON and Off.

The System Logs are raw data log files for service diagnostics and troubleshooting purposes. They are meant for service technicians to help with troubleshooting. Generate system logs only when requested by an Canon service technician and follow the instructions below for retrieval of the files.
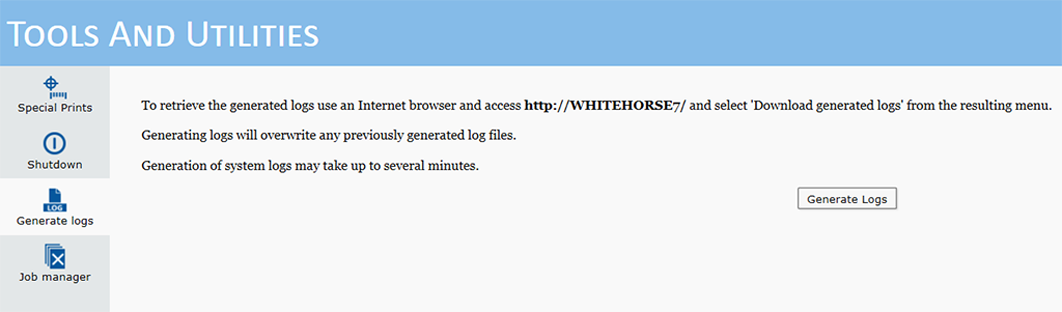
When System Logs are generated, any previously saved log files are deleted. Therefore, do not generate a second batch if you have just recently generated log files (unless requested to do so by a service technician).
Use your internet browser to access the log files. Type http:// and then the network name of your printer. You can find the network name on the printer monitor in the tab [Settings] / [Network connection]. If the network name is WHITEHORSE7, then enter http://whitehorse7 in the browser address field.
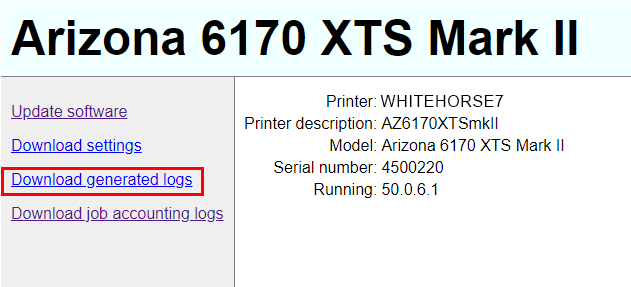
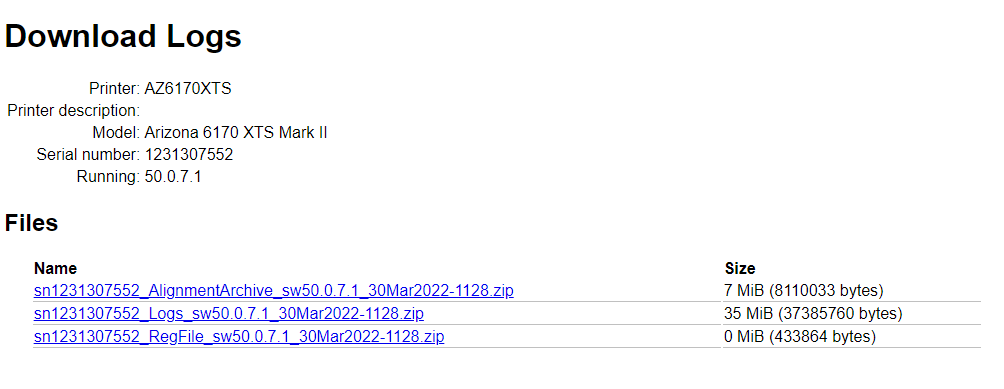
Click on Download generated logs and then select the log file of interest as indicated by your service representative. Save it to a network location where you can find it to add to an email that you will send to the service representative who requested the log. The contents of these files are meant for troubleshooting purposes.
The Job Manager allows the operator to select and delete multiple files or All files (the Print Job module allows only deleting of one job at a time). This is important as your printer's hard drive fills up so you can free space for new print jobs.
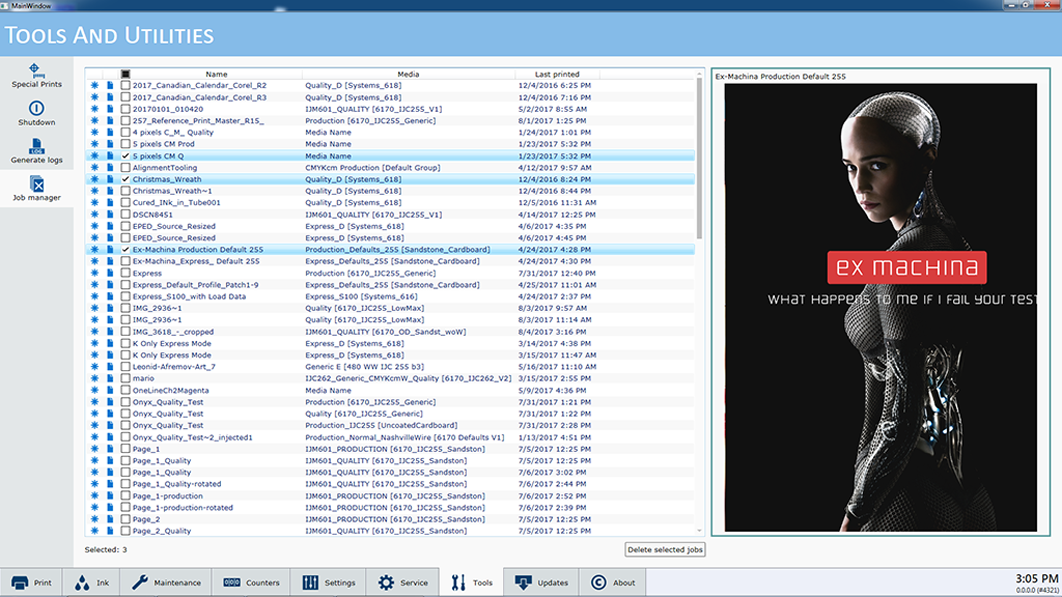
How to use the Job Manager
You can control the order that columns appear on the job list, the width of each column, the columns that appear on the display, and also the sort order of the column contents.
Control the order of columns by dragging the column header to a different position.
Change the sort order of a column by clicking on the column header.
Change the width of a column by clicking on the vertical line that separates column headers and dragging to the left or right.
Chose the columns to display by right-clicking on a column header and then click on a column name to add or remove it. Columns with a check mark will appear on the display and those with no check will not be seen.
Delete print jobs by either making multiple individual selections or click the top check box to delete all jobs. When your selection is complete click the Delete selected jobs button.
Columns can be set back to their original appearance by right-clicking any column head (name) and selecting Reset to default.
This column management (but not the Delete function) can also be applied to the Print Job list, the Inactive Print Job List and also to the Batch Mode job list (see Batch Mode Printing).