
You can replace a drive gear on a media shaft without service assistance.
When the teeth of a drive gear are damaged, you can replace one or both drive gears of your media shaft. The procedure below can be used either on the feed media shaft or the take-up media shaft.
When the metal shaft itself is damaged, you have to replace the complete media shaft. You can request a new part from your local representative.

Use Colorado 1650 prescribed:
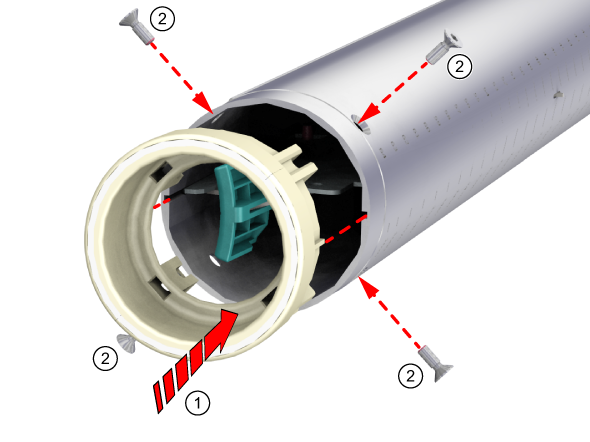
Screwdriver (Torx-20)
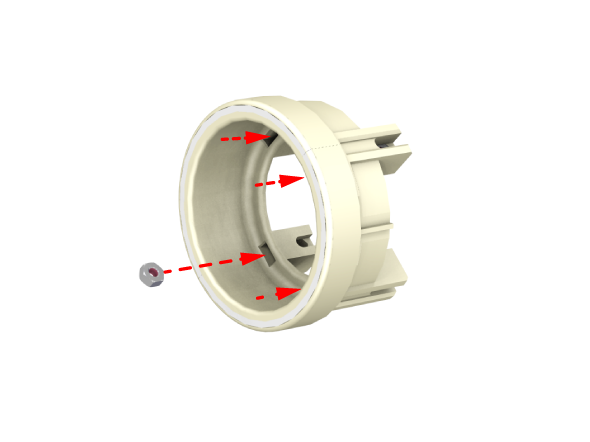
Drive gear
For information on the prescribed maintenance materials, see List of Colorado 1650 maintenance materials.
Watch your fingers when you handle the media roll.
Lifting heavy media, 25 kg (55 lb) or more, has to be done by at least two people or with the help of external lifting tools.
For more information, see Cut and unload media.

You can load either a media roll or a take-up roll core. Then, place the media shaft back in the media drawer or on the roll winder.
For more information, see Load a media roll (position 1) or Load a take-up roll core onto the roll winder.