
This section shows you how to print a simple job with a white flood fill. Arizona Quality-Layered print mode is used to print white ink applications such as under-printing for non-white media, over-printing for backlit applications or as middle layer for a day-night application.
The Printer Flood Fill mode allows you to print an image with a white flood fill as an underlay or an overlay. The printer itself provides the flood fill rather than the ONYX Spot Layer Tool or an image editing application, so no additional data preparation is required. White ink is set up as a layer that is embedded in the print job. The edges of the image bounding box (the outer perimeter of the image) will determine the extent of the flood fill area.
The Printer Flood Fill mode is used when an image is rectangular in shape and requires a white flood fill.
Obtain and import an ONYX media profile (media model) that is set to Quality-Layered print mode. Sample Media profiles for white and all other inks are available for download from our website: https://graphiplaza.cpp.canon/.
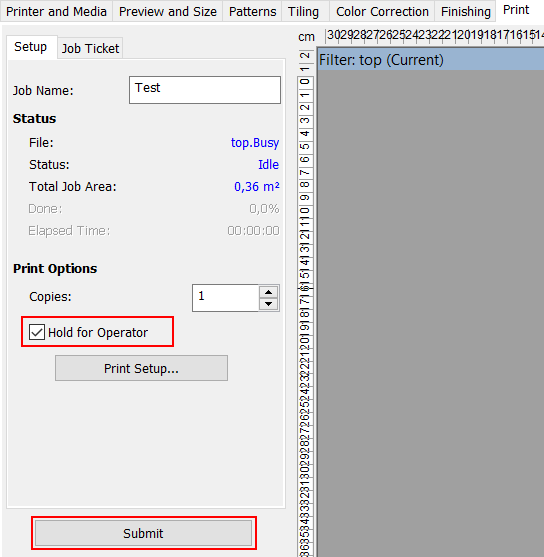
 Hold for Operator
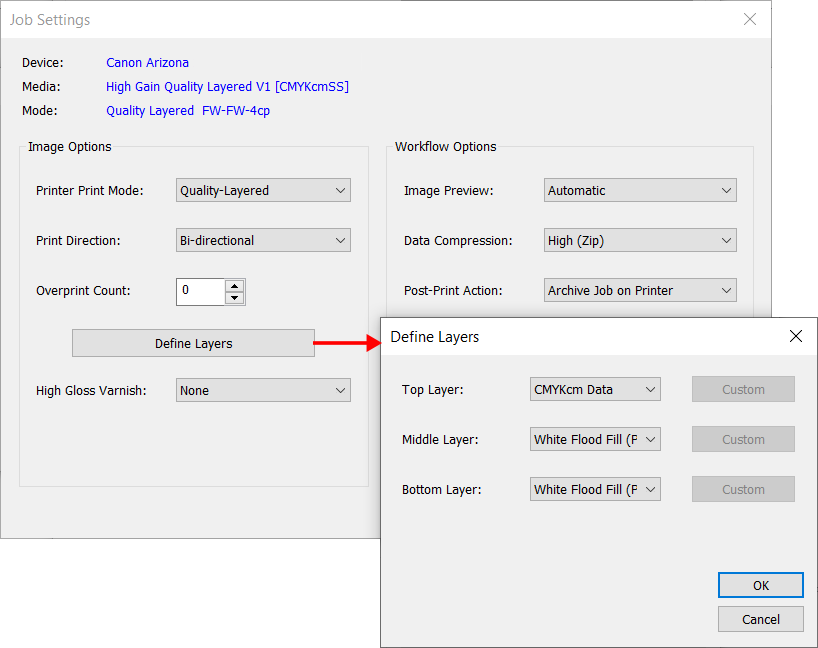
To define a white flood layer, modify the printer settings of a processed job in RIP Queue - right click the job, edit printer settings, select Quality-Layered for the Printer Print mode, then select Define Layers.

If you want to print first surface (e.g. opaque media) the bottom and middle layers can be configured to be white flood layers and the top layer to be a CMYK data layer. If you want to print second surface (e.g., transparent media viewed from side that does not have ink on it), then the bottom layer should be a CMYK data layer and the middle and top layers white flood layers.