Loading

Print a Nozzle Check

Introduction

The nozzle check print shows the performance of each individual nozzle in each color channel. This information is critical in determining how to proceed in recovering nozzles with automatic maintenance system (AMS) or with manual printhead maintenance procedures.

Procedure

  1. Place a piece of I/O paper on the printer table (or use the RMO, if available).
    NOTE

    The dimensions of the nozzle check print are 617.3 x 73.7 mm (24.3 x 2.9 inches).

  2. Select the Nozzle Check Print icon from the user interface. Input the appropriate settings for printing (offsets, media thickness, lamp power, etc).
  3. Print and evaluate the Nozzle Check Print. The typical procedure for evaluating the nozzle check print is to closely examine the jetting performance in each jetting package. Circle nozzle outs in each jetting package with a marker to better evaluate overall performance.
  4. In the Nozzle Check print example shown in the figure below, the Magenta printhead 6 has nozzles that are not firing properly in both Package A and B. It also shows a new nozzle print after the printheads were cleaned.
    NOTE

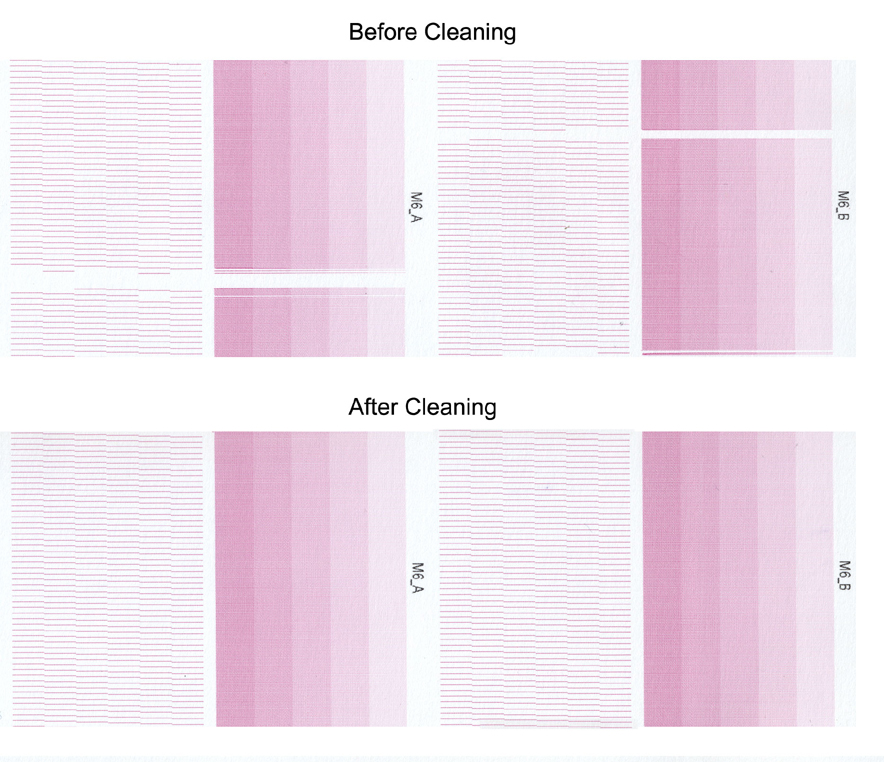
    This is an extreme example to illustrate the problem. In most cases you will likely see only a small number of nozzles out or misdirected as shown.

  5. Once you have identified the particular printhead(s) that has nozzles out as indicated by the nozzle check print, you can perform the Printhead Maintenance procedures to correct the nozzle dropouts. See: Printhead Maintenance
    NOTE

    Do Printhead Maintenance on the required color channels if:

    • more than 2 nozzles outs exist in a single printhead

    • 2 or more adjacent nozzle outs exist in a single printhead