
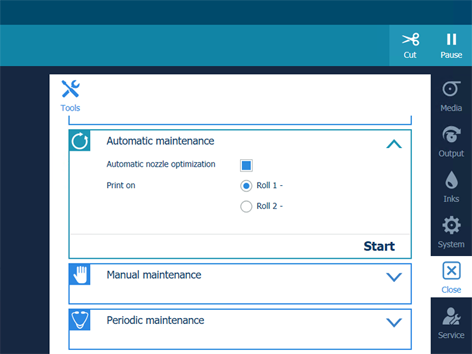
Start automatic maintenance in case of quality issues.
The printer performs a purge and wipe and optionally you can print a nozzle classification chart to optimize the print quality.
The nozzle classification chart can only be printed on media of one of the following categories:
Heavy paper > 200 gsm (54 lb bond)
Paper 120-200 gsm (32-54 lb bond)
Film
Polymeric & cast self-adhesive vinyl
Thick film > 200 um (0.0079 inch)
On the other media categories, these procedures cannot be performed.
When no roll is loaded with one of the above mentioned categories, no roll will be indicated for the automatic nozzle optimization.
Use a media width that is as large as possible and larger than 840 mm (33 inch) in order to get the best optimization results.
The [Automatic nozzle optimisation] takes about 5 minutes. The printer will print a test chart and optimize the print quality.
The printer starts the purge and wipe and then prints the chart in case you selected it.