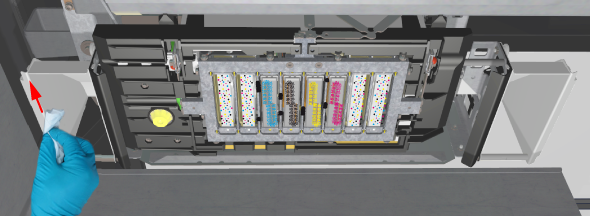
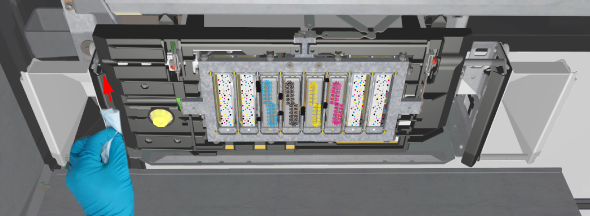
The printheads are located in the matrix plate. The printheads and the matrix plate area need to be cleaned regularly. As well as the anti-reflective strips and mirror edges.
The operator panel gives a warning to perform this procedure at least once a month, and depending on the ink usage, between 7 and 30 days. To guarantee the print quality it is recommended to clean the matrix plate once a week. Cleaning the matrix plate is the first part of this procedure, step 1 to step 10.
During the use of the printer, dust and fibers from the media can accumulate on the edges of the anti-reflective strips and mirrors of the printhead carriage. If these fibers touch the surface of the paper during printing, they can wipe through the uncured ink and can cause print quality issues.
These print quality issues can easily be mistaken for printhead issues, as these fibers are stuck to the carriage. To prevent unnecessary service calls or printhead replacements, the edges of the anti-reflective strips and mirrors need to be cleaned regularly.

Video:
 Clean the matrix plate
Use Colorado 1630 prescribed:
Microflex gloves for handling ink
Foams and swabs
Matrix plate cleaning tool
Cleaning liquid (Cleaner MB - methyl benzoate)
Cleaner IPA
For information on the prescribed maintenance materials, see List of Colorado 1630 maintenance materials.
There are 2 types of swabs. The cleaning procedure depends on the width of the swab.
Wear the prescribed gloves when contact with ink or maintenance materials is possible. Gloves should always overlap sleeves. Follow the Safety Data Sheets (SDS) guidelines carefully in order to ensure maximum safety.
Use the prescribed cleaning liquid. Do not use any other cleaners.

Do not use any external light source to prevent curing of the ink and damage to the printheads.
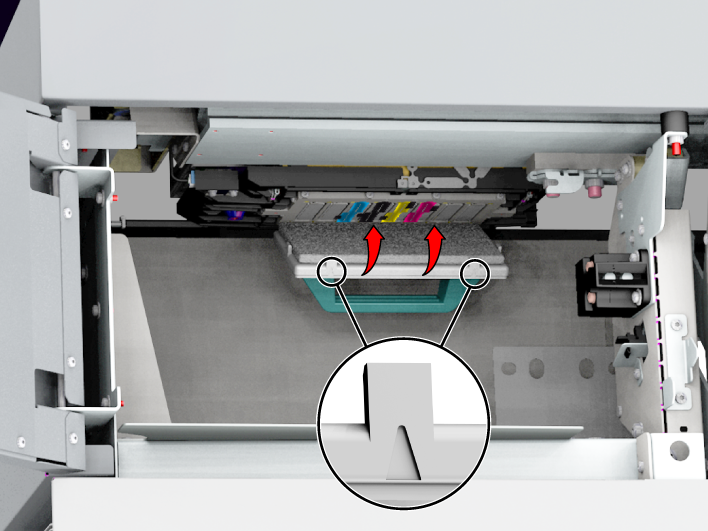
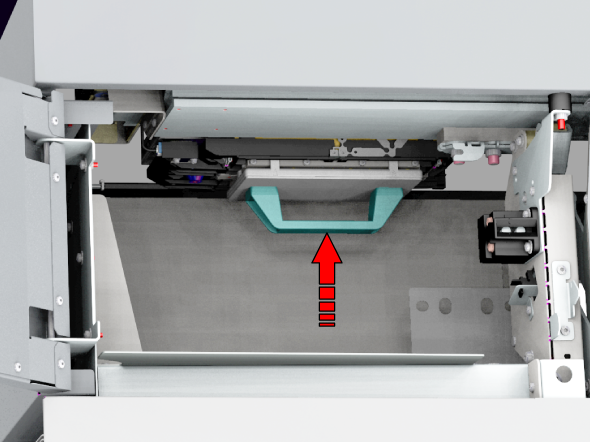
Press until you lift the printhead carriage up very lightly. When you press too hard you will damage the printheads and carriage.
Only when you place the cleaning tool correctly you will hear a beep-beep signal.

|
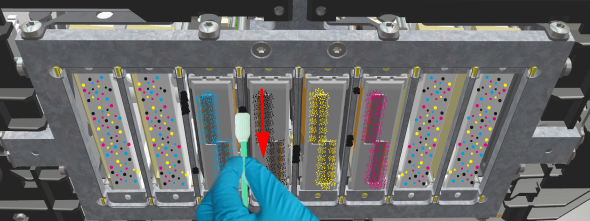
When accumulated ink between the printheads is visible, you have to perform the cleaning action again from step 8 with a new foam. See the spots within the red circles in the illustration. |

|
When only a light stamp mark is visible on the foam, you can continue the cleaning action. |

|
you have to perform the cleaning action again from step 8 with a new foam. When the stamp mark density is not uniform on the foam replace the foam and use the tool again. In this example you see that you have applied more pressure at the right-hand side of the foam. |

|
When the stamp mark density is not uniform on the foam replace the foam and use the tool again. In this example you see that you have applied more pressure at the top side of the foam. |
Wide TX714A swab
Narrow TX761 swab

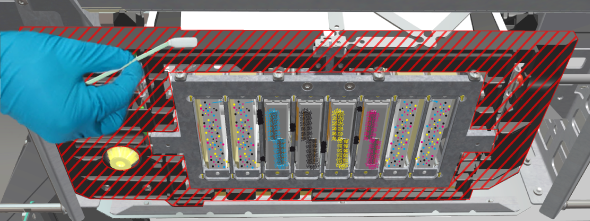
Only clean the lower surface of the matrix plate. Never put the swab between a printhead and the matrix plate area.

Do not touch the printhead. When you touch it, you could damage the printhead.
Always wipe with the swabs away from you to minimize the risk of touching the nozzles. Never clean in the opposite direction (towards you).
|
Narrow swab |
Wide swab |
|---|---|

If you use a narrow swab, hold the swab sideways. |
If you use a wide swab, hold the swab upright. |
Make sure to end the cleaning procedure within 5 minutes, when you use the cleaning liquid. The printer has to perform automatic maintenance after, to make sure the cleaning liquid does not damage the printheads.
Use as many swabs as necessary.