
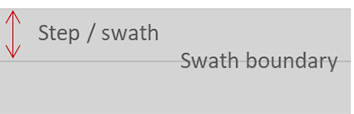
Swath boundary. Two adjoining swaths/passes of the printhead must be positioned without overlap (dark lines), or gap (white lines).
|
Problem description |
Cause |
Action |
|
|---|---|---|---|
|
OD lines occur at the swath boundary. OD of the lines usually varies over the print (from left to right or from line to line). |
Usually worse during 1st meter. The way it varies is useful in determining the cause of the problem. If the suggested solutions do not help. |
Perform a media calibration. |
|
|
Very sharp line(s), no OD variation over print and only for a single mono-color (and its corresponding mixed colors)? |
This is caused by a nozzle failure at swath boundary and not due to paper step. |
Run maintenance + nozzle optimization. |
|
|
For some (fast) print mode and print medium combinations, gloss/OD swath boundary lines will always be present. |
Independent from paper step errors, though paper step optimization may reduce visibility. |
Roll core gear is damaged or warn out. Order new and replace. |
Manual optimization of the paper step correction may reduce visibility, see Change the media settings. Switch to a slower print mode see Select a print mode. |
Follow the procedure below. You can stop at any time in the procedure when the problem is solved.
 Lines at swath boundary
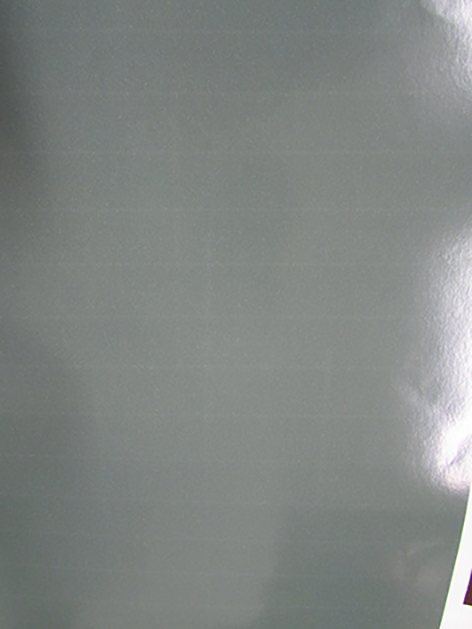
Check if the [Media thickness] setting in the RIP is correct.
When the problem is not solved, contact your application specialist or local Service representative.