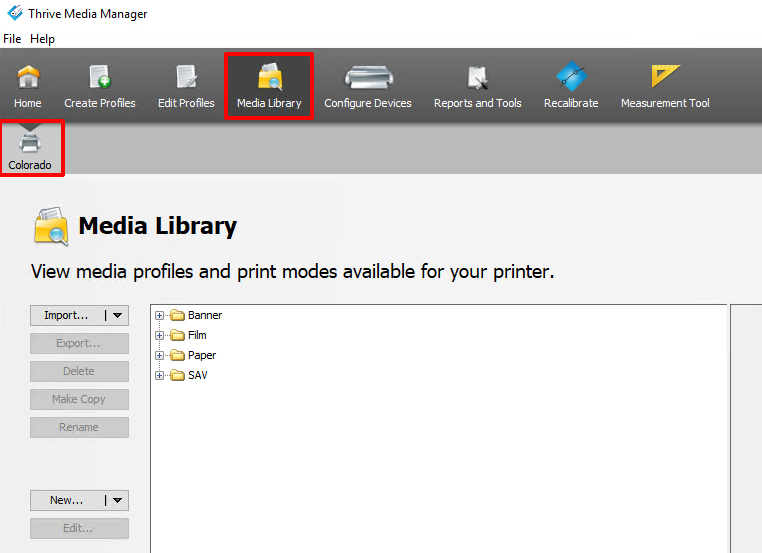
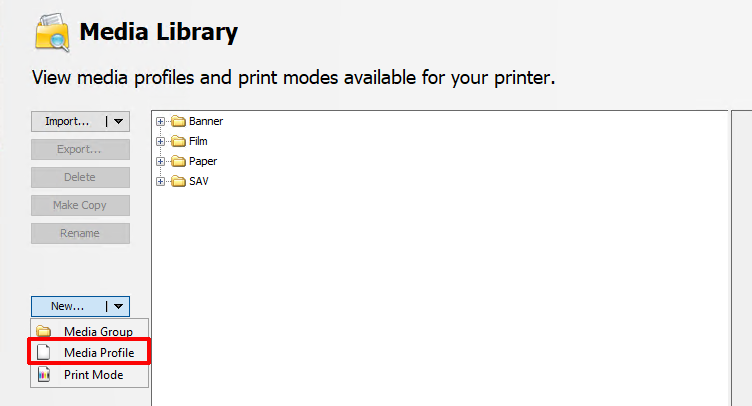
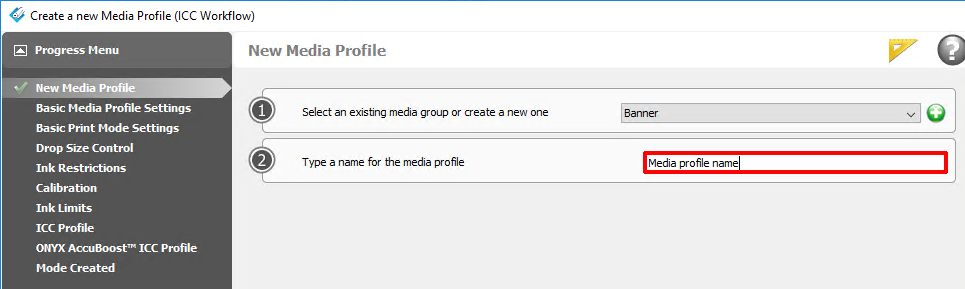
When you are working with a new media that does not have a profile, you can create a new profile in ONYX.
This manual provides you with basic information in order to create and change media profiles. Profiling is an expert task which requires additional information and tools not covered by this manual. Contact your local support organization when you want to create or change media profiles.

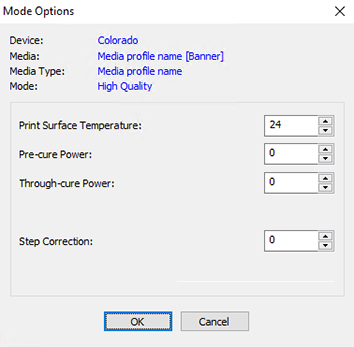
A new window opens.
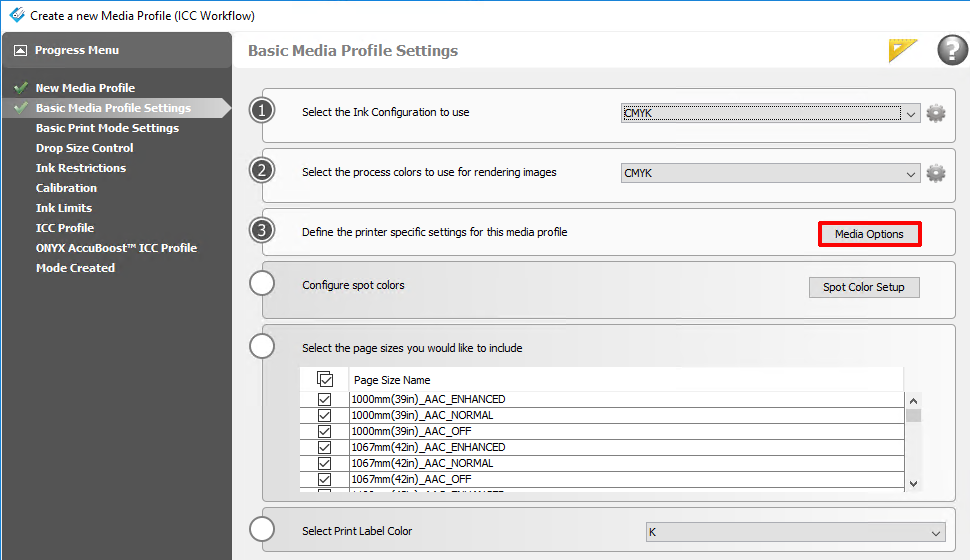
A new window opens.
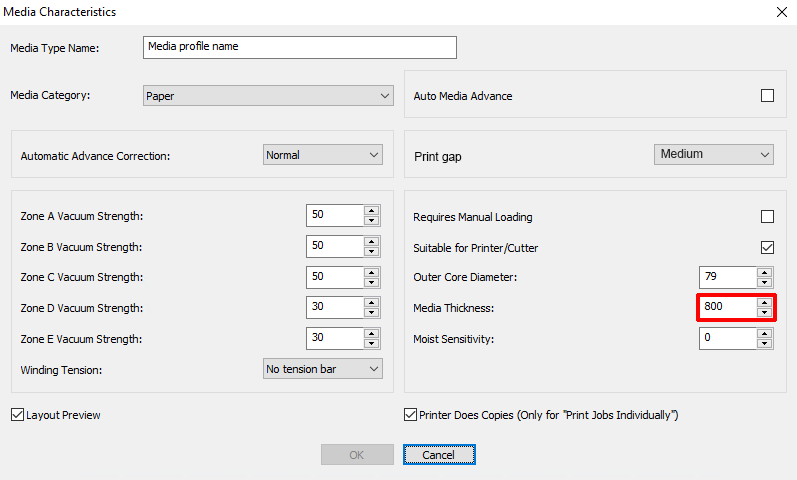
[Media Thickness] is set default to 800 and has to be set correctly.
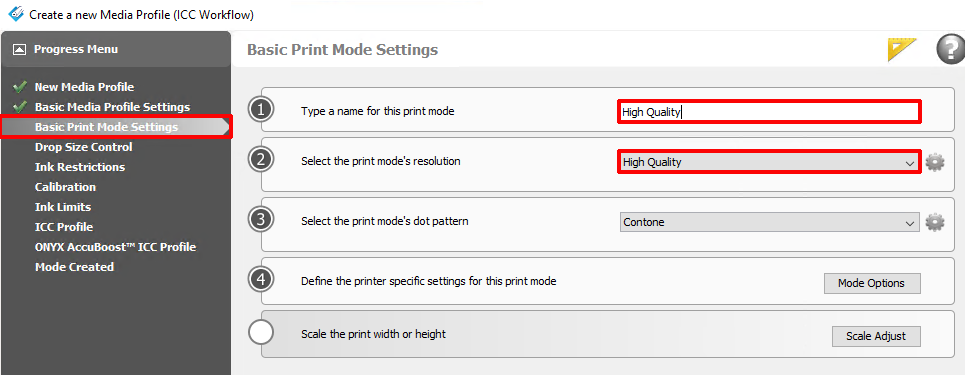
Fill in the same name as the selected print mode to avoid confusion.