
Colorado 1630 offers the possibility to print on the inside as well as on the outside of the media, which indirectly provides the user a way to print double-sided.
To print double-sided you print on the inside of the media.
This procedure is also explained in a separate instruction video, click here to visit.
RIP
In [Media Characteristics], set automatic advance correction (AAC) to [Enhanced] to achieve an optimal x-registration.
AAC prints yellow or black markers on the media that the printer uses as guidance to optimize the media step accuracy. See "Change the media settings" in the operation guide.
In , make sure that the left and right are identical.
In , make sure that the space between copies values are 0.
Printer
Use the tension bar (locked).
In case the media is normally (single-sided) printed without tension bar, switch to the locked tension bar mode.
You can change this tension bar setting for the media type in the RIP. Change from [No tension bar] to [Locked tension bar].
Use a matte print mode, preferably the same mode for both sides.
Do not enable automatic media advance or moist sensitivity settings.
If necessary calibrate the media.
Tools
A media suitable for double sided printing.
2 empty cores with the same width as the media you want to use.
A roll of tape.
|
Print side 1 |
Print side 2 |
|---|---|
|
|
|
Strip |
Function |
Length of the strip |
|---|---|---|
|
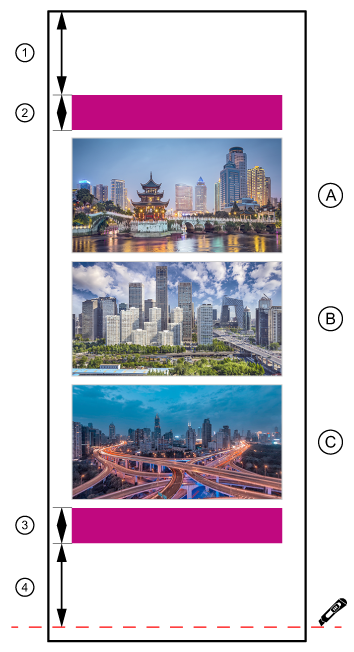
1 |
Leading strip |
1600 mm (63 inch) |
|
2 |
Lead-in image |
250 mm (9.84 inch) |
|
3 |
Lead-out image |
250 mm (9.84 inch) |
|
4 |
Trailing strip with a cutting line |
1600 mm (63 inch) |
|
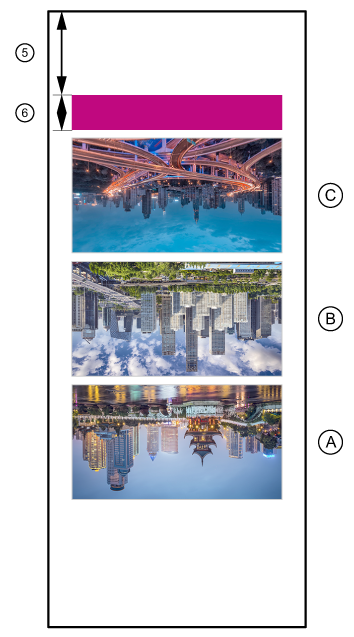
5 |
Leading strip |
1600 mm (63 inch) |
|
6 |
Lead-in image |
250 mm (9.84 inch) |
Be aware you have to rotate the job for the inside 180 degrees.
The lead-in and lead-out images are used by the AAC to measure and correct for additional media step errors caused by the ink layer of side 1, while printing side 2.
Select the required media and media width.
In ONYX the nesting function is called [Group jobs]. Change the group setting from [Conserve media] to [Group jobs together]. The RIP will not change the order of the images and will treat all jobs in the group as 1 image.
The nest includes:
a lead-in image (in any color)
the user images
a lead-out image (in any color)
Please note that when you apply additional space between the separate images, you have to subtract this additional space from the 1600 mm (63 inch) at the trailing edge.
This ends the printing procedure of side 1.
The nest includes:
a lead-in image (in any color)
the user images
Depending on the application you may need to rotate or mirror the images for side 2.