
Configure the ProCut settings for the connection to Arizona Xpert Engine.
Arizona Xpert Connector must be installed and configured. See Install the Arizona Xpert Connector for the details.
Arizona Xpert Engine 2.1 (or higher) and ProCut Server is installed.
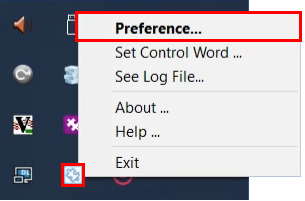
Open the ProCut Server, by right clicking the icon.
Choose [Preference]
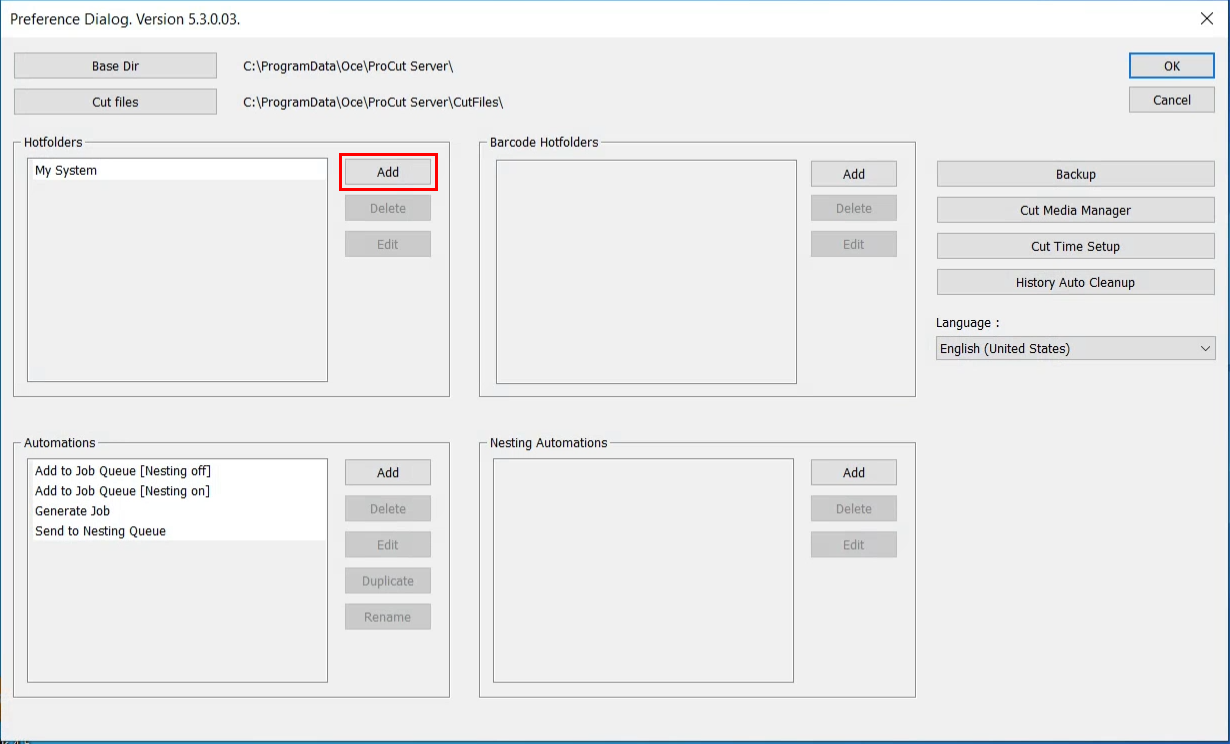
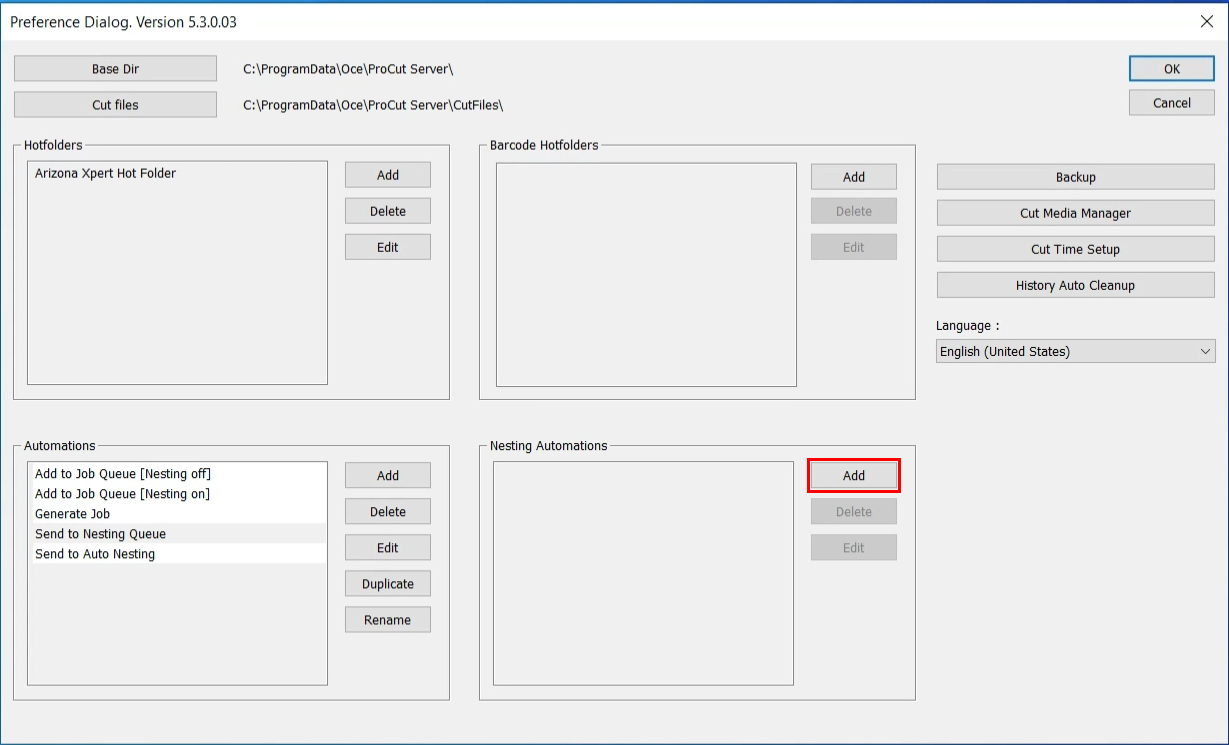
Click on [Add] in the Hot folders section
The hot folder is used for exchanging files between ProCut and Arizona Xpert Engine
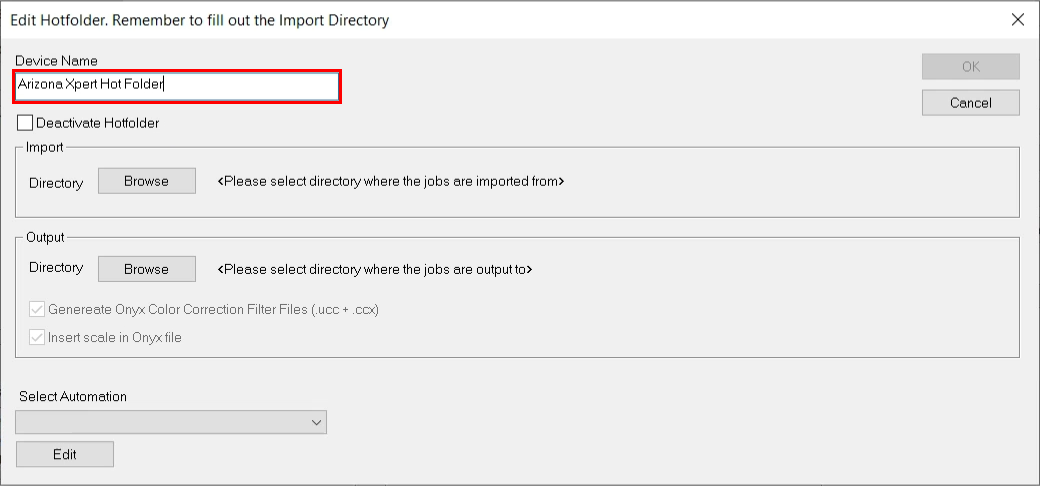
Add a name for the hot folder
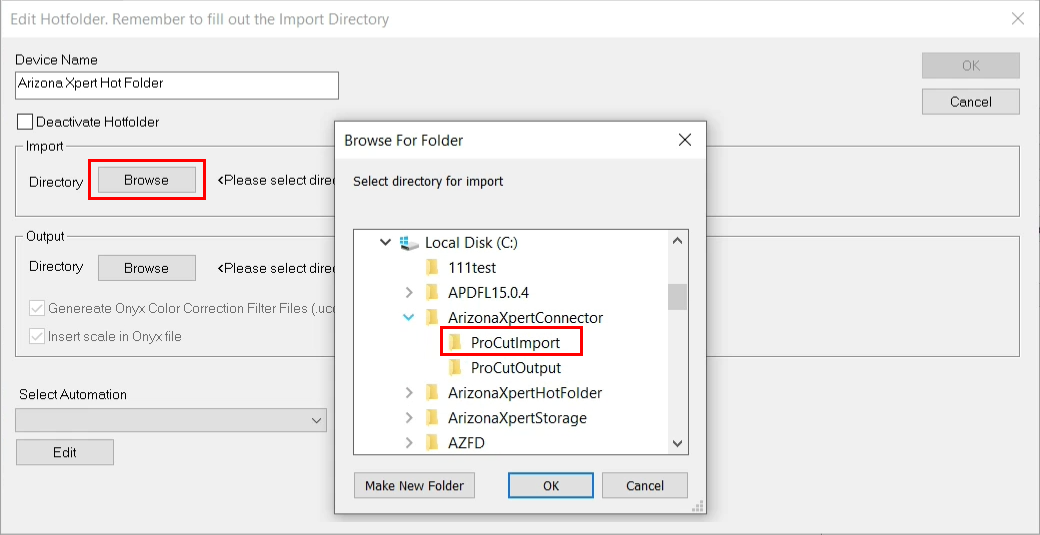
Click on [Browse] in the Import section
Browse to the import folder that is configured in Arizona Xpert Connector and select the import path.
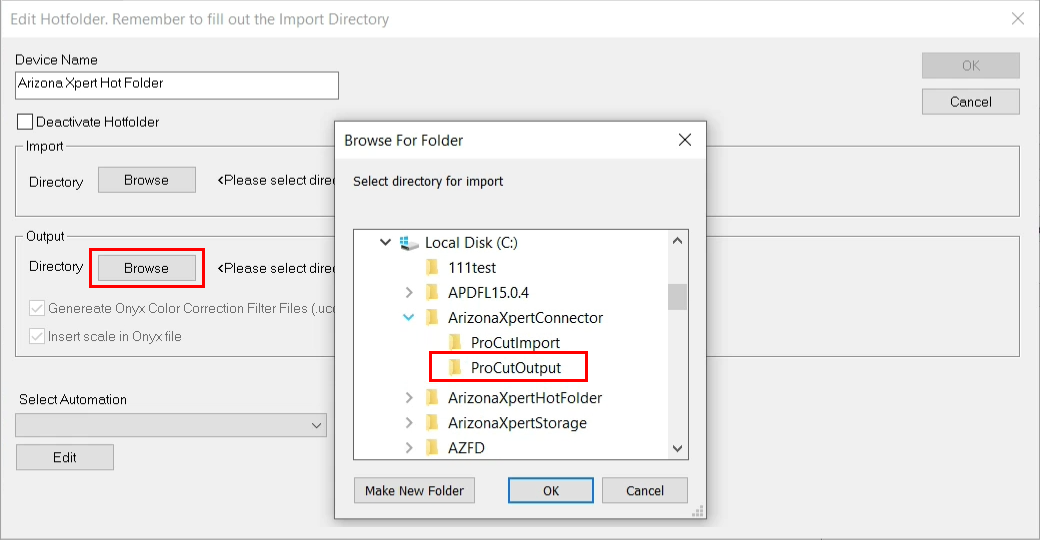
Click on [Browse] in the Output section
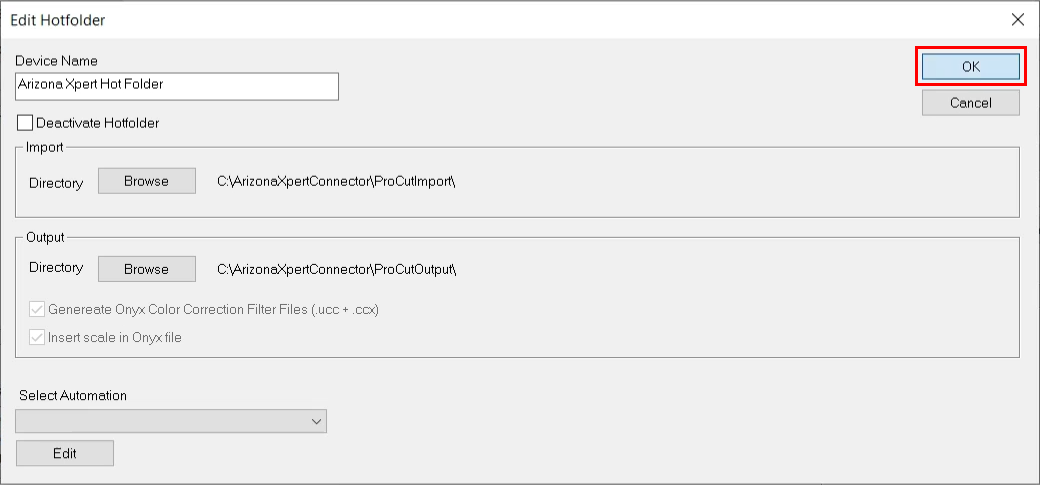
Browse to the output folder that is configured in Arizona Xpert Connector and select the output path.
Click on [Ok]
Click on [Add] in the Automations section

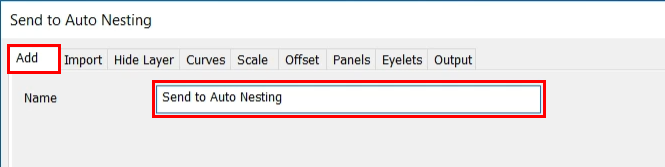
Fill out a name for your automation
In this case we choose: Send to auto nesting
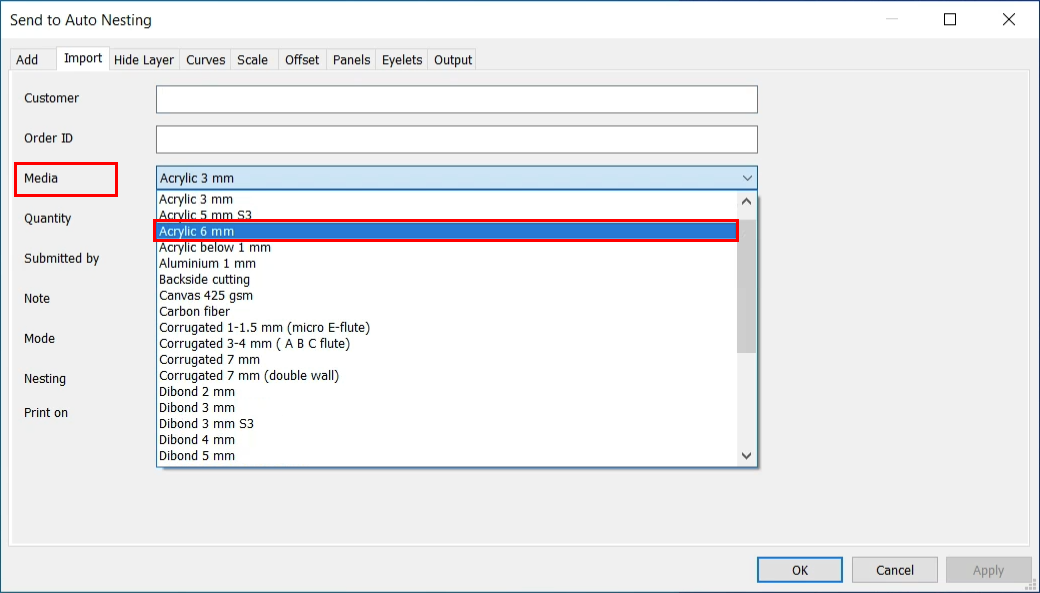
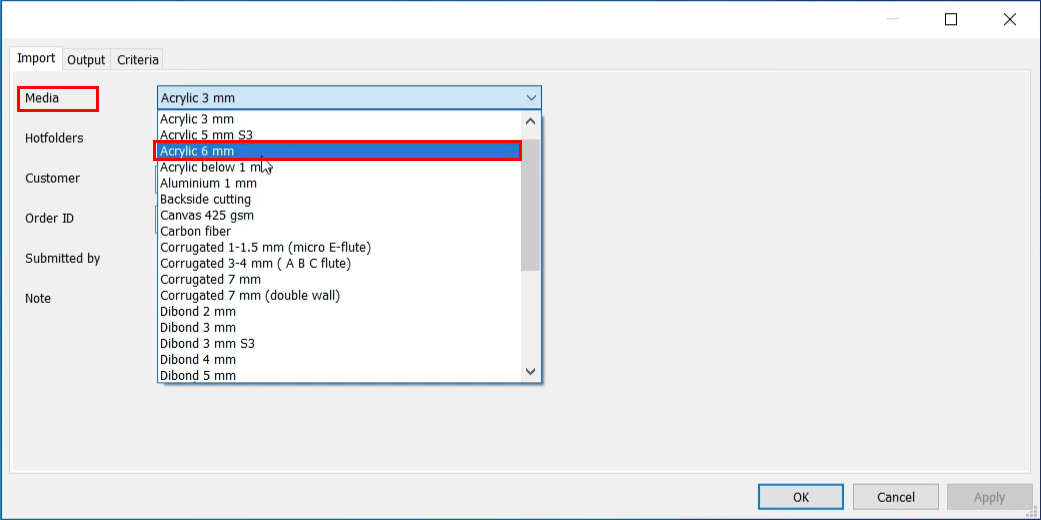
Select the [Import] tab
Select the [Media]
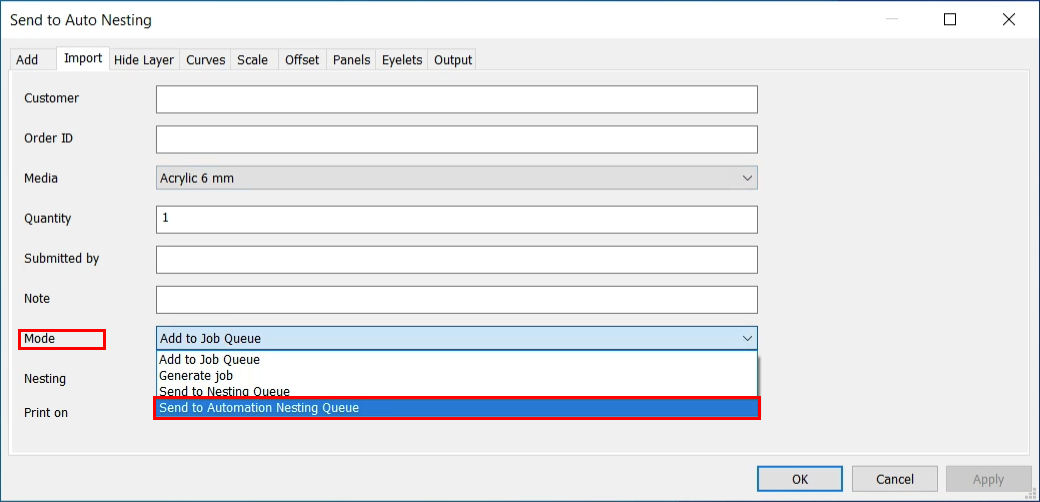
Select the [Mode]
Add to Job Queue
Generate Job
Send to Nesting Queue
Send to Automation Nesting Queue (in case of auto nesting)
Click on [Ok]
Click on [Add] in the Nesting Automations section
Select the media that is defined in the automation: Send to auto nesting.
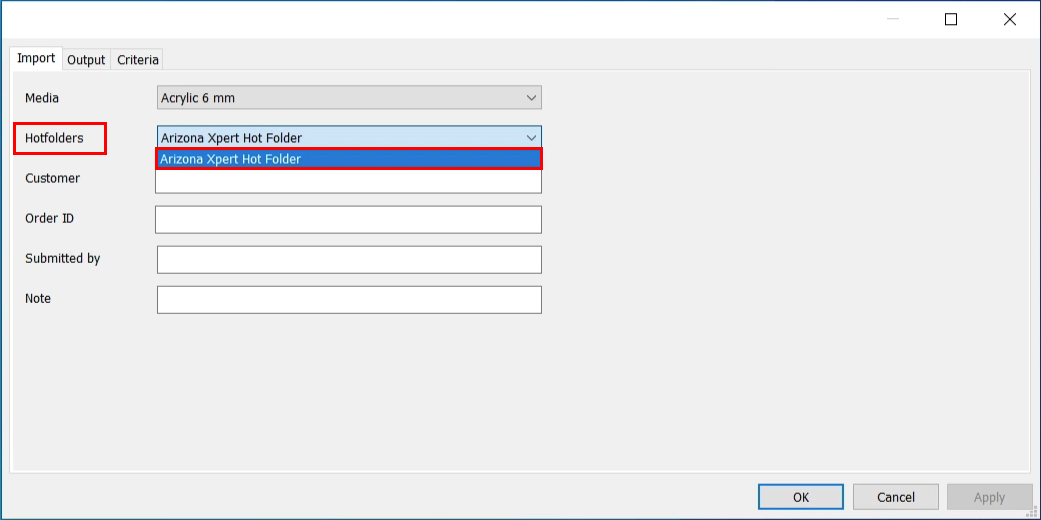
Select the hot folder on which the nesting automation will be applied.
Add criteria for auto nesting.
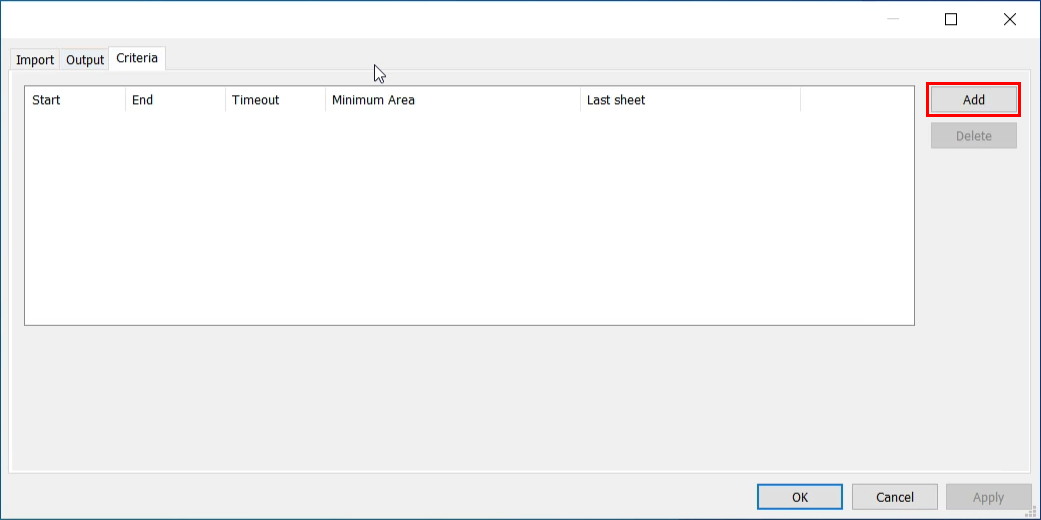
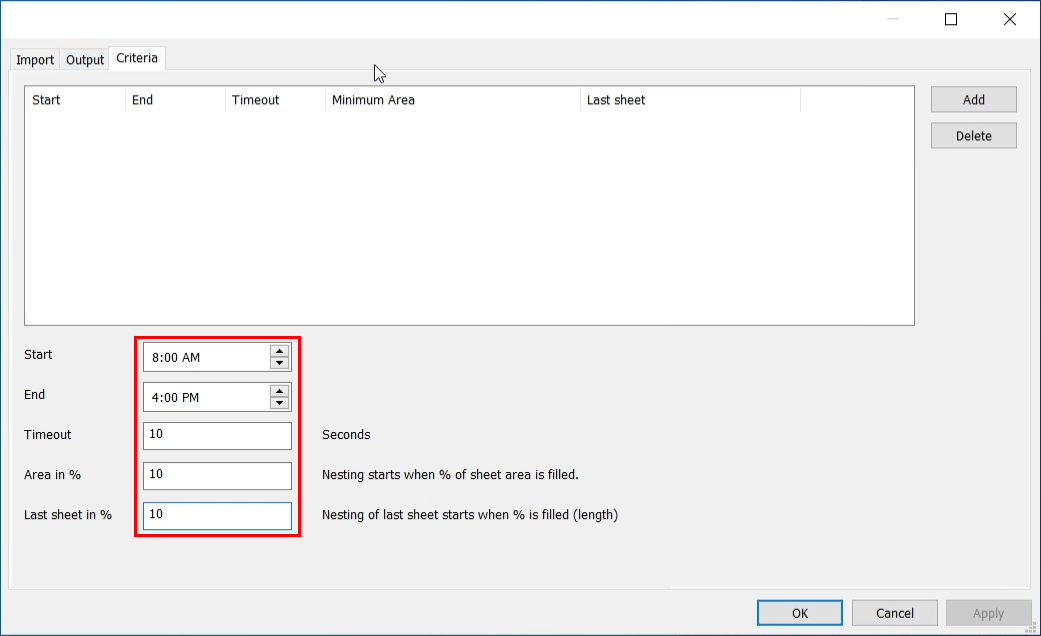
Start and End defines the time frame in which auto nesting is active.
Define the start and end time.
Define the timeout in seconds and determine the percentage filled of a sheet area in general and for the last sheet.
Click on [Ok]