
If a staple cartridge of the saddle stitch unit of the optional Saddle Finisher-AF2 is almost empty, the control panel will display a message indicating which staple cartridge must be replaced. The procedure below describes how to replace the staple cartridge.
This procedure is only necessary when the Saddle Finisher-AF2 is attached.
Staple P1
|
Step |
Action |
Illustration |
|---|---|---|
|
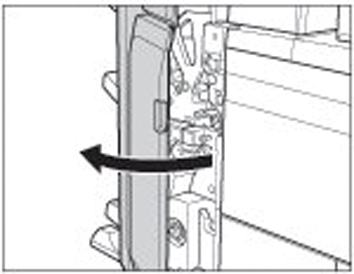
1 |
Open the front door of the stacker/stapler. |
|
|
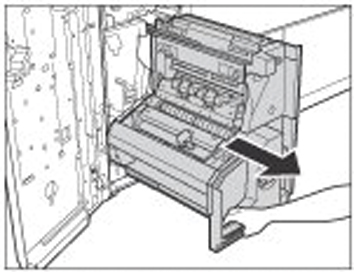
2 |
Pull out the saddle stitch unit. |
|
|
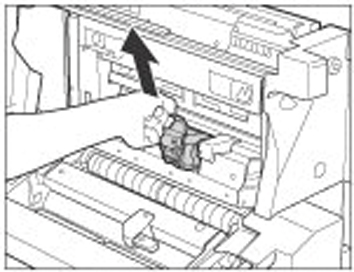
3 |
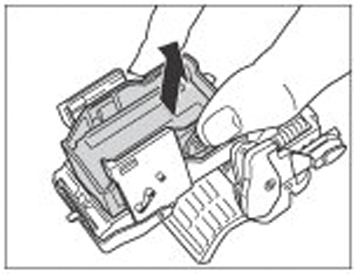
Grab the tab of the staple case and pull the staple case out of the staple unit. |
|
|
4 |
Hold the cover of the staple case by its left and right sides Lift the cover and slide the cover off. |
|
|
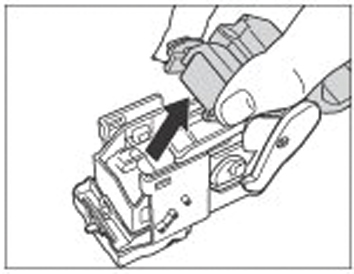
5 |
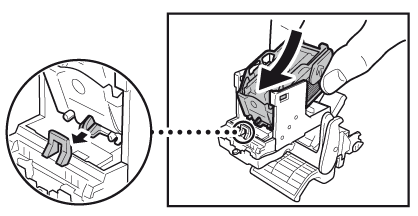
Squeeze at the indicated positions to release the empty staple cartridge. Lift the empty staple cartridge and pull the staple cartridge out. |
|
|
6 |
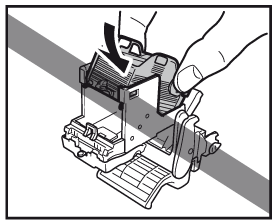
Insert the new staple cartridge (Staple P1). When you replace the staple cartridges, replace both the front and back staple cartridges. |
|
|
7 |
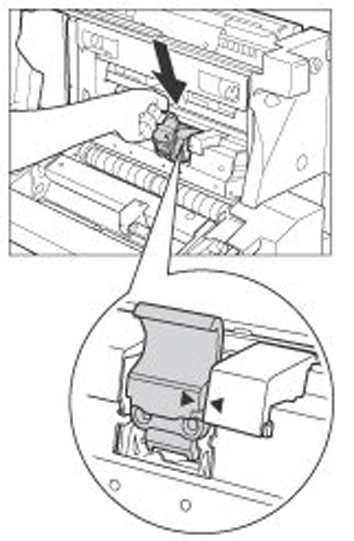
Return the staple case to its original position in the saddle stitch unit. Make sure that the arrow on the staple case aligns with the arrow on the saddle stitch unit. Follow the steps 3 to 7 to replace the other staple cartridge in the saddle stitch unit. |
|
|
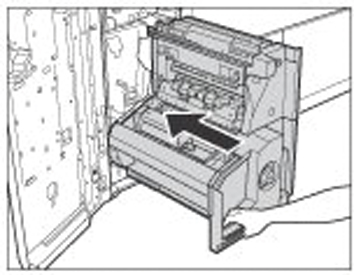
8 |
Gently push the saddle stitch unit back into the printer. |
|
|
9 |
Caution: When you close the front door of the stacker/stapler, be careful not to get your fingers caught, because this may result in personal injury. Close the front door of the stacker/stapler. |

|