
This alternate method to load media requires a little more time and effort but it usually provides better alignment and therefore less chance of banding in the image. When roll media is not properly aligned, the result is overstepping on one side and under-stepping on the other side of the media so that the band in the printed image is dark on one side and light on the other. The alternate method is recommended for long print jobs where skewing of the media can become progressively more pronounced or when using media that has some flexibility and therefore proper alignment is hard to achieve with the standard method.
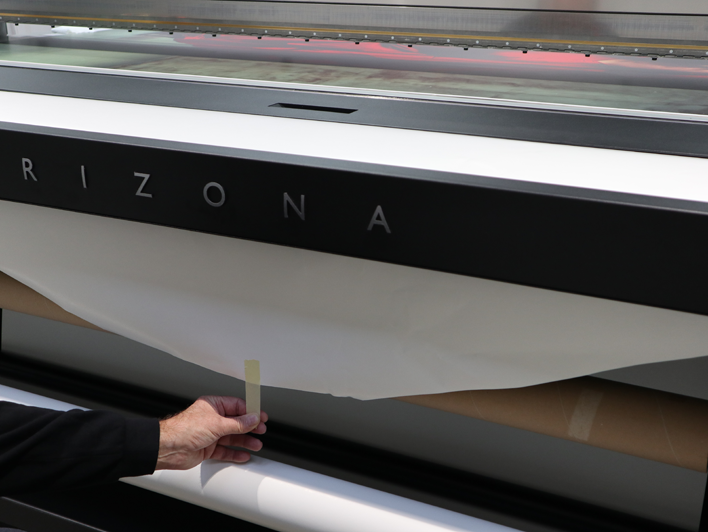
 Tape the media edges to the platen
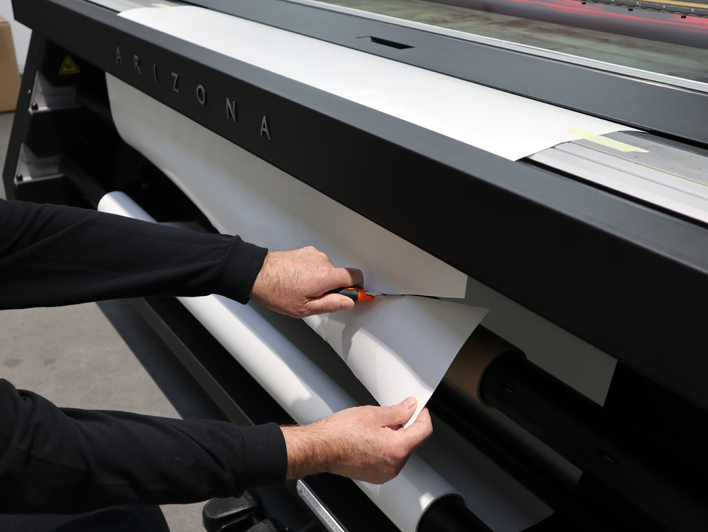 Cut the media at an angle
 Tape media to core
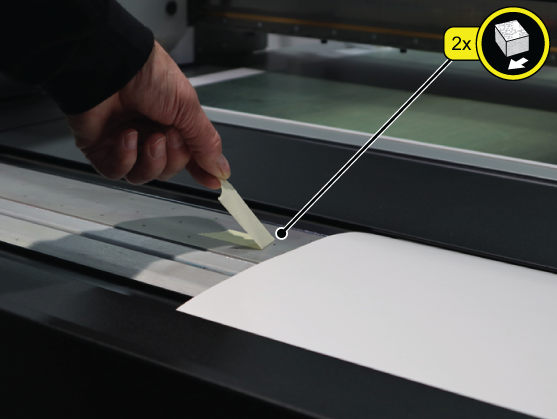 Remove Tape
Important: Use the supplied ruler to check that the edge of the take-up roll is aligned within 1mm of the feed roll.