
This section shows you how to print a simple job with a varnish Printer Flood Fill. The following section provides more detail about printing with varnish.
This exercise will help you get familiar with some of the basic concepts involved when you print images with varnish.
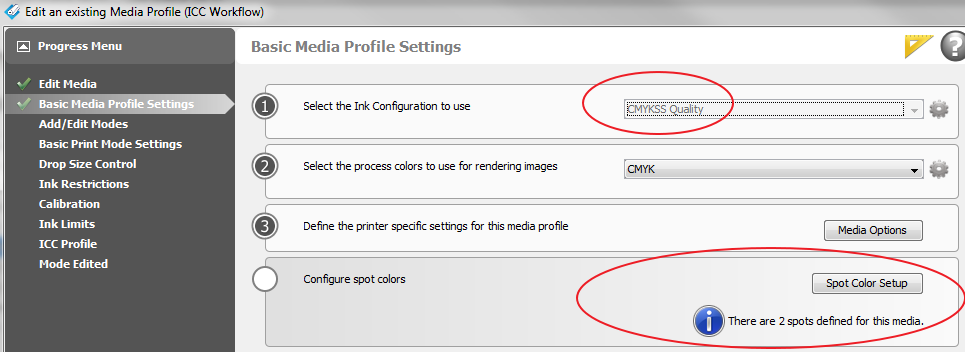
Printing varnish requires an ONYX media profile (media model) that was made with a CMYKSS ink configuration with spot colours defined. All print modes are supported except the High Definition print mode.
Import an ONYX media profile that was made using a CMYKSS ink configuration with 2 spots defined.
Sample Media models for varnish are available for download from the Customer Support section of our website: https://dgs.cpp.canon. These media models are documented later in this chapter (see How to Use Media Models to Print with White Ink or Varnish).
To set up a varnish printer flood, modify the printer settings of a processed job in RIP Queue - right click the job, edit printer settings, then select Print Varnish With: Flood Coat (Printer).
