
Manual Maintenance of printheads involves purging the printheads and then using a suction device to remove a small amount of ink and any debris that is in the nozzles. The Maintenance Station is located below the carriage. The station is covered by a sliding drawer that has open slots that allow waste ink to collect in the waste tray. When you perform manual printhead maintenance, any excess ink and associated debris are removed from the nozzles.
The nozzle plate on the printhead has a non-wetting coating - contact with this surface may affect the performance of the printhead. Do not wipe the nozzle plate with anything other than the suction-head (or the supplied swabs when following the swab procedure) as this can damage the nozzles and impair performance.
Perform Printhead Maintenance at the start of the day (after the printer has warmed up) or when necessary (misfiring nozzles, banding in image, etc).
Tip: To help locate nozzles that need recovering remove the nozzle check print from the vacuum table and place it on the floor under the carriage in the maintenance area. Make sure it is in the correct orientation so the colors are aligned. The print represents a projection of the jetting performance of each printhead. This makes it easier to trace a nozzle or group of nozzle outs back to the area on the actual printhead nozzle plate that requires swabbing.
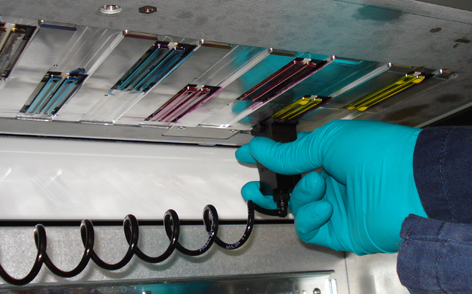
The underside of the UV lamps may be hot, avoid touching them.
Do NOT press up too hard on the printhead while you swipe it with the suction-head as this can dislodge the printhead and require a service call to re-seat it.
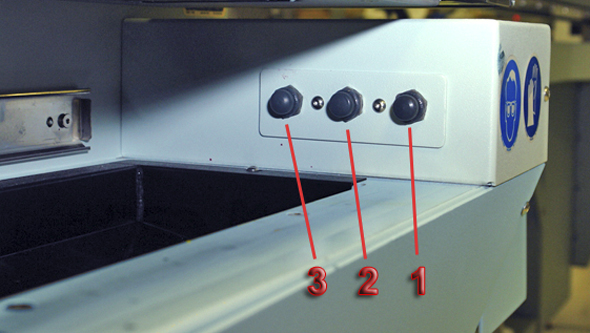
Maintenance Station Switches:
There are three switches inside of the maintenance station . They can be operated in any order. For example, you can press the middle switch to raise the carriage to remove debris from the underside of the carriage even when a purge isn't required.
Switch 1 to purge ink (the preferred way is to use the UI as in step 3 below)
Switch 2 to raise carriage
Switch 3 to activate suction pump
 Maintenance Station Switches
To achieve a Long purge, press the Purge button for more than 5 seconds. Long purges may be necessary if an acceptable result is not achieved with a standard purge.
Be careful not to snag the coiled suction-head hose when removing the suction-head from the holder.
 Clean Suction-Head
In the next step, start with the left printhead and work to the right as this limits the possibility that drops of ink will fall onto the coiled hose. Also, do not push up too hard on the printhead as you may dislodge it and this will require a service call to fix.
a) Visual inspection of the printhead shows signs of ink remaining on the nozzle plate;
b) Suction-head was not kept level during travel across the nozzle plate;
c) Suction-head was pulled too quickly or unevenly across the nozzle plate.
Move the suction-head slowly so that you don't "plow" excess ink to the front and sides of the printhead and suction-head. If you move too fast, ink is pushed onto the upper edge of the printhead opening in the pan, where it is difficult to see and causes problems.
 Swipe Printhead
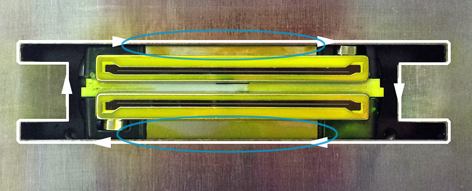
During maintenance, be careful not to touch the nozzles or the nozzle plate as this can damage the printhead.
Close the drawer gently to avoid disturbing the ink in the printheads. A hard bump can temporarily create nozzles out.
If the Nozzle Check print shows that a printhead still has a few nozzles out you can slide the suction-head over that printhead again. Then print another Nozzle Check if there are still nozzles out.