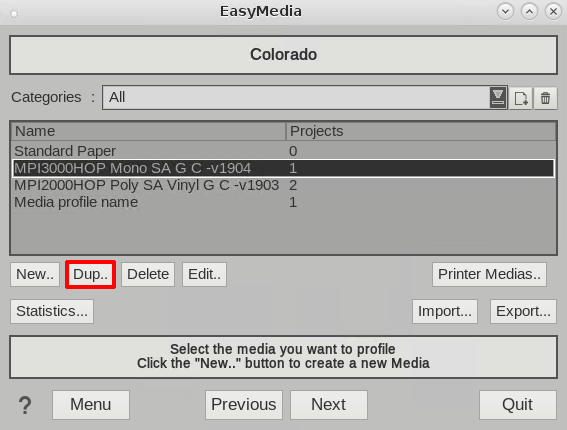
You can also use an existing media profile as a basis and edit the settings in Caldera.
This manual provides you with basic information in order to create and change media profiles. Profiling is an expert task which requires additional information and tools not covered by this manual. Contact your local support organization when you want to create or change media profiles.


Make sure you choose a media profile with the preferred media category, as you cannot change the media category of a media profile in Caldera. For more information, see Choose a media category.

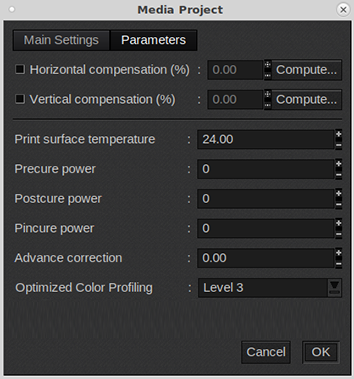
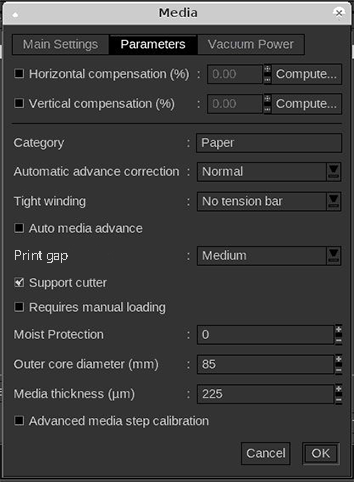
Under [Parameters]: Change the media settings.
You cannot change the media category of a media profile in Caldera.
Check especially the media thickness as your new media might have a different thickness than the media of the copied media profile.
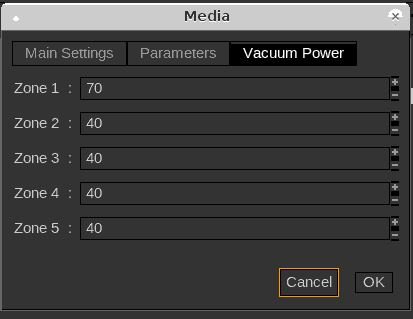
Under [Vacuum Power]: Change the media settings.

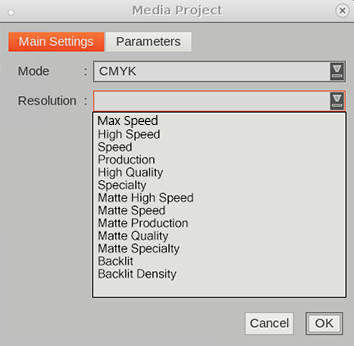
Under [Resolution]: Select a print mode.
Under [Parameters]: Change the media settings.