
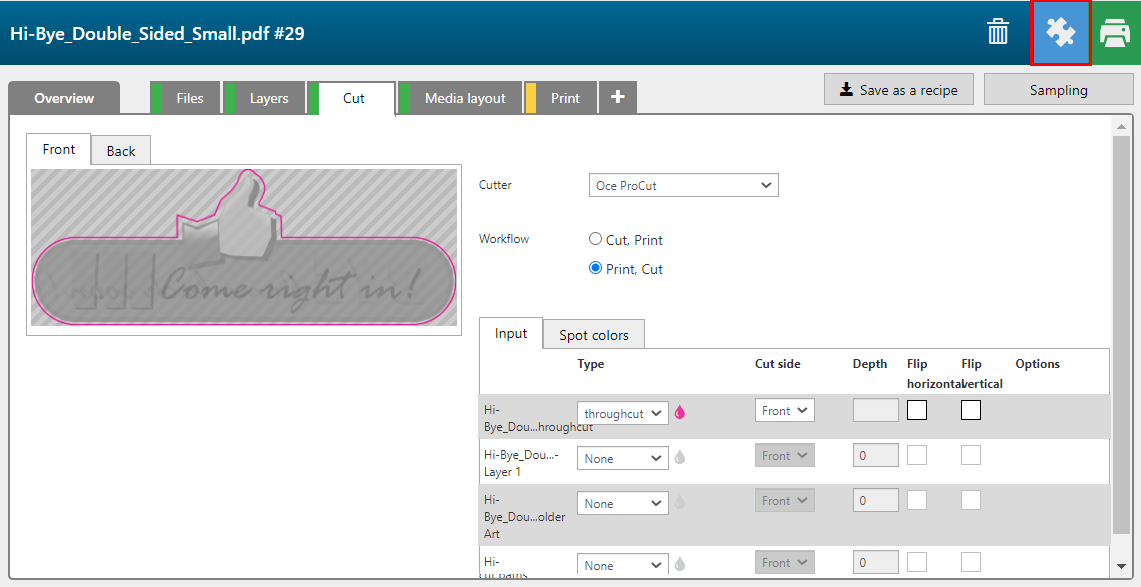
Configure the connection settings for ProCut in Arizona Xpert Engine. See Configure Arizona Xpert Engine ProCut settings
Configure the ProCut Server. See Configure the ProCut Server


Enter the number of panels in the [Overview] or [Media layout] tab that you want to print and that will be nested on the media.
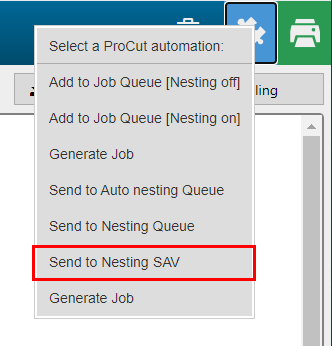
Choose Send to nesting SAV. The job will be sent to the nesting queue in ProCut Prepress.
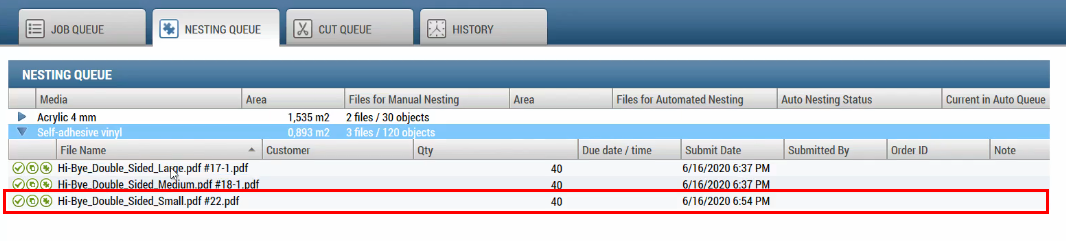
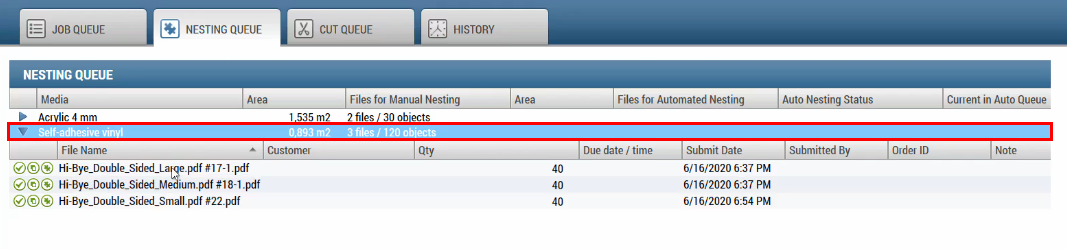
The jobs are grouped by media.
In Self-adhesive vinyl you will find your job and more jobs that are waiting to be nested .
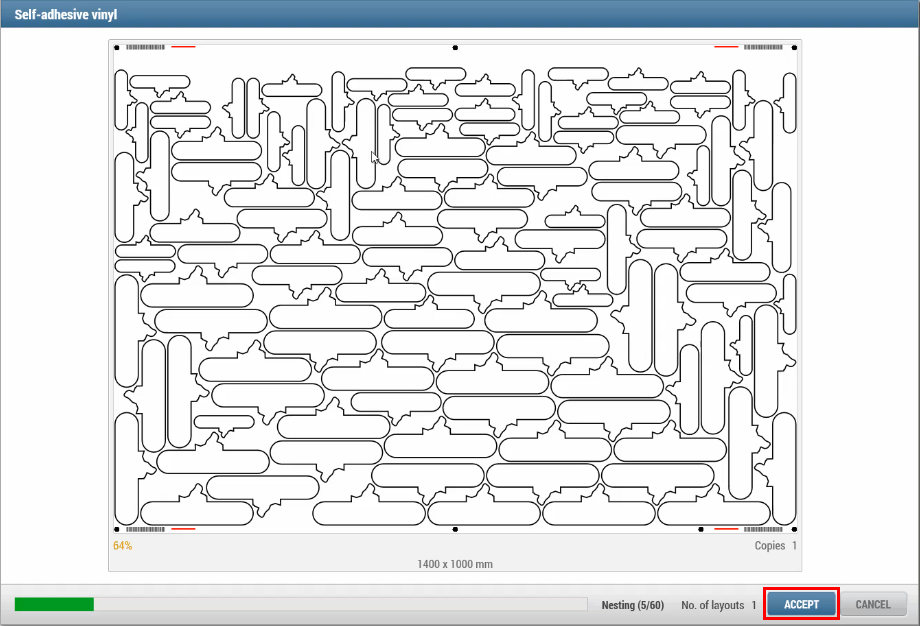
The jobs in the Self-adhesive vinyl nesting queue are nested.
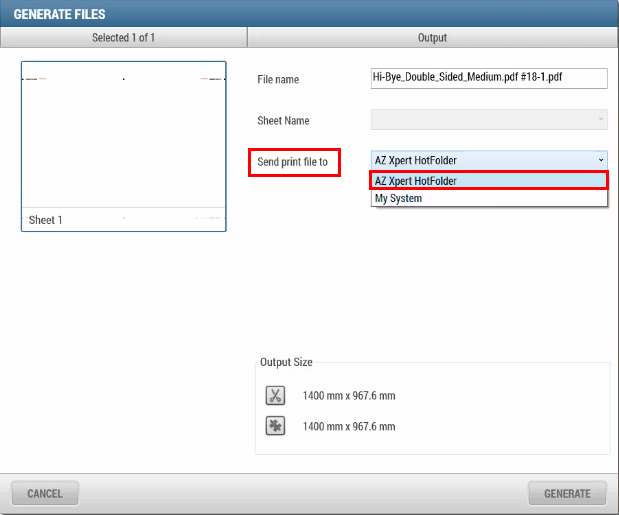
This is the folder you defined for interacting with Arizona Xpert. See Configure the ProCut Server
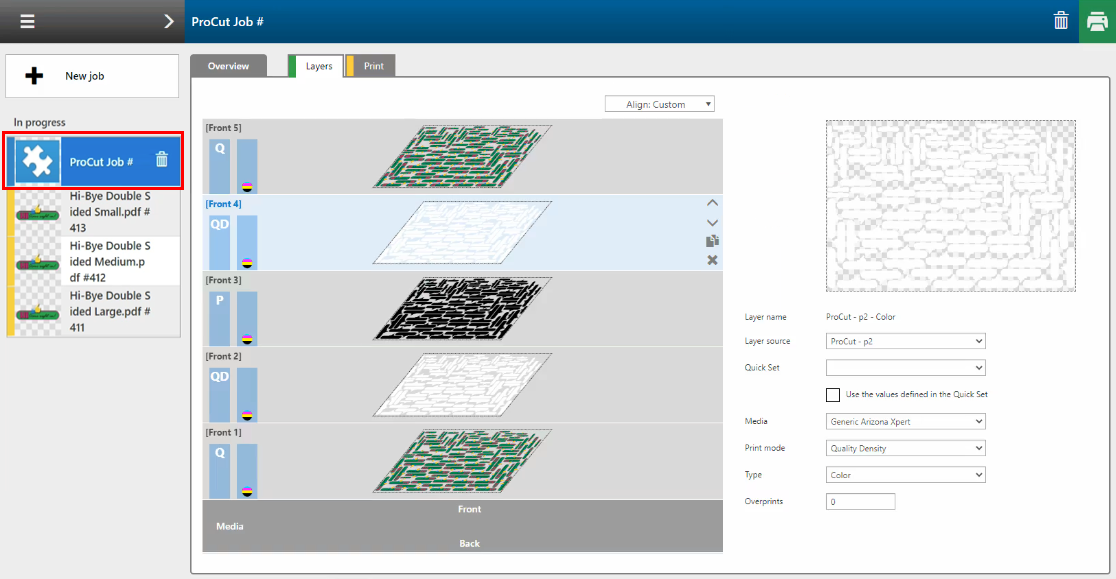
See that the recipe is applied to the ProCut job.

The print job is submitted to ONYX.
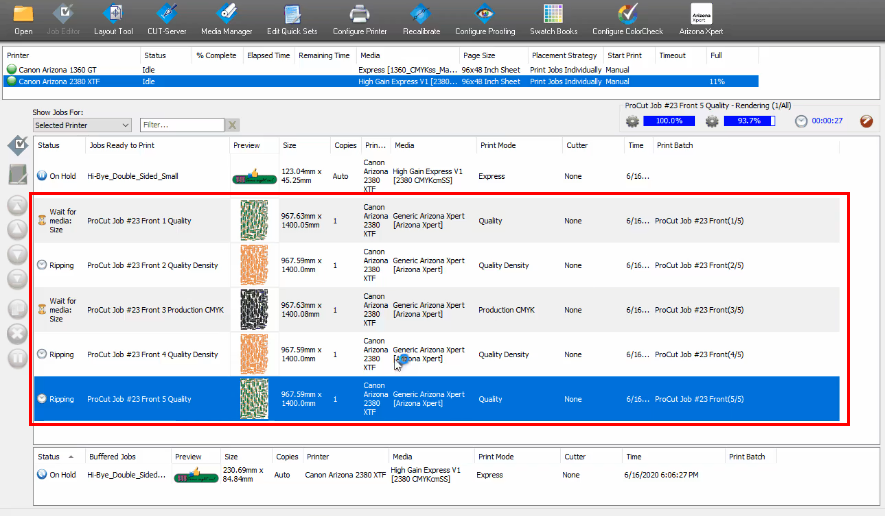
If placement is set to automatically start in printing ONYX, the jobs will be submitted automatically to the printer controller.