Log in to the computer as an administrator.
Install the Arizona Xpert Connector on the same computer where also the ProCut Server is installed.
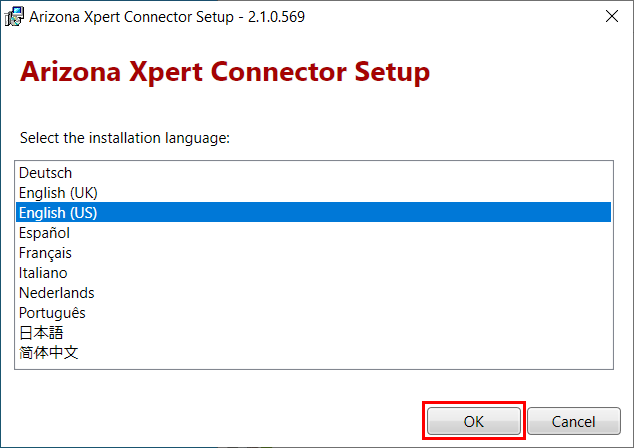
Make sure the correct installation program for the Arizona Xpert Connector is available on your computer (e.g. "ArizonaXpertConnector-xxxxxx.exe").
Close all your applications, because your computer might restart during the installation.
This instruction applies when you use the following Windows version.
Windows 10 Professional (64-bit)
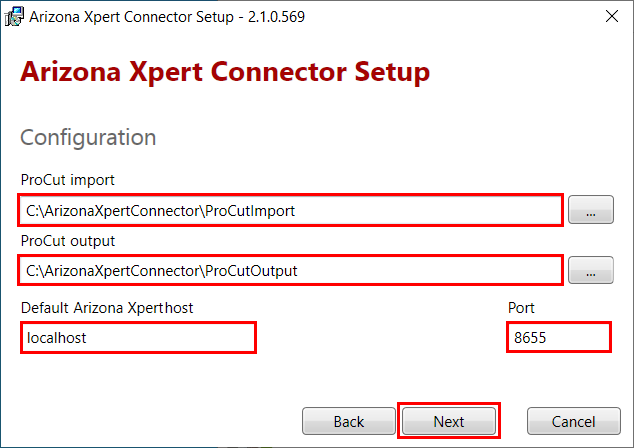
[ProCut import]
Set the ProCut import hot folder
[ProCut output]
Set the ProCut output hot folder
[Port]
Set the service port to connect with Arizona Xpert Engine
[Default Arizona Xpert Host]
Set IP address for the default Arizona Xpert. This is for files that arrive from ProCut in Arizona Xpert Connector and were not originally sent to ProCut from Arizona Xpert Engine but from an other application.
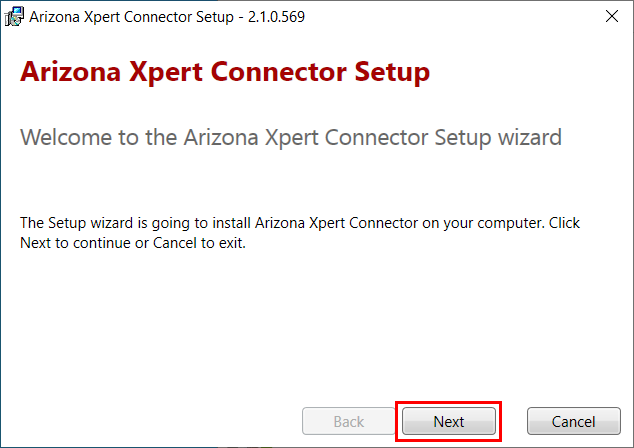
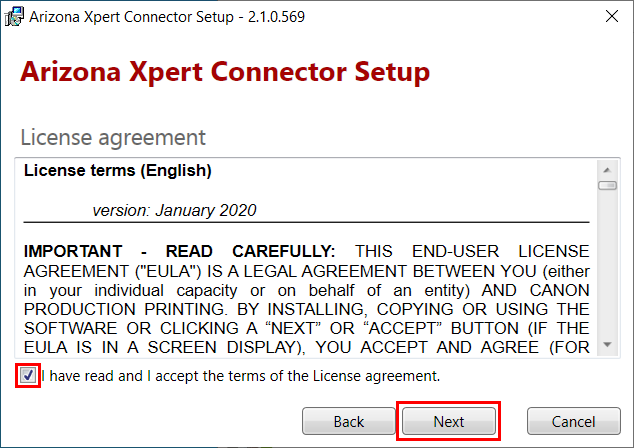
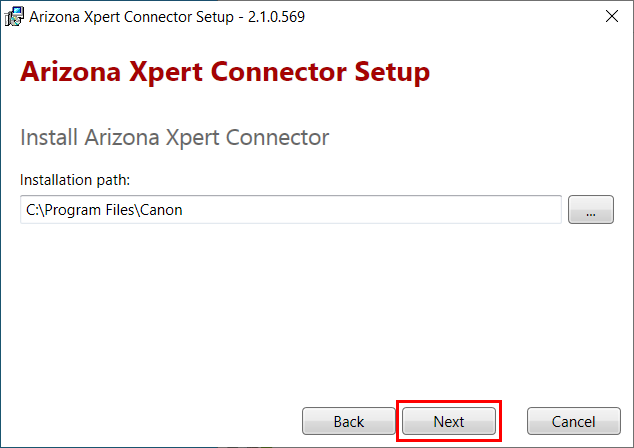
Click on [Next].
Open the user interface by double-clicking on the icon on your desktop or via the start menu.


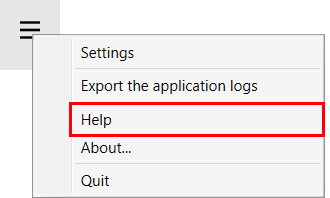
To learn about the functionality of the user interface open the online help via the [Menu] button.