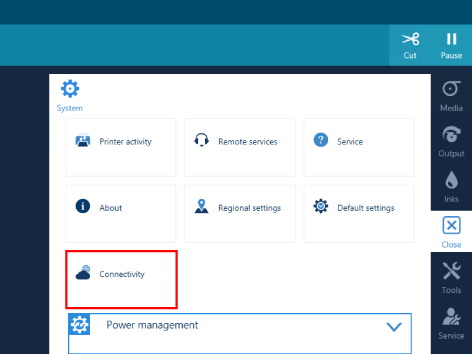
At installation, the printer is connected to the network and connectivity settings are made.
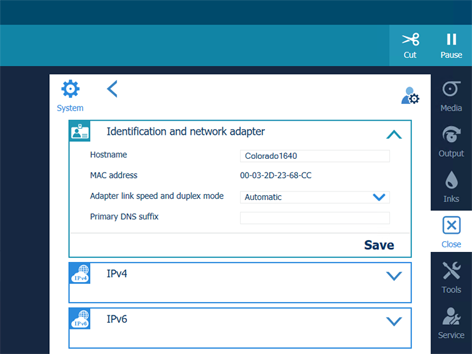
If necessary, you can change the network configuration settings on the user panel.
|
Action |
Connection via |
|---|---|
|
The printer receives jobs from the RIP workstation |
RAW TCP/IP (port 9100) |
|
The printer connects via the internet with the back office |
HTTPS (port 443) |
|
The printer connects to the mail server for password recovery |
SMTP (port 25 by default, can be changed) |
|
You can access the settings editor |
HTTP (port 80) or HTTPS (port 443 by default, can be changed) HTTPS requires a valid certificate. |
You have to log in as System administrator to change the settings. For more information, see Log in as a System administrator.
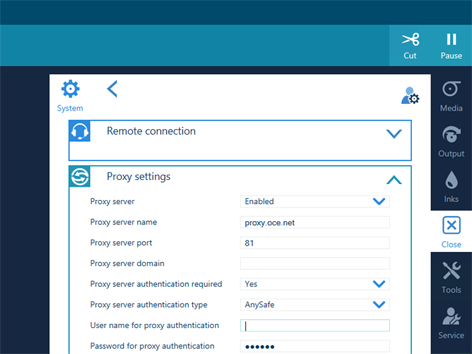
A proxy may be required to access the internet and make use of Remote services. Ask your IT administrator for the settings, if he does not know them use the default values.