Loading

Configure PRISMAsync Remote Control

Introduction

When you want to use the PRISMAsync Remote Control app to monitor the Colorado 1650 the System administrator has to configure the right settings first.

Before you begin

Make sure:

  • You have System administrator rights.

  • The proxy settings are configured correctly.

  • The remote connection is enabled and tested.

    For more information, see Configure the network

  • You have created a Microsoft or Google email account that you can use as an administrator account for PRISMAsync cloud services. It is advised to use a dedicated administration account for all printers and applications using PRISMAsync cloud services.
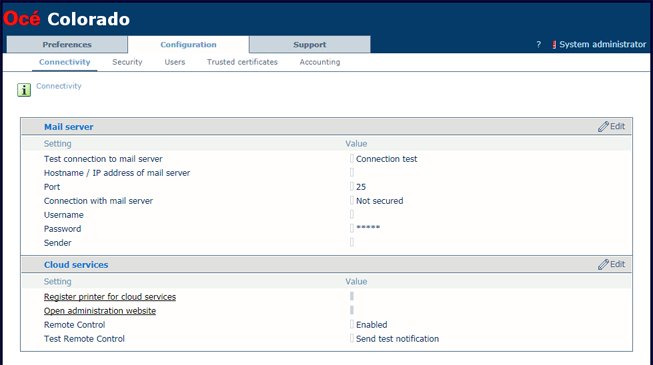
Procedure

  1. Open the settings editor.
  2. Click on [Configuration][Connectivity].
  3. Click on the value next to [Remote Control]. A window opens.
  4. Select [Enabled] and click on [Ok].
  5. Click on [Register printer for cloud services]. A new page opens.
  6. Log in with your Microsoft or Google administrator account. A new page opens.
  7. Fill in the printer name you want to connect to and click on [Add]. Here you can also remove printers.
  8. Under [Add a new cloud service user] fill in the email addresses of the users of the PRISMAsync Remote Control app and click on [Add]. Here you can also remove users.
    NOTE

    Via settings editor, [Configuration][Connectivity]  → [Open administration website] you can always log in with your administrator account and add or remove printers and users.

  9. Once the printer is added and the requested users are added, you can click on [Log out].

What to do next

Test if PRISMAsync Remote Control is working well: Test PRISMAsync Remote Control.