Loading

Print an application based on the new recipe

Introduction

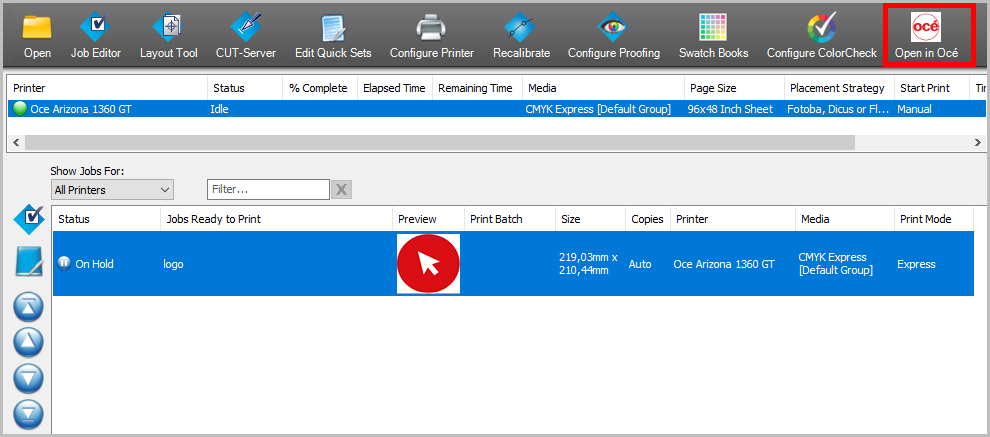
This topic describes how you can print an application from an ONYX job, using the new recipe that your created in the previous topic.

Procedure

  1. Open a PDF file in ONYX Thrive, in this example "Logo.pdf".
  2. Select the PDF file and click on [Open in Océ].
  3. Select the PDF file in the job list and click on your new recipe.
  4. A new Océ Arizona Xpert Engine job is created with the new file. Check the 3D preview in the [Overview] tab. Note that you can read the text correctly on both sides. Also, when viewing the application from one side, the image on the opposite does not shine through.
  5. Open the [Layers] tab. Check the print settings of each layer. The application has 5 layers, as defined in the recipe, and all the print settings are preserved (i.e. the same media profiles, print modes, layer types, et cetera.)
  6. Click on the green [Print] button to send the job to ONYX Thrive. In the RIP Queue you will see 5 new print jobs, one for each layer, but all of them are part of the same batch.
    NOTE

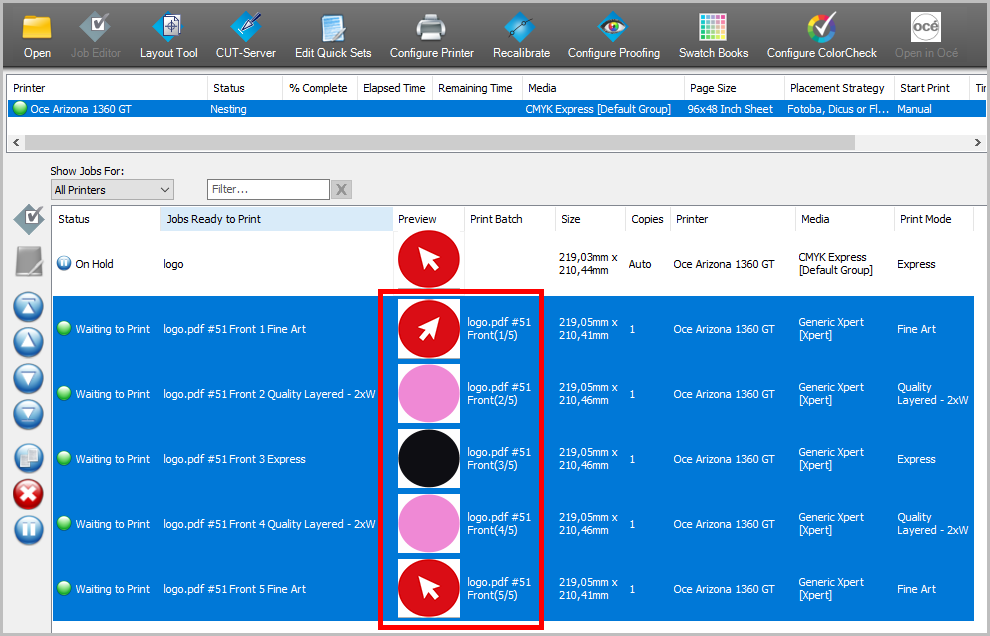
    The order of the print jobs in the RIP Queue is not important. The order in which the layers have to be printed is stored in the batch settings.

  7. Send the print jobs to the Arizona printer. The print jobs will be displayed as a single composite batch.