The printer has two UV lamp assemblies, one on each side of the carriage, to cure the UV ink during printing. The filters in these UV lamp assemblies have a limited lifetime and must be replaced by the operator to prolong the life of the bulb and maximize curing efficiency.
These filters should be changed every two weeks.
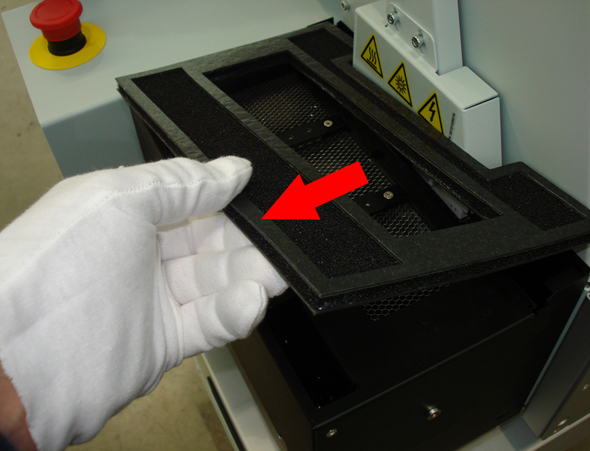
It is recommended to wear gloves when handling dirty lamp filters due to the possibility of partially cured ink deposits.
Failure to replace dirty filters will result in lamps operating at a higher temperature causing premature failures of internal components and lamp bulbs.
It is not necessary to shut the printer power off the while replacing the UV lamp filters. However, make sure you turn the lamps off by de-selecting the lamp icon in the user interface before you start and allow a few minutes for the bulbs to cool down.
Wear cotton or nitrile gloves when handling UV lamp filters. Avoid bare skin contact with UV lamp filters that are contaminated with partially cured ink.