
Step and Repeat Printing allows the operator to define a grid and place an image in each cell to print multiple copies. The operator selects the number of rows and columns desired and the number of copies needed and the copies of the image are positioned in each cell of the grid. If there are not enough cells to hold the number of images the printer will wait for new media to be placed and then continue the job. The next part of the job will begin on the topmost row of the grid and print down until the set number of copies is achieved.
Step and Repeat printing is also possible on prints that are set up for the Roll Media Option. In this case the grid is also shown in the Preview and is centered on the paper if there is enough space on both sides of the grid. If there is not enough space for the size of grid and number of copies, the job will continue further along the media and will start again at the position of the left column. The job continues in this manner until the set number of copies has printed.

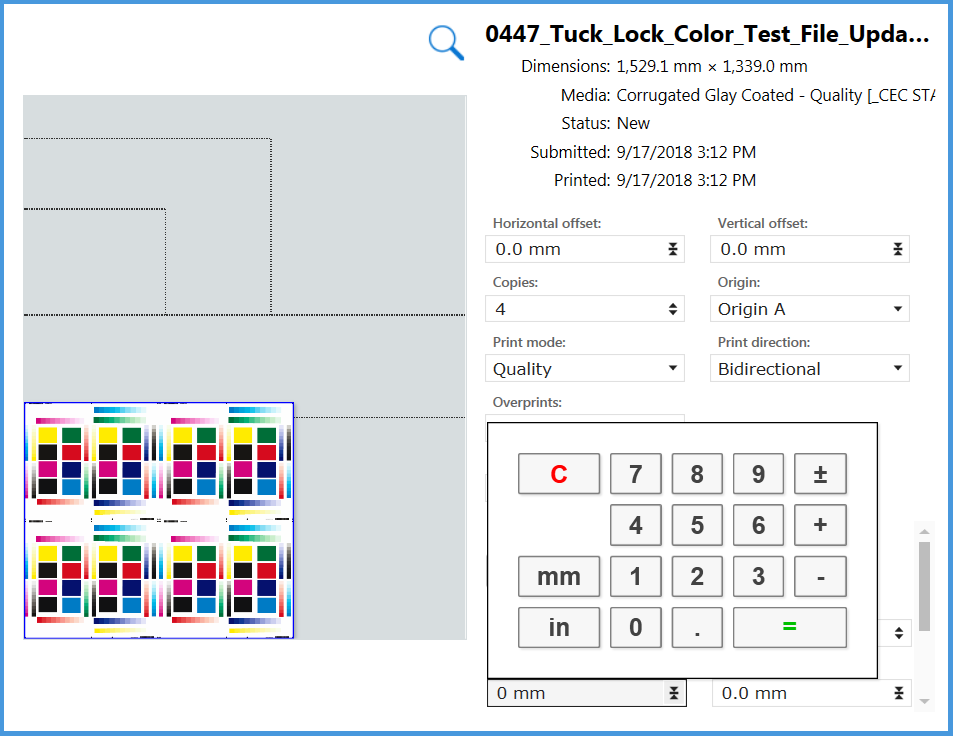
You can also click on the Fill area... button to have the grid created automatically based on the dimensions of the image, the size of the media, and the number of copies. If you use this method set the number of copies first.
Also, if you enter more columns and rows than it is possible to fit on the media, the fields will revert back to their previous number and turn red to alert you to this problem. Re-enter numbers that will allow the image to fit on the media.
You will see a visual representation of the grid in the Preview area and get from it an idea of how your requested copies fit on the media. If the number of copies exceeds the size of the media you will see how many media sheets are required displayed at the bottom of the Step and Repeat area.
If more than one piece of media is required for the job, the carriage will return to its parked position and wait for you to place a new piece of media, confirm media height, and select the Start print icon before it continues the job.