
This section explains how to prepare images that include spot data with vector-based image editing applications such as Adobe Illustrator®. In order to print with white ink or varnish, you must first have an ONYX profile (media model) properly configured for the use of spot data.
To add spot color data to your image in Illustrator, you need to create a layer within the image as a new spot channel. It is possible to have more than one spot element in an image, but each element must be on the same spot channel, and therefore have the same opacity level, or else ProductionHouse will treat the saved document as a separation file. Since the Arizona printers with white ink or varnish support two spot channels, you can create one spot channel for Spot 1 data and another for Spot 2 data. CMYK is the preferred mode as the actions required for spot data creation are simpler than those for RGB.
You can use vector-based image editing applications other than Illustrator as long as it has the Overprint feature and the ability to create a spot color.
The first step in the white ink workflow is to prepare your source image to use the spot channel. The spot data must be designed entirely on a separate channel (either as a spot channel layer or a custom spot color) to be recognized by the Onyx RIP. The name you assign to this spot channel layer or custom spot color must be Spot 1 or Spot 2 and is the most important part of preparing the file. This named channel allows RIP-Queue to determine that the data in the source image needs to be output to the spot channel, in this case the white ink or varnish channel.
In preparing your file, only you can define what you want to print with “white ink” or "varnish" as part of your design and assign the color as described in this document. In Illustrator, the white ink data can be simple or complex and can range from vector shapes and text to placed bitmap images.
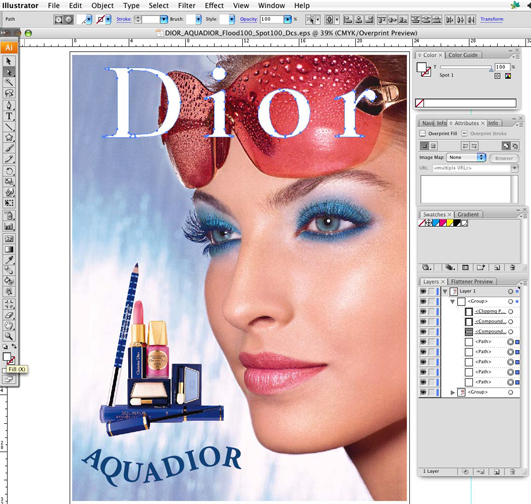
Use the following steps to configure an Adobe Illustrator file for use with white ink:
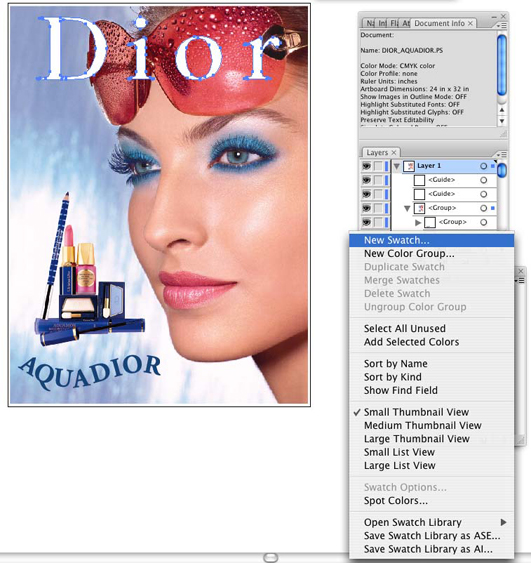 New Swatch
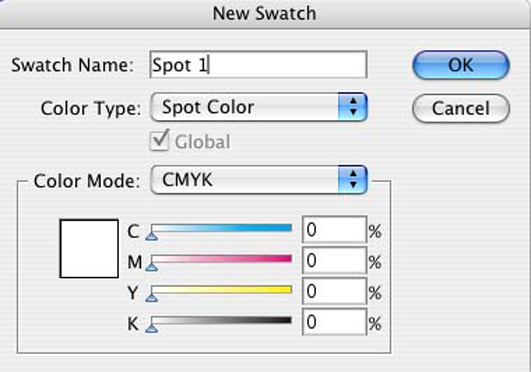 New Swatch Name
Name – Enter the name Spot 1 or Spot 2.
Note: For instructions on how to use a naming convention other than Spot 1 or Spot 2, refer to the sub-section at the end of this section "Naming Your Spot Data".
Color Type – Use the drop-down menu to select Spot Color.
Swatch Color – Use the sliders to adjust the swatch color. You can make this color any value that will help you see the design better.
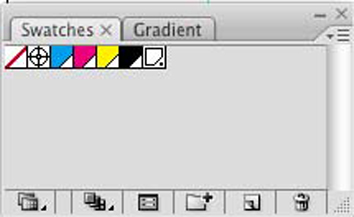
 Color Swatch
 |
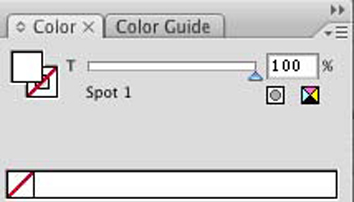
 Spot Swatch
 |
 Select Spot Fill