Loading

Loading the Media - Standard Method

The standard way to load media is quick and efficient and ensures minimum waste of material. However, for some longer print jobs or when you use media that is more flexible and therefore harder to achieve good alignment, there is an alternate method that will be described in Section D. Straight loading of roll media is very important to avoid wrinkles and banding in the print, especially on longer print job runs. If you want to ensure that a media is loaded straight or if you see an inverted light/dark banding across the media, we recommend the alternative method.

Procedure

  1. Select the Load icon from the Roll Media Manager.
  2. If you are going to print with "Print Side In", click the icon in the Roll Media manager ("Print Side Out" is the default so you do not need to select it unless you have previously used Print Side In). Note that the icon toggles from one choice to the other when you click it.
    NOTE

    For Print Side Out, the media unrolls from the bottom the supply shaft.

    For Print Side In, the media unrolls from the top of the supply shaft.

  3. Wait for the gantry to move part way across the table.
  4. Thread the media under the media tension bar (Note that the media is threaded for Print Side Out in the photo below). Pay out media with the foot pedal as required.
    Thread Media Under Tension Bar (Print side out)
  5. Open the media access door at the top of the Roll Media unit, then reach down through the open door to grasp the media and feed it up and over until it reaches the take-up roll.
    Feed Media Through Access Door
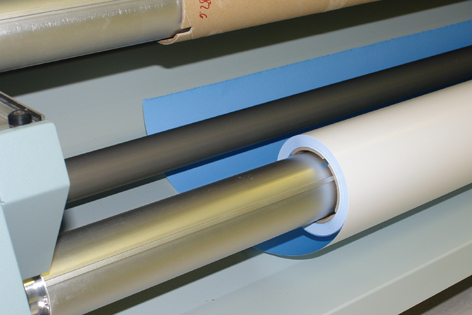
  6. Check alignment of the media by feeding it down to the supply roll and make sure that the edge lines up with the edge of the supply roll.
    Align Media
  7. Rewind the media by continually pressing down the left foot pedal until it is positioned where it can be taped to the take-up core.
  8. Tape the media onto the core. The media should have a clean straight edge prior to taping. First tape the center of the media to the core, and then tape both ends of the media.
    Tape Media to the Take-up Roll Core
    NOTE

    Important: Use the supplied ruler to check that the edge of the take-up roll is aligned within 1mm of the feed roll.

  9. Select the "Initialize" icon from the Roll Media Manager to prepare the RMO for printing.