
Click on [Sampling] to access the Arizona Xpert Engine sampling functionality.
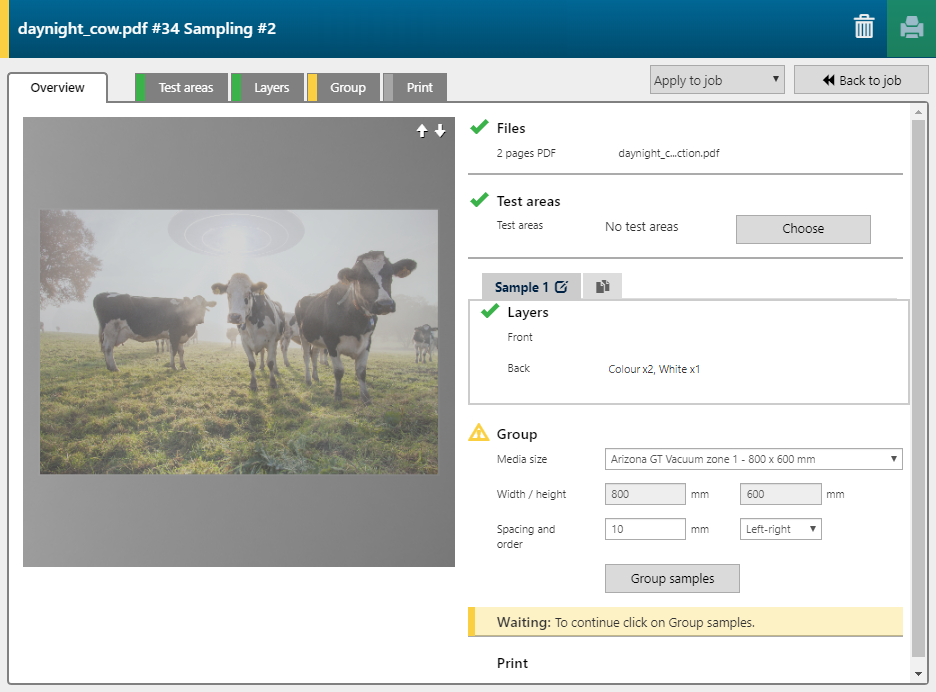
When a job is sent to sampling for the first time, automatically one sample is going to be created that matches the current configuration of the job.
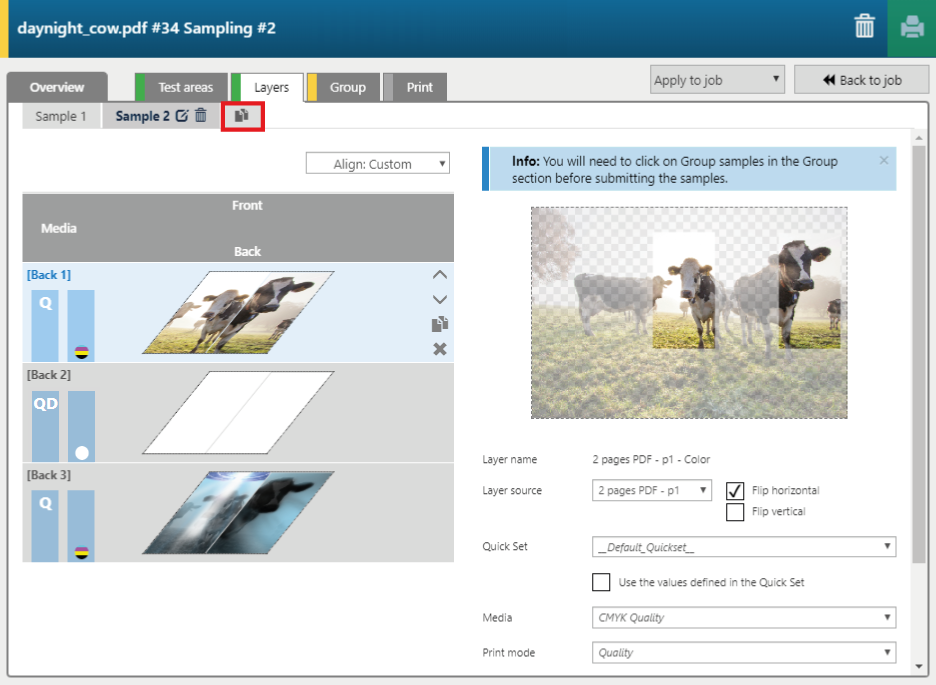
You can switch between the tabs to access various sampling features.
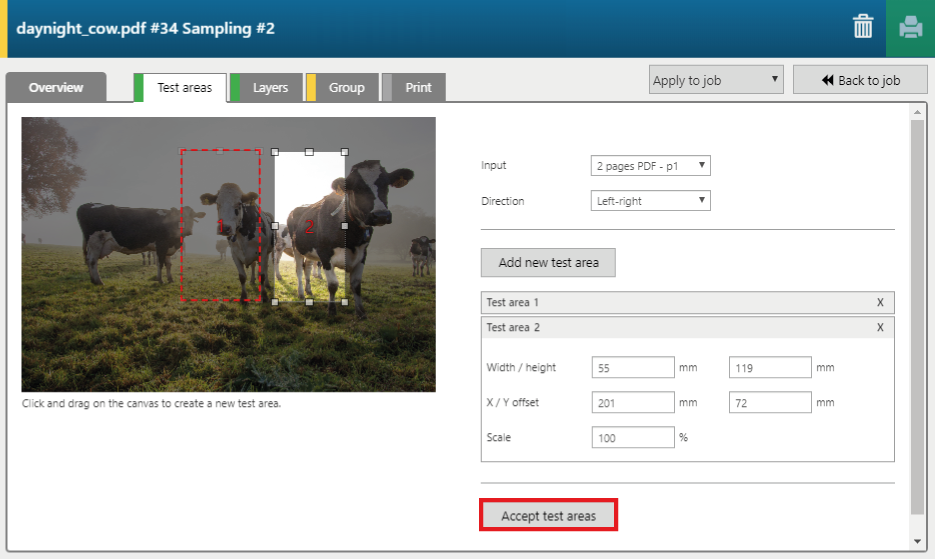
The sampling job is updated to match the selected test area(s).
You can select the media size you want to sample on and, if applicable, choose to print registration jobs to fit the two sides of the samples in the correct position, and select a faster print mode for printing the registration jobs.
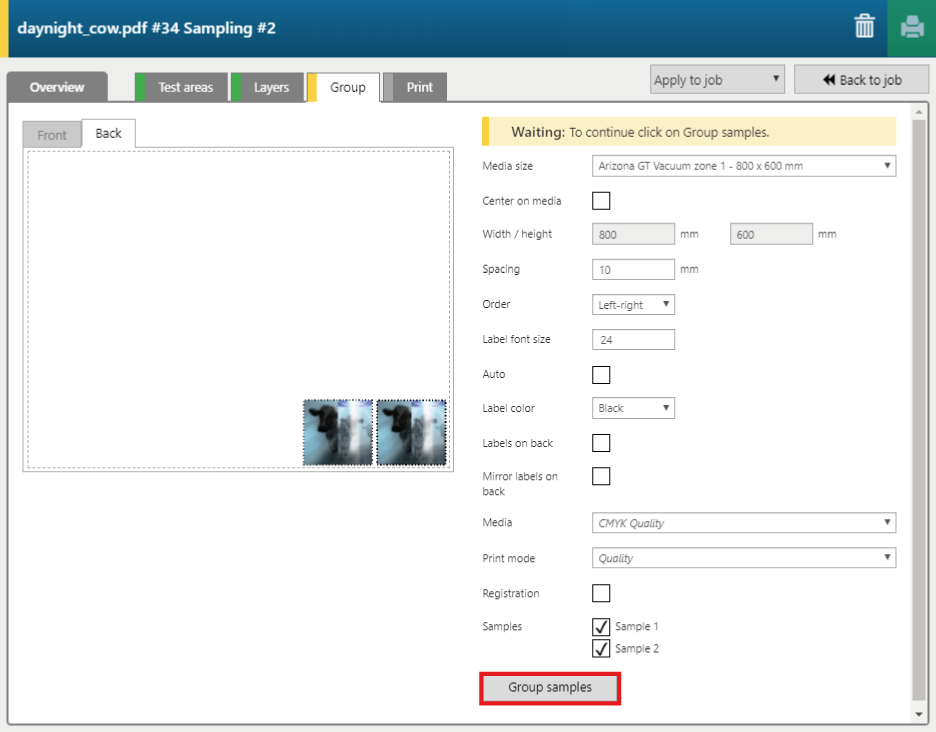
You can now print your samples (see Print your samples).