You can use the Arizona Xpert Extensions for Adobe PhotoShop or Adobe Illustrator to create the design for a [Block out] application and save your design as an Xpert [Block out] PDF file.
The name of your Xpert PDF file contains the name of the original PDF file, followed by the effect type and the level of opacity, e.g. adobe_recipes_all_v2_Blockout_High-mirror-back-image-new.pdf.
Before you open an Xpert PDF file in the Arizona Xpert Engine, make sure you have defined the correct default settings for the built-in recipes for Xpert PDF files (See Define the default settings for the built-in recipes for Xpert PDF files).


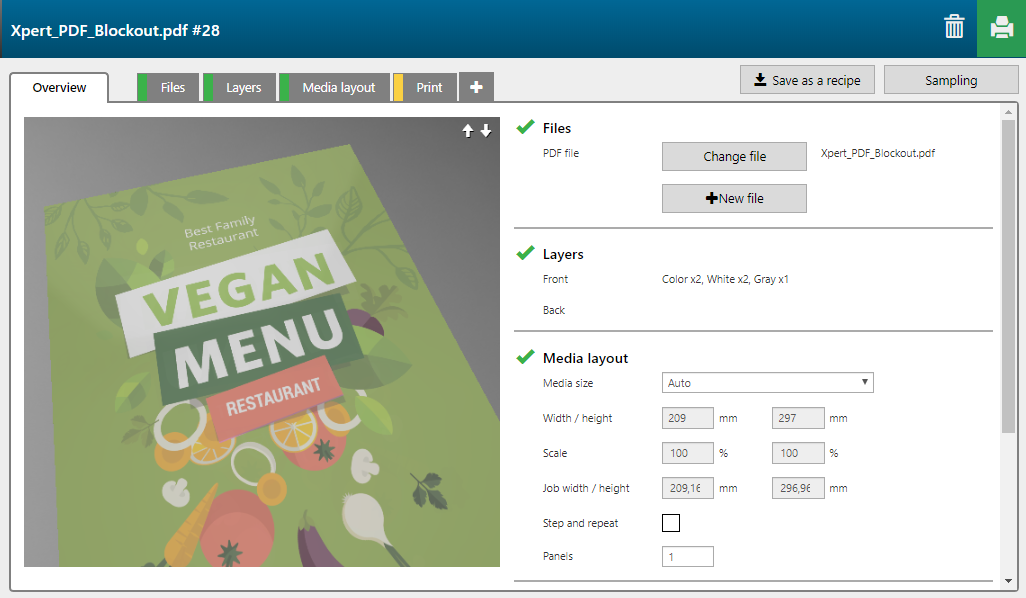
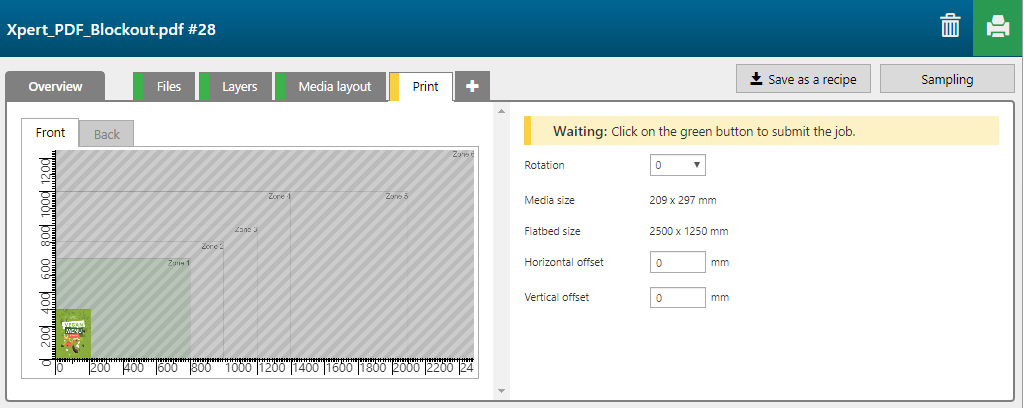
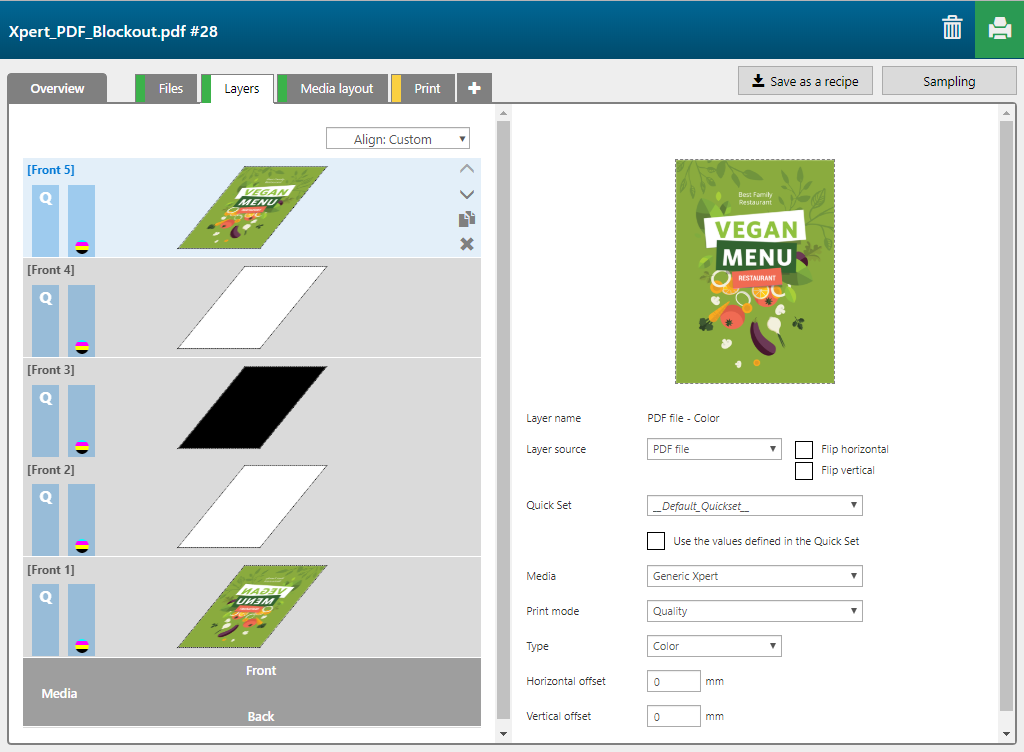
The [Block out] recipe contains 5 layers, printed on the front side of the media.
|
Layer number |
[Layer name] |
[Layer source] |
[Print mode] |
Remark |
|---|---|---|---|---|
|
[Front] 5 |
Input file - Color - Color |
Input file - Color |
Quality |
The image is printed in CMYK. |
|
[Front] 4 |
Input file - SD - Shape detect white |
Input file - SD |
Quality-Density W only |
The complete shape of the image is printed in white (1 overprint, so the white image is printed twice). |
|
[Front] 3 |
Input file - SD - Shape detect black |
Input file - SD |
Express |
The complete shape of the image is printed in black (block out area). |
|
[Front] 2 |
Input file - SD - Shape detect white |
Input file - SD |
Quality-Density W only |
The complete shape of the image is printed in white (1 overprint, so the white image is printed twice). |
|
[Front] 1 |
Input file - Color - Color |
Input file - Color [Flip horizontal] |
Quality |
The image is printed in CMYK. |