
Winding media without a tension bar, loose winding, is used for most media that can be transported well and is not too weak.
The use of the tension bar is set in the media type configuration in the RIP software. For winding without a tension bar you must select [no tension bar] under [Winding tension] . For more information, see Change the media settings.
Make sure you have loaded a take-up roll on the roll winder. For more information, see Load a take-up roll core onto the roll winder.
The printer is ready to print.
Do not position the tension bar when there is no media present. Keep your fingers away because the tension bar can fall down.
The winder has an emergency stopping device; It is located on the winder. Activating this emergency stopping device stops all winder motion.
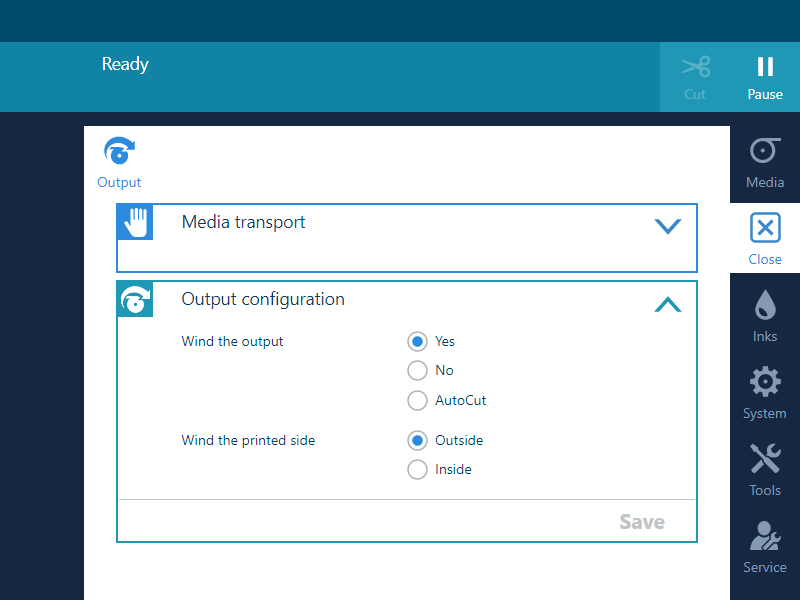
Make sure you set the output configuration in time, as you cannot change the configuration once the media has passed the clamp.
The default value is [ Outside] . When the setting is not available, the output will be winded with the printed side to the outside.
The printer will continue printing. The clamp closes when the media reaches the tape position, and the operator panel gives a message indicating you can tape the media.

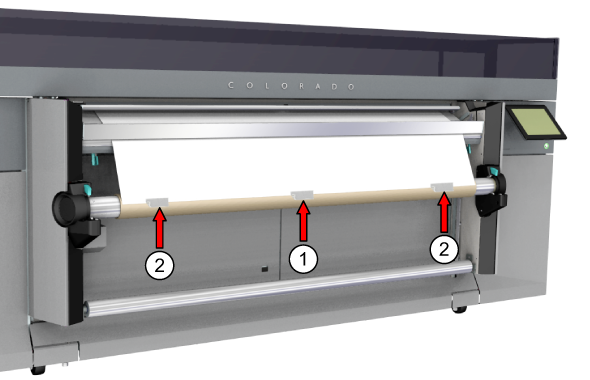
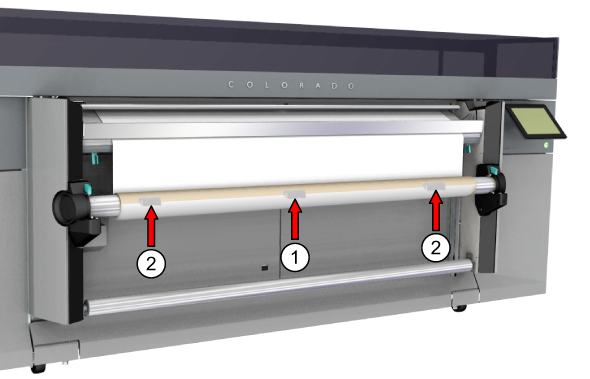
For outside winding feed the media along the front of the core, for inside winding feed the media along the back of the core.
for outside winding:
for inside winding:
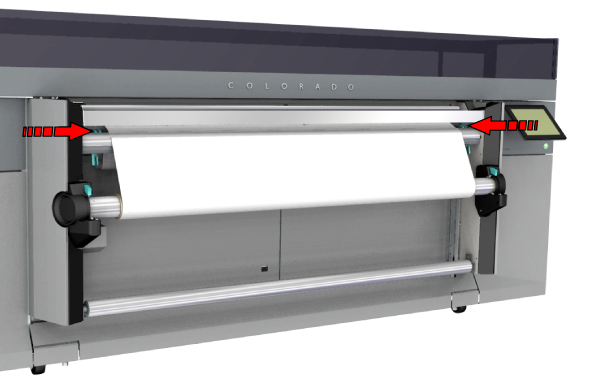
In order to prevent winding issues when winding the media in the opposite direction of the roll in the drawer, the media has to be taped with enough tapes over the full width of the roll to straighten the curling edge.
The printer continues printing while winding the job.
When you want to stop winding you have to cut the media. For more information, see Cut the media, Cut the media (manual).