Loading

AutoCut

Introduction

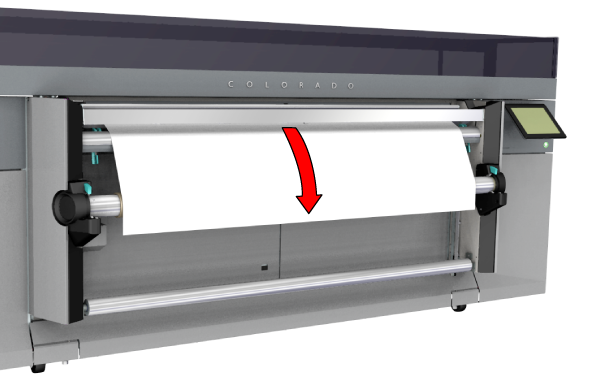
When you want to print a job in sheets, you can choose to cut the media automatically after each copy. For AutoCut, the printer uses the embedded knife.

NOTE

Media categories that need a tension bar or request a manual cut cannot be cut automatically after each copy.

Before you begin

  • Printing with a cut after each copy is set in the [Output configuration] on the operator panel.

  • It is highly recommended to change the [Output configuration] only when the queue is empty.

Procedure

  1. Check the media category of your media and make sure the media type configuration is set correctly in the RIP:
    1. Set [Winding tension] to [no tension bar].
    2. Check the box in front of [Suitable for printer cutter].
    3. Check the box in front of [Printer does copies].
  2. When you want to add white space between each copy, you have to define a leading or trailing strip in the RIP:
    1. Open the layout preview of your job in the RIP.
    2. Fill in the leading or trailing strip and make sure the value of the [Intercopy spacing] is the sum of their lengths.

      If you had defined a leading or trailing strip by default on the operator panel, reset the values to 0.

  3. On the operator panel tap on the [Output] icon.
  4. Make sure [Wind the output] is set to [AutoCut].
  5. Start a print job.

    The embedded knife automatically cuts the media after each image has been printed.

  6. Collect your output at the printer.

What to do next

When you want to stop cutting after each copy you can change the output configuration again, after the jobs are completed and the queue is empty .