
Create a [Day/night] application when you want your image to be displayed differently during the day and at night, when illuminated from behind. A [Day/night] application is printed on the side of the media that is going to be illuminated at night.
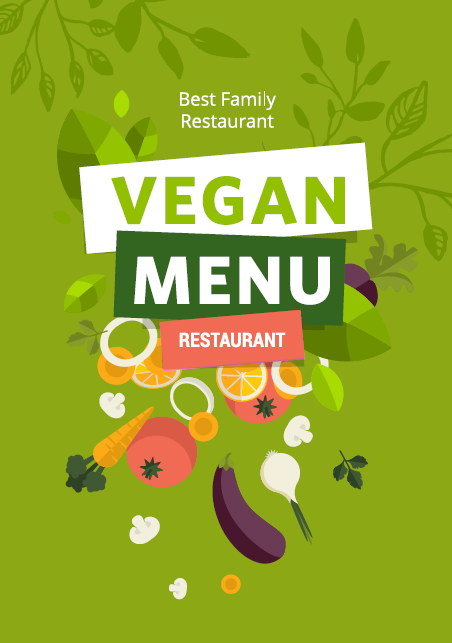
When you select the [Effect type] [Day/night] an extra colour layer will automatically be added to ensure a good quality for both viewing conditions (day & night). Also, a white layer will automatically be added between the images to ensure colour vibrancy and colour density.
A [Day/night] application needs a heavy, dark and dense ink load to compensate for strong backlighting at night. To make sure that the application also looks good when front-lit during the day, the graphic is going to be printed twice, using non-backlit print density with a thin translucent white backing between the two print layers.
As a result, during the day when the backlighting is off, only the top print layer is visible because the white inner layer blocks the second print layer. At night, when the backlighting is on, the light shines through all layers, giving it the added density that backlighting requires.
Open the design that you have created in Adobe Photoshop or Adobe Illustrator.
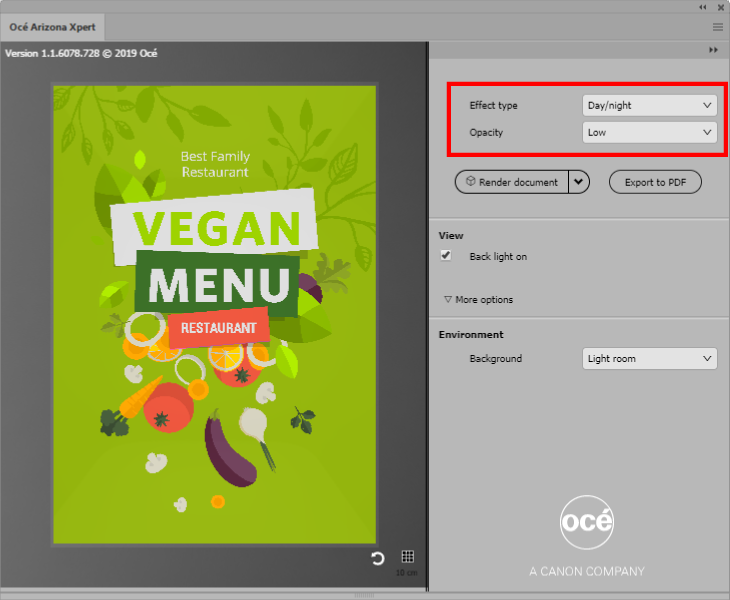
Open the Océ Arizona Xpert Extensions and select [Effect type] - [Day/night].
Select the [Opacity].
When you want little light to pass through the image, select [Opacity] - [High].

When you want more light to pass through the image, select [Opacity] - [Low] or [Opacity] - [Medium]. When you compare the preview of the high-opacity image above with the low-opacity image below, you can see that the low-opacity image is brighter.
Generate the preview of your design.
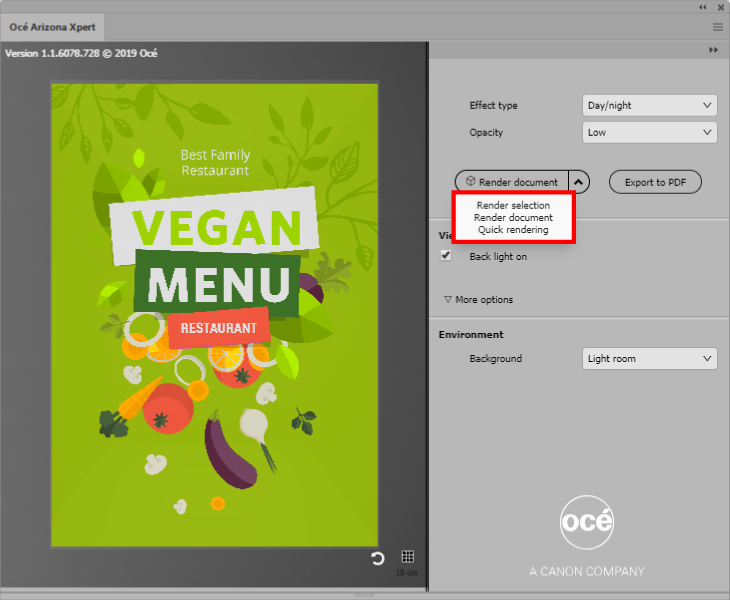
To generate or update the preview of your design you can select one of the following options:
Select [Render document] to render the complete artwork.
Select a part of your artwork and select [Render selection] to render only the selected part of your artwork.
Select [Quick rendering] to render the document in a lower resolution in order to speed up the rendering process.
To speed up the rendering process even more you can select [More options] and untick colour management.
You can rotate, shift, or zoom in and out on the preview as follows:
Rotate: click and hold the left mouse button.
Shift: click and hold the right mouse button.
Zoom in and out: rotate the mouse wheel.
You can switch the preview options at the right on and off to carefully examine your design.
When you untick the checkbox [Back light on] the media has a higher influence on the view of your design.

The environment section allows you to choose a different background for your design.

To apply a grid to your design, click on the grid button. This grid will help to estimate the size of your design in the preview. The distance between the grid lines is 10 centimetres.

To reset your preview, click on the refresh button.
