
Conversely, you may place a raster file in your Illustrator document and create Spot data in Illustrator using the path creation tools. Create your path using the data as your guide and once the path is completed, fill this path with your Spot 1 or Spot 2 color. This filled path should be placed above image in layers palette. In this particular case, the complexity of the selection path may dictate it's creation in PhotoShop, and Illustrator may be better used for simpler objects.
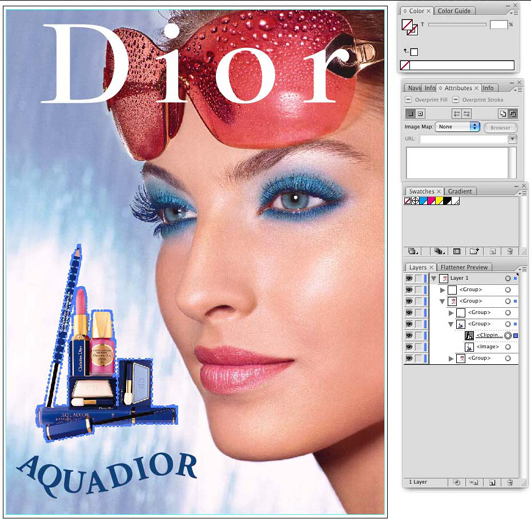 Select Clipping
 |
 Copied Path
 |
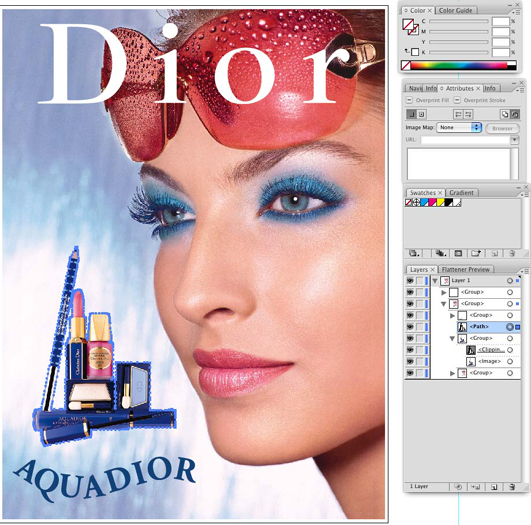 Moved Channel
 Replace path in Group
In testing, we have found the .eps file format to be the best. However, Postscript and PDF files will work as well, but may require some additional setup. Make sure that when you save the file, "Preserve Overprints" is enabled.
It is also possible and sometimes preferable, to print directly from Illustrator to Rip-Queue. For instructions on how to do this, see the Onyx web site for a document called "Printing From a Mac" (it also contains generic information on printing from Windows-based systems).