This section shows you how to print a simple job with a varnish Printer Flood Fill. The following section provides more detail about printing with varnish.
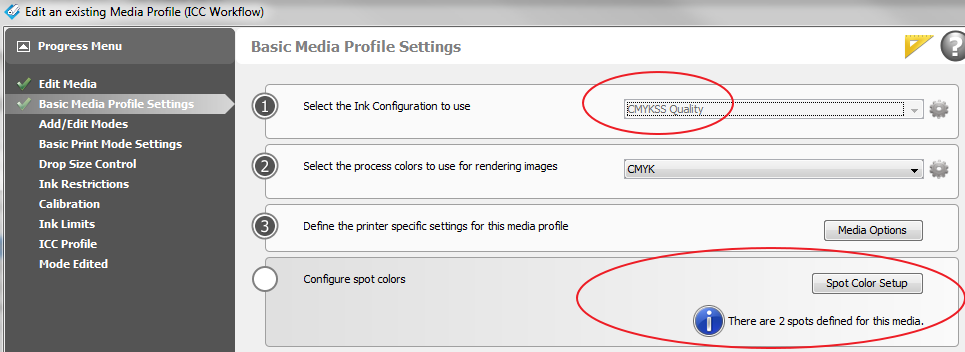
Printing varnish requires an ONYX media profile (media model) that was made with a CMYKSS ink configuration with spot colors defined. All print modes are supported except the High Definition print mode.
Import an ONYX media profile that was made using a CMYKSS ink configuration with 2 spots defined.
Sample Media models for varnish are available for download from the Customer Support section of our website: https://graphiplaza.cpp.canon.
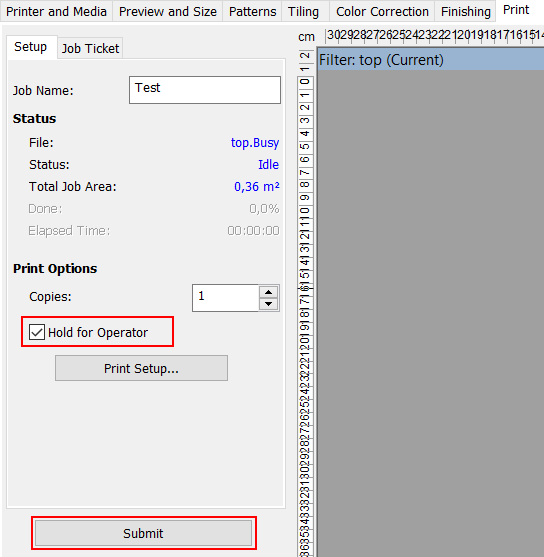 Hold for Operator
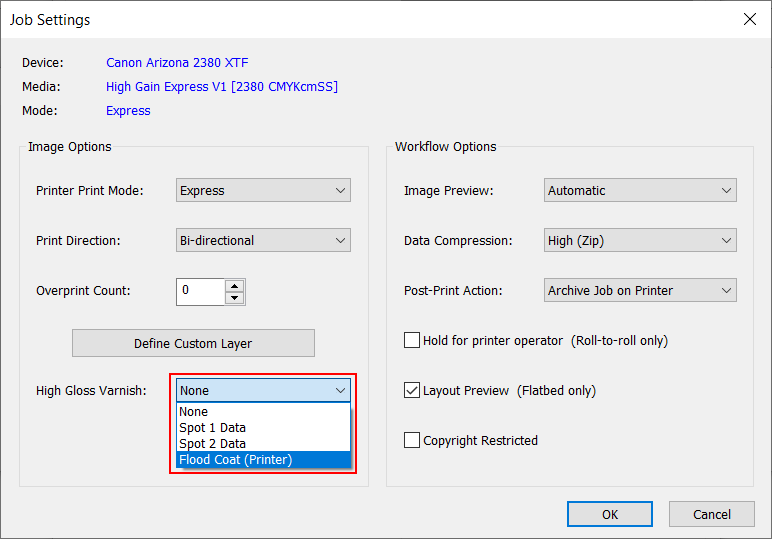
To set up a varnish printer flood, modify the printer settings of a processed job in RIP Queue - right click the job, edit printer settings, then select Print Varnish With: Flood Coat (Printer).