
This section explains how to prepare vector-based images to print files with spot colors. In Adobe Illustrator you can create or assign objects that must be printed in white or varnish/gloss. There are two spot colors available: Spot1 and Spot2. In general Spot1 data is used for defining white areas and Spot2 data is for defining varnish/gloss areas.
It is possible to have more than one spot element in an image, but each element must have the same Spot color data, and therefore have the same opacity level, or else ONYX Thrive will treat the saved document as a separation file. CMYK is the preferred mode as the actions required for spot data creation are simpler than those for RGB.
Obtain and import an ONYX media profile (media model) that is set to Quality-Layered print mode. Media profiles are available for download from the website: https://graphiplaza.cpp.canon
You can use vector-based image editing applications other than Illustrator as long as it has the Overprint feature and the ability to create a spot color.
Use the following steps to create spot data:
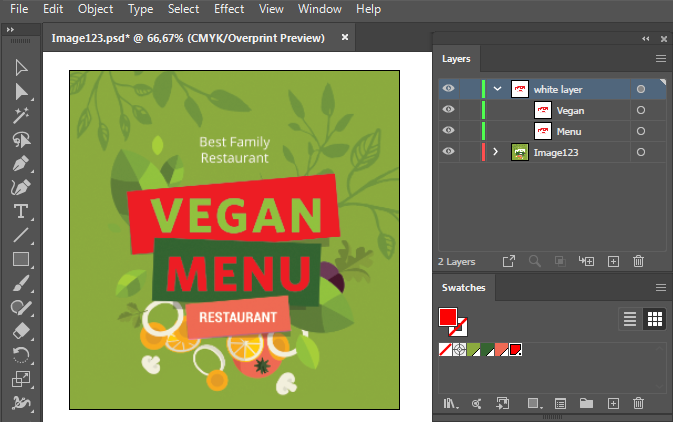
When you import a Photoshop image into Adobe Illustrator, always use a .PSD file in order for all spot channel information to be carried over. The spot data will appear above the image data. This is the correct format protocol for Adobe Illustrator. Always embed the image after you have imported it.
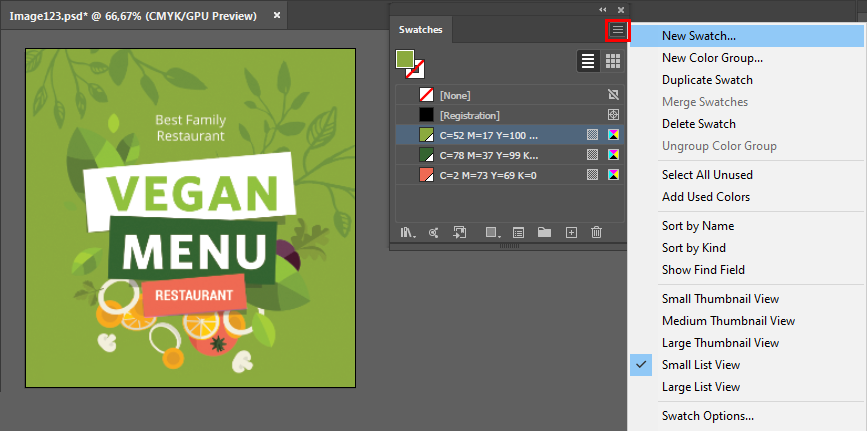
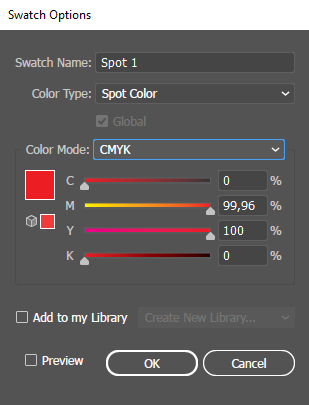
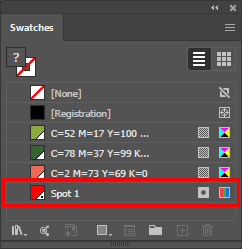
Name – Enter the name Spot1 or Spot2.
The name you assign to this spot color must be Spot1 or Spot2 and is the most important part of preparing the file. This name allows RIP-Queue to determine that the data needs to be output to the spot channel. Spot1 is reserved for white and Spot2 for varnish data.
You can use different names for the spot channels. For instructions on how to use a naming convention other than Spot1 or Spot2, see. How to Name Your Spot Data.
Color Type – Use the drop-down menu to select Spot Color.
Swatch Color – Use the sliders to adjust the swatch color. You can make this color any value that will help you see the design better.
By default, when you print opaque, by overlapping colors, the top color knocks out (cuts a hole) in the area of colored image underneath.
Set overprint to the spot objects, so the objects underneath the spot objects (the parts that overlap) will not be left out of the design and will be printed.
You will want to overprint when the artwork needs to be printed on top of white, usually if the substrate material is non-white and therefore white is required to accurately render image data.
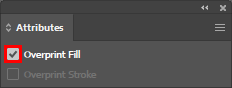
While it is possible to set Overprint opacity levels less than 100%, ONYX Thrive software only processes full opacity data. The opacity of regular knockout spot data can be set as desired.
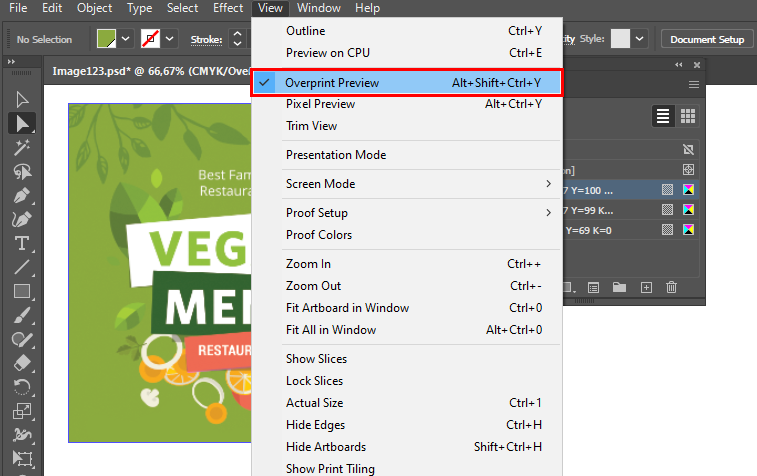
After you set overprinting options, use the Overprint Preview mode (View > Overprint Preview) to see an approximation of how the overprinting colors will print by providing an "ink preview" that approximates how transparency and overprinting will appear in output.
Make sure that when you save the file, "Preserve Overprints" is enabled.