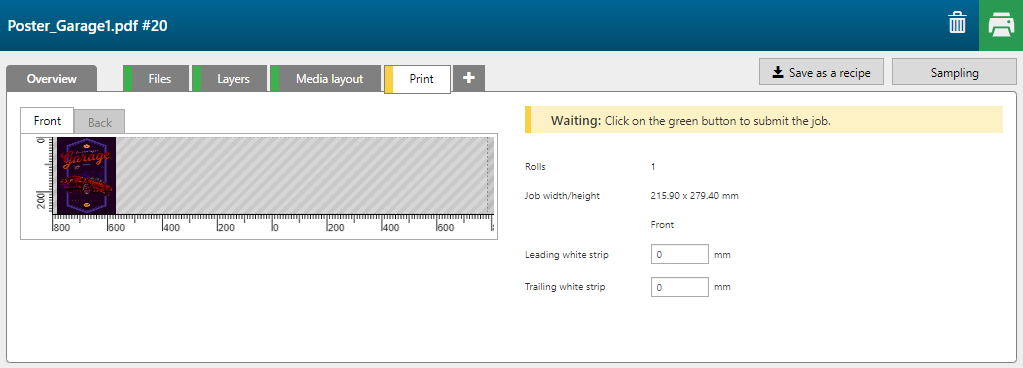
With the [FLXfinish+ spots] recipe you can print a job that is printed partly in matte and partly in gloss.
The gloss data must be present as spot data named Gloss in the PDF.

In order to create FLXfinish+ applications, a CMYKSS profile with a FLXfinish+ print mode is needed.
The PDF must contain a single page with spot data named: 'Gloss'. These elements will be printed in gloss.

The [Overview] tab opens.
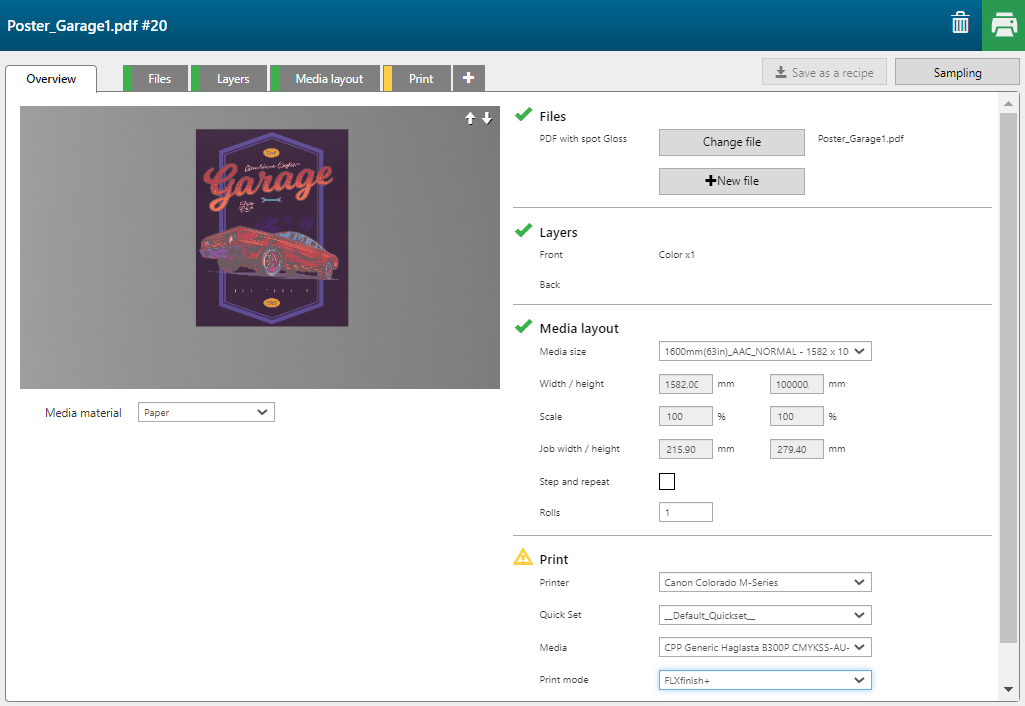
The recipe automatically assigns the correct settings per layer and merges the two layers.
A FLXfinish+ application can only have one [Front] layer when you submit to ONYX Thrive.
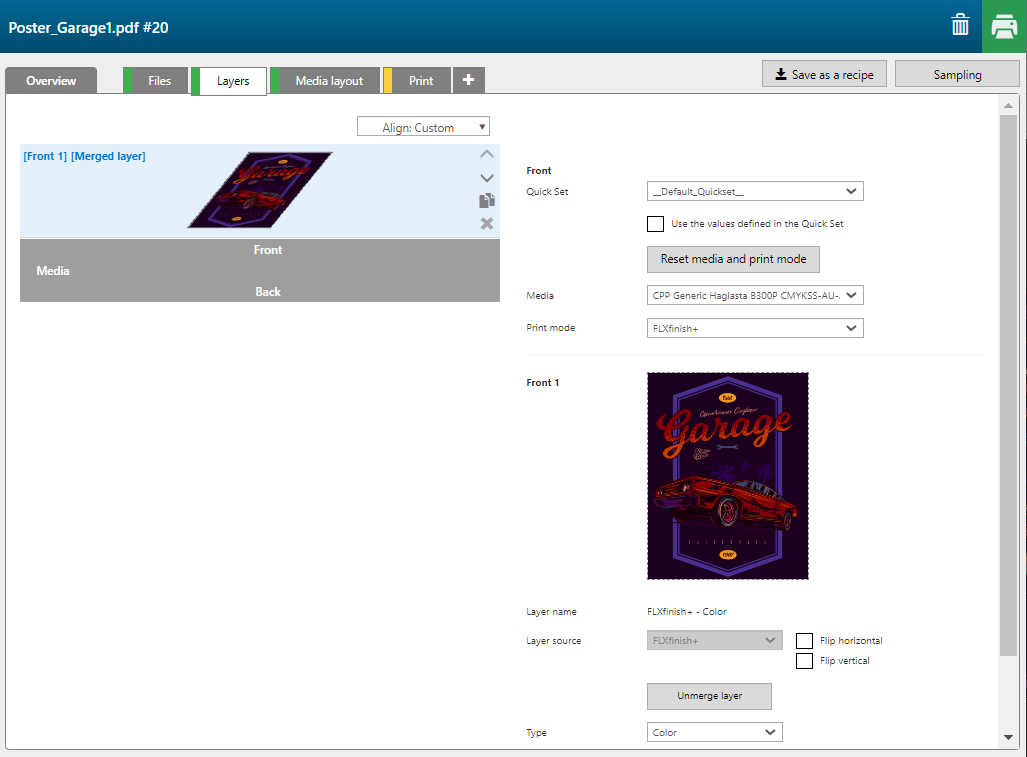
If you want to check the separate layers, click the button [Unmerge layer].
|
Layer number |
[Layer source] |
[Type] |
Remark |
|---|---|---|---|
|
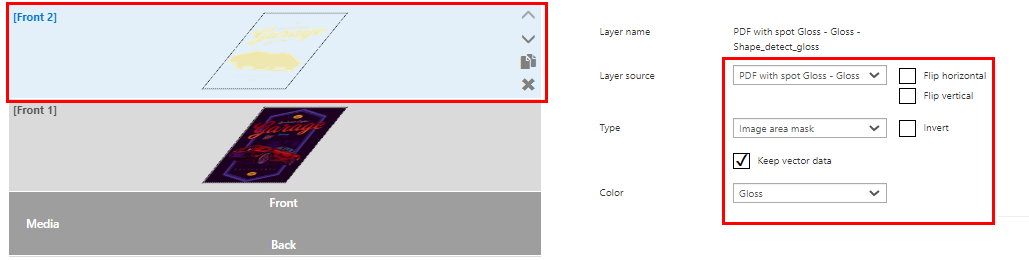
[Front] 2 |
Spot - Gloss |
[Image area mask] [Color]: [Gloss] |
The part of the image that will be printed in [Gloss]. |
|
[Front] 1 |
PDF with Spot Gloss |
[Color] |
The image is printed in CMYK. |
Do not forget to merge the layers again. Select [Front] 1 and [Front] 2 layer (hold down the ctrl key) and click [Merge selected layers].