
In this exercise, the body of a perfect bound document is printed same-up. The cover is printed separately. The book block and the cover are merged by using off-line finishing.
Open the file SherlockHolmes_A4.pdf.
In the left pane, select the [Document] workspace.
From the menu, select . The [Document type] dialogue opens.
Select [Perfect Binding].
Click [OK]. In the preview, the perfect binding is visible as a crossed spine. Note that the cover media changes to 426.4 x 297 mm. The size of the cover media is 2 times the page size plus the width of the spine.
Go to the [Production] workspace.
Select a physical printing device, e.g. a imagePRESS series or varioPRINT series printer. If not available, select the PRISMAprepare print to PDF printer.
In the [Media] section, deselect the body sheets to select the cover sheets only.
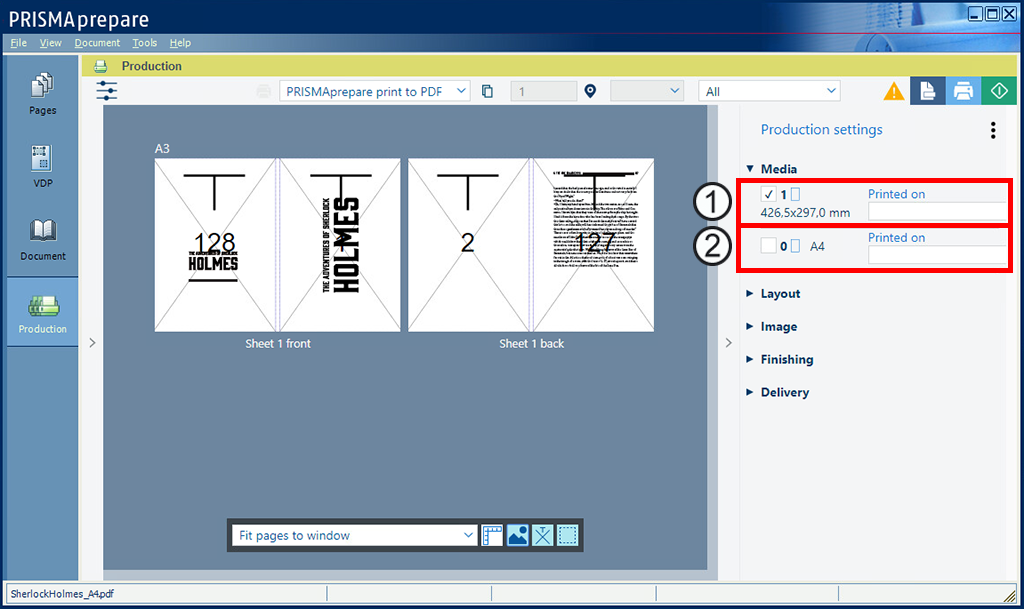
Cover media size
Body media size
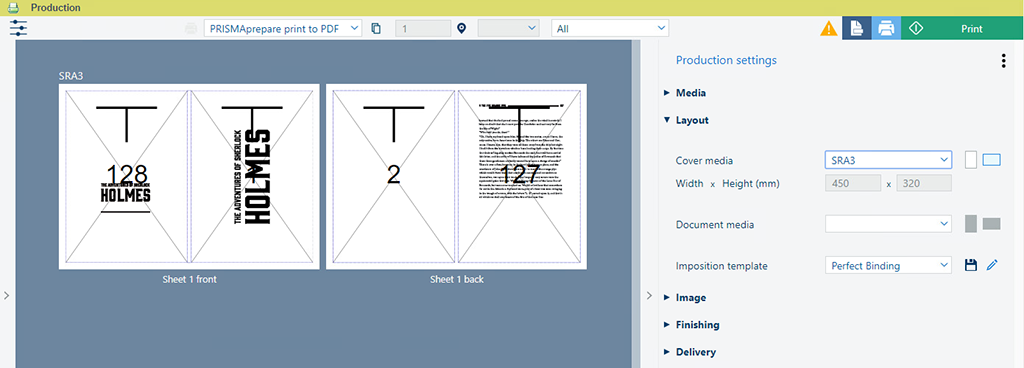
In the [Layout] section, select an oversized media for the cover: SRA3
Click the [Print] button. The cover is sent to the printer.
In the [Media] section, deselect the cover sheets and select the body sheets.
In the [Layout] section, select:
Select the landscape icon of option [Document media].
Click the pencil icon next to [Imposition template]. Select value [Custom] for option [Same-up].
Set [Horizontal] to 2. Keep [Vertical] at 1 and select [Vertical odd] for option [Rotation].
Click the [Print] button. The body pages are sent to the printer.
Save the file in the 'Participants' folder on the desktop with the name Scenario_44.pdf.