
This topics contains the following instructions.
Export the colour configuration
Import the colour configuration
Restore the colour configuration
Print the colour configuration report
You can export the colour configuration of PRISMA Print Server to store the configuration that reflects a certain printer state or date.
The colour configuration ZIP file can be imported on the same printer, for example when the existing colour configuration causes problems.
The colour configuration ZIP file can be imported on another printer that has the same PRISMAsync software version. In this way you can apply the colour configuration of one printer on multiple printers.
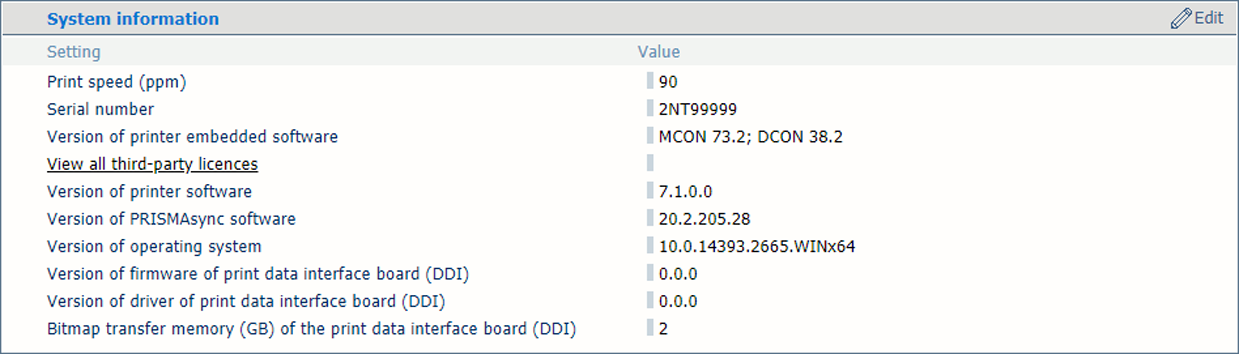 Version of PRISMAsync software
It is also possible to restore the factory defined colour configuration. The colour configuration of the first installation is restored.
|
Colour configuration |
|---|
|
Input profiles |
|
Output profiles, including composite output profiles |
|
Colour defaults |
|
Colour calibration settings |
|
Colour presets |
|
Media families |
|
Media print modes Only applicable to the VarioPrint i-series. |
|
CMYK curve presets |
|
Calibration curves |
|
Colour mappings |
|
Colour bars |
|
Information bars |
|
Trapping presets |
|
Validation tests and tolerance levels |
|
Spot colour libraries, including the custom spot colour library |
Be aware that the export and restore function can remove printer resources, such as profiles, spot colour definitions and media definitions.
The colour configuration is also part of the backup.
Refer to the operation guide of the printer how to use the media family calibration and validation test reports.
Open the Settings Editor and go to: .
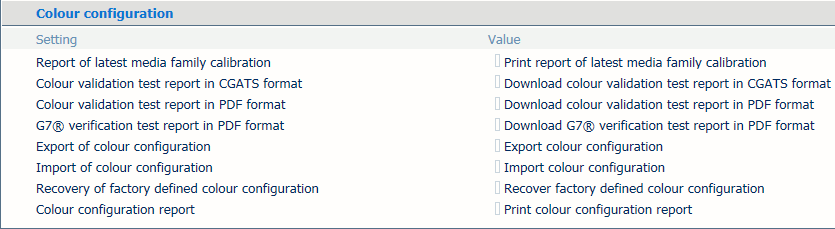
 [Troubleshooting] tab
In the [Colour configuration] option group, click [Export colour configuration].
 Colour configuration
Click [Export colour configuration] in the [Export of colour configuration] dialogue box. A ZIP file is being created.
Click the ZIP file and store it on an external location.
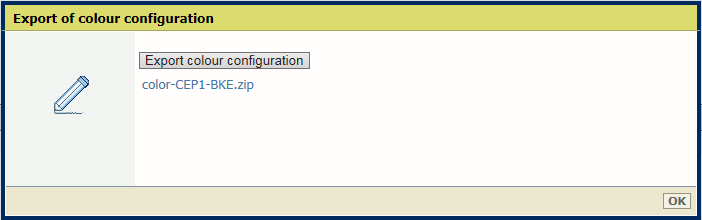 Export colour configuration
Click [OK] to close the dialogue box.
Refer to the operation guide of the printer how to use the other [Colour configuration] reports.
Open the Settings Editor and go to: .
[Troubleshooting] tabIn the [Colour configuration] option group, click [Import colour configuration].
Colour configurationIn the [Import of colour configuration] dialogue box browse to the ZIP file with the colour configuration.
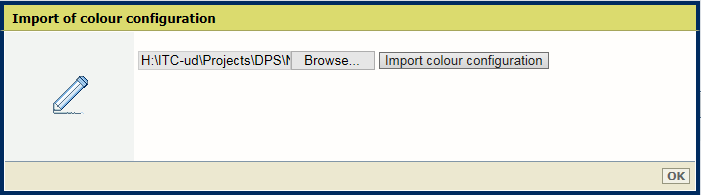 Import colour configuration
Click [Import colour configuration].
Click [OK] to close the dialogue box.
You need to restart the system to implement the configuration.
Open the Settings Editor and go to: .
[Troubleshooting] tabIn the [Colour configuration] option group, click [Recover factory defined colour configuration].
Colour configurationClick [OK].
You need to restart the system to implement the configuration.
The colour configuration report contains the colour configuration items.
Open the Settings Editor and go to: .
[Troubleshooting] tabIn the [Colour configuration] option group, click [Print colour configuration report].
Colour configurationIn the [Print colour configuration report] dialogue box, click [Print colour configuration report].
Click [OK].