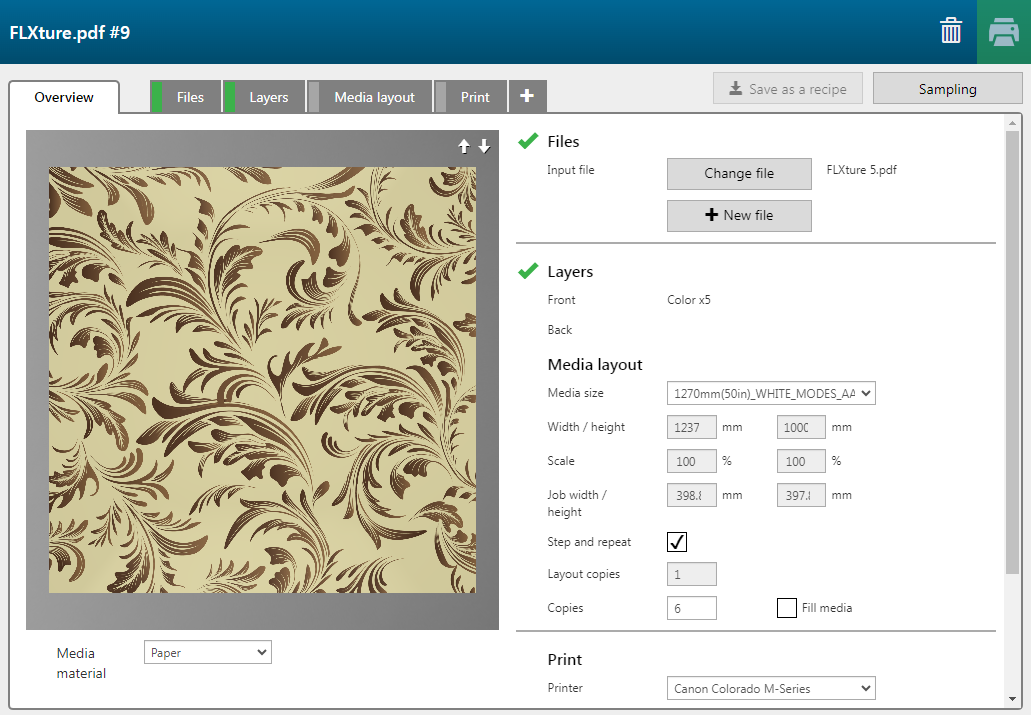
With the [FLXture] recipe, you can add subtle surface detail to your prints, like a background texture, embossed lettering or a bold pattern. The recipe creates layers of UVgel ink printed on top of each other, to create a micro-textured effect.
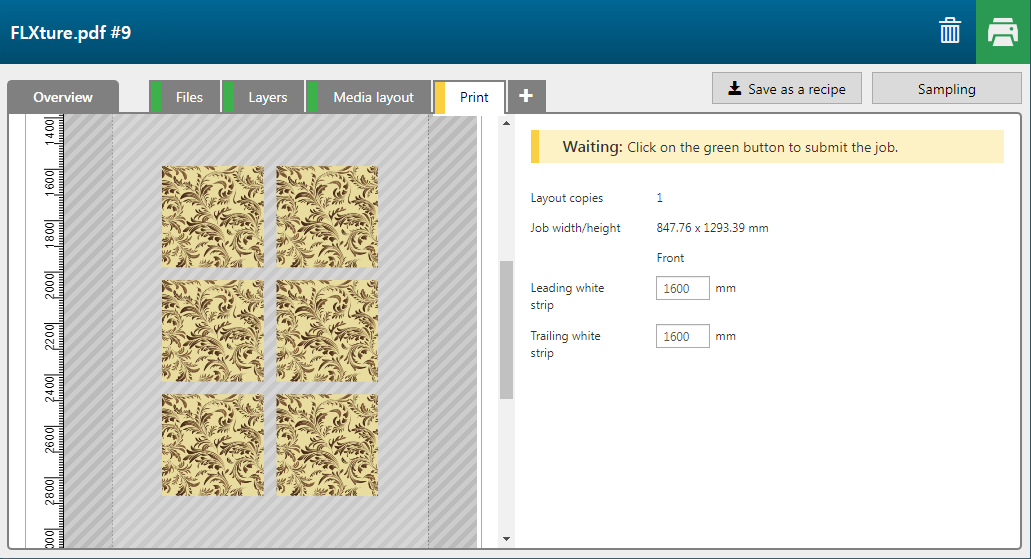
For printing an application with [FLXture] micro texture, use a print profile that can process 5 print layers. Check www.graphiplaza.cpp.canon, section: Media, for print profiles.
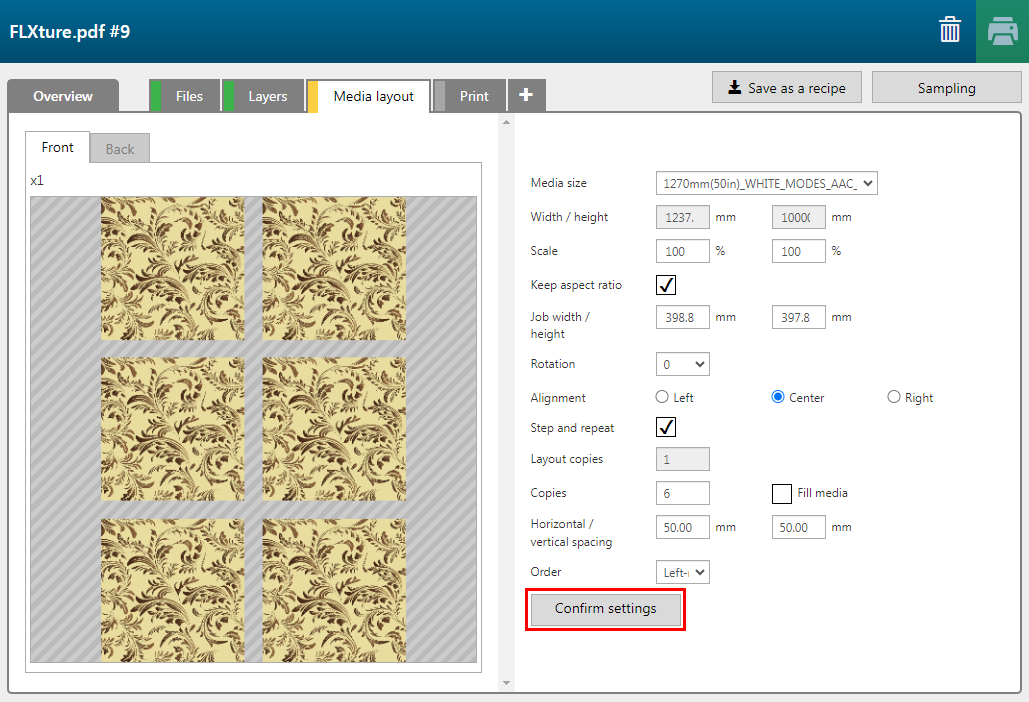
Check / select the settings for:
[Media size]
[Preset]
[Media]
[Resolution]
[Mode]
Select a mode that can process 5 print layers.
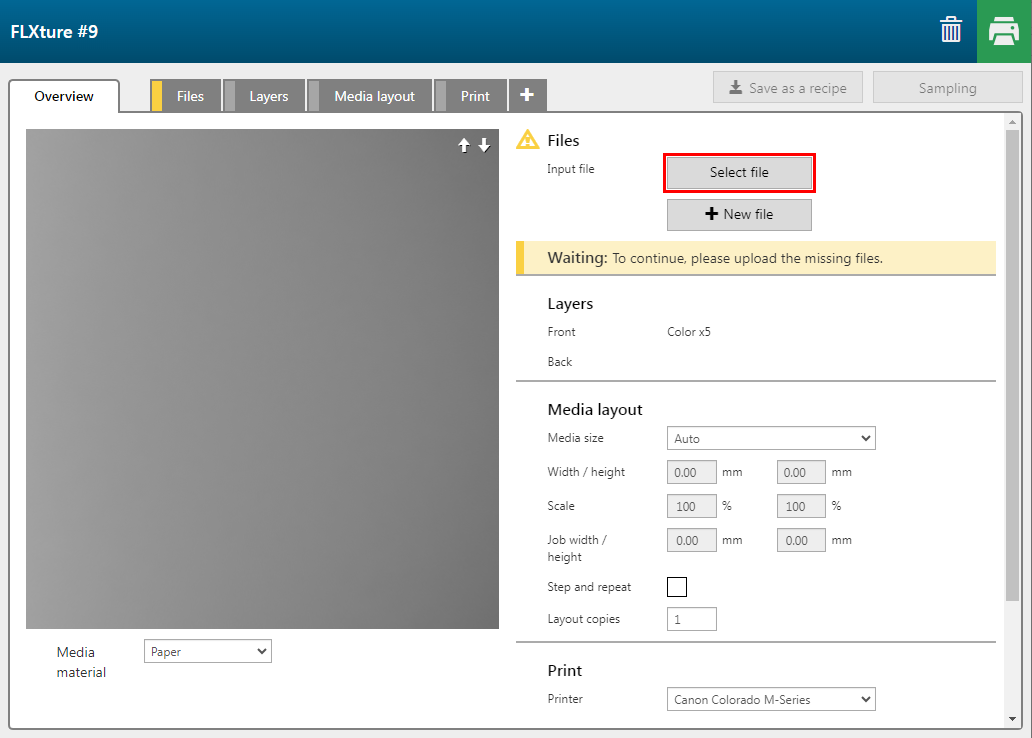
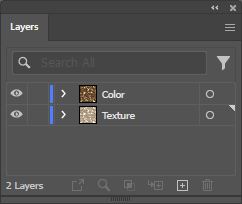
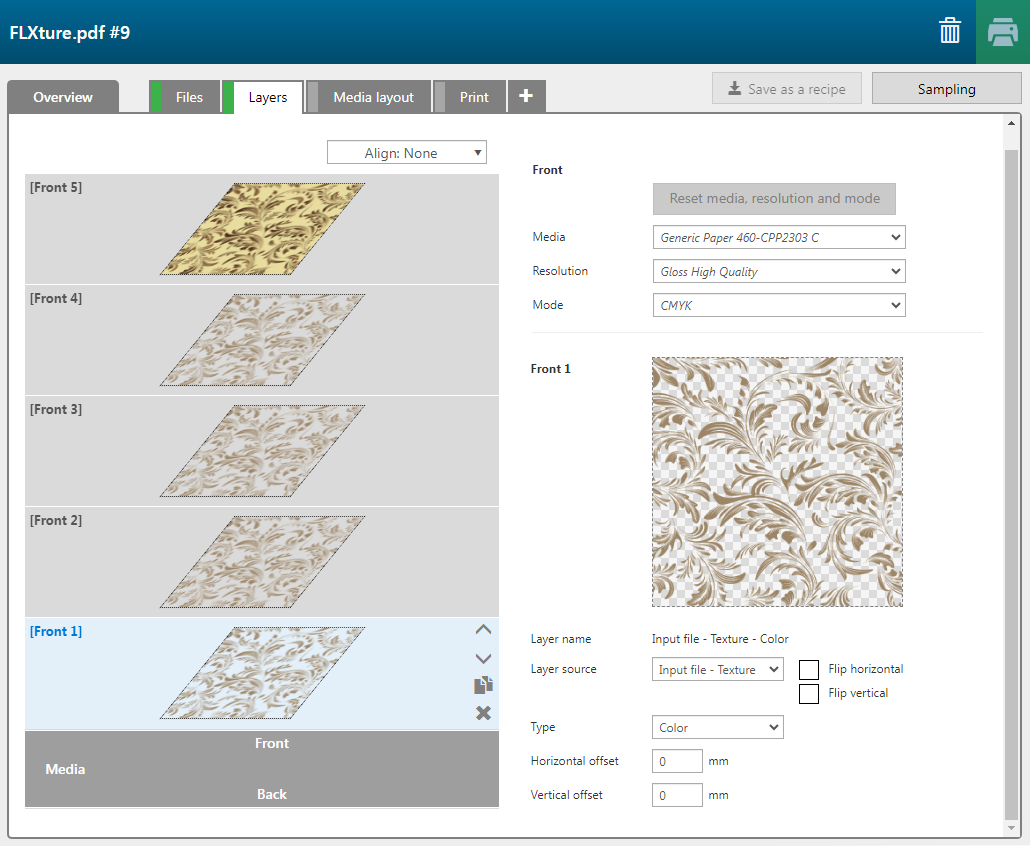
The PDF must contain:
A layer named: 'Color' that contains all the elements for the top layer.
A layer named: 'Texture'. This layer contains the elements that create the texture.
The recipe automatically assigns the correct settings per layer.
|
Layer |
[Layer source] |
[Type] |
Remark |
|---|---|---|---|
|
[Front] 5 |
Input file -Color |
[Color] |
The layer is printed in CMYKW. |
|
[Front] 4 |
Input file -Texture |
[Color] |
The layer is printed in CMYKW. |
|
[Front] 3 |
Input file -Texture |
[Color] |
The layer is printed in CMYKW. |
|
[Front] 2 |
Input file -Texture |
[Color] |
The layer is printed in CMYKW. |
|
[Front] 1 |
Input file -Texture |
[Color] |
The layer is printed in CMYKW. |
The elements using the spot color 'White' will be printed in white.
When you change the settings, for example to add more copies, click the button [Confirm settings] to accept the changes.