
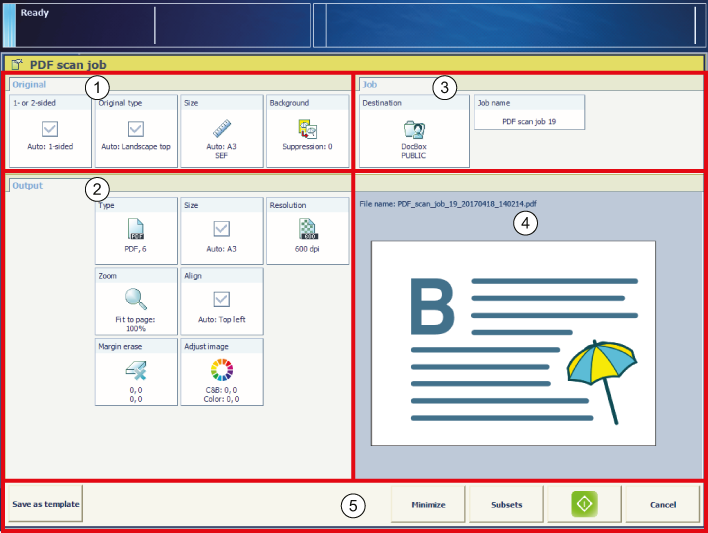
You can start a scan job from the automatic document feeder or the glass plate. When the originals have been scanned, the scan file goes temporarily to the list of scan files before it arrives in the indicated destination.
PRISMAsync automatically defines a number of settings for the originals and the scan file. However, you can overrule these automatic settings. The automatic settings have the prefix "Auto".
For more information about:
Feed originals, see Use the automatic document feeder to copy or scan.
Use templates, see Learn about scan jobs templates and settings.
Create custom templates, see Use templates for recurring jobs.
For scanning to email, define the subject of the email, the addresses and your accounting ID.
For scanning to USB, insert the USB drive into the USB port and select the required folder on the drive.
 .
.
 and remove the USB drive, if applicable.