
ONYX Thrive Edition print workflow software is a scalable print production solution, built around Adobe PDF Print Engine and Adobe Normalizer technologies. It harmonises the wide format print production workflow process, giving you accurate, predictable, high quality results for your display graphics applications, while reducing errors.
Following is a brief description of the basic steps in a simple workflow.
When installing the Onyx Thrive driver, use Thrive version 12.
For the connection, select TCP/IP printer and port=raw~0
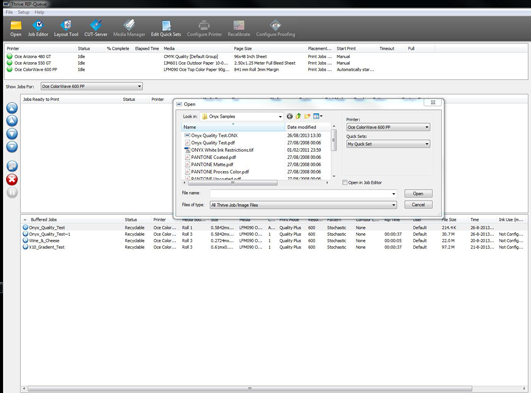
Start the ONYX Thrive Edition print workflow software and click the Open button on the toolbar, or choose [File] > [Open] from the menu.
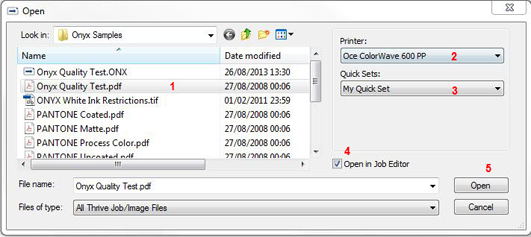
Browse to the image that you want to print and highlight it.
Select the printer you want to use from the drop-down menu (ColorWave 9000).
If you have developed Quick Sets (predefined set of job settings), select your Quick Set. Otherwise select [Default].
If you want to send your image to Job Editor, select the [Open in Job Editor] option.
Click [Open].
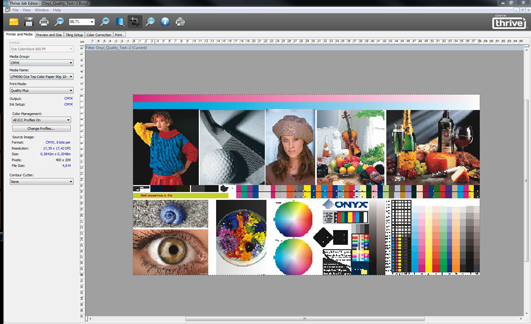
If your job is opened in the Job Editor you can modify and edit your image.
When ready, send the image to RIP-Queue by clicking [File] > [Submit].
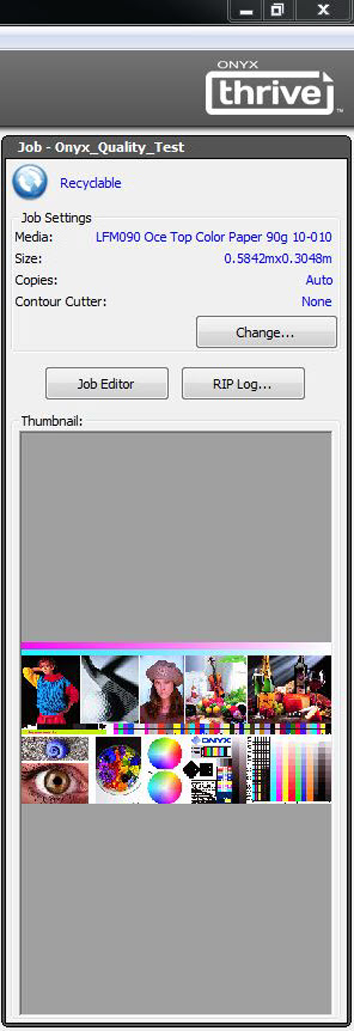
Once RIP-Queue processes the job, it moves to the 'Jobs Ready to Print' area.
At this stage you can still modify the job settings, but certain settings require that you reprocess the job.
By default, jobs are printed in the order they are received. Depending on the configuration settings, a job may wait until other jobs are also ready, or until you manually start the print job. You can also configure the printer to start printing automatically, when a certain percentage of media is used, or when a time-out value expires.
For more information about how to install, configure and use the ONYX Thrive Edition print workflow software please visit http://help.onyxgfx.com/thrive/rip-queue/help/ENU/Default.htm