
The prints delivery settings can be defined during the job preparation. When jobs arrive in the list of waiting jobs, there is time to check the prints delivery.
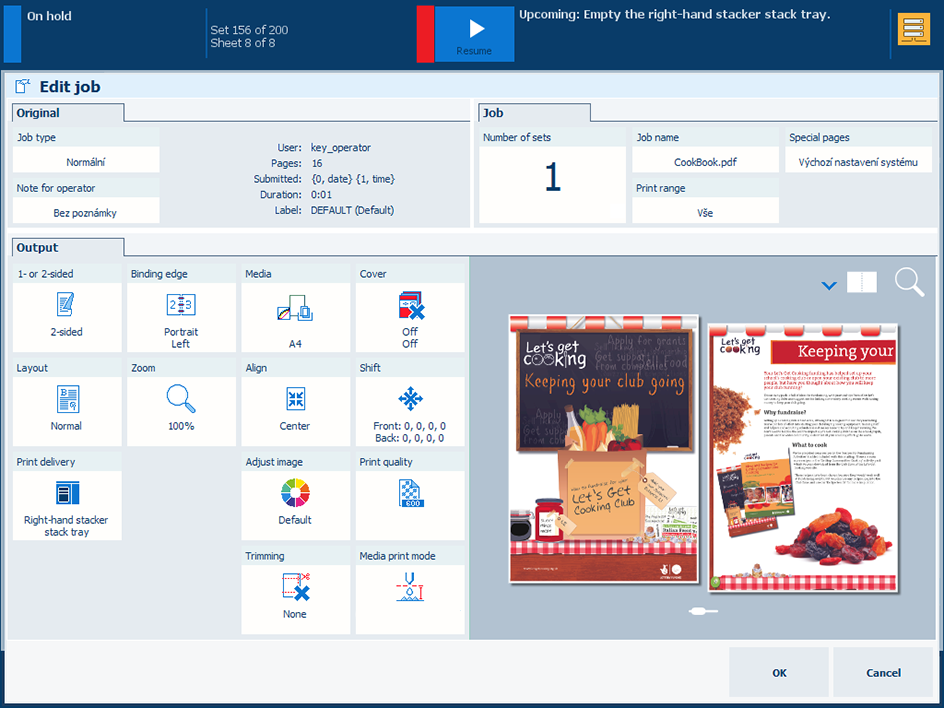 Edit job
Touch the job.
Press [Edit].
On the [Output] tab, touch [Print delivery].
Use the [Output tray] drop-down list to select the required tray.
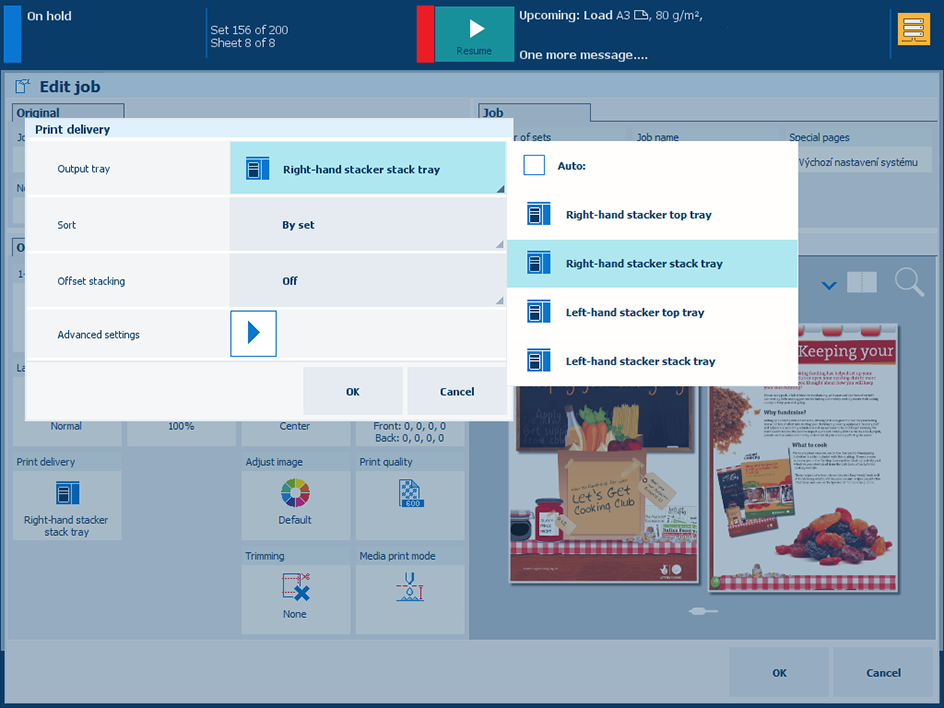 Change the output tray
Use the [Sort] setting to select the sorting method.
[By set]: prints are sorted by set.
[By page]: prints are sorted by page.
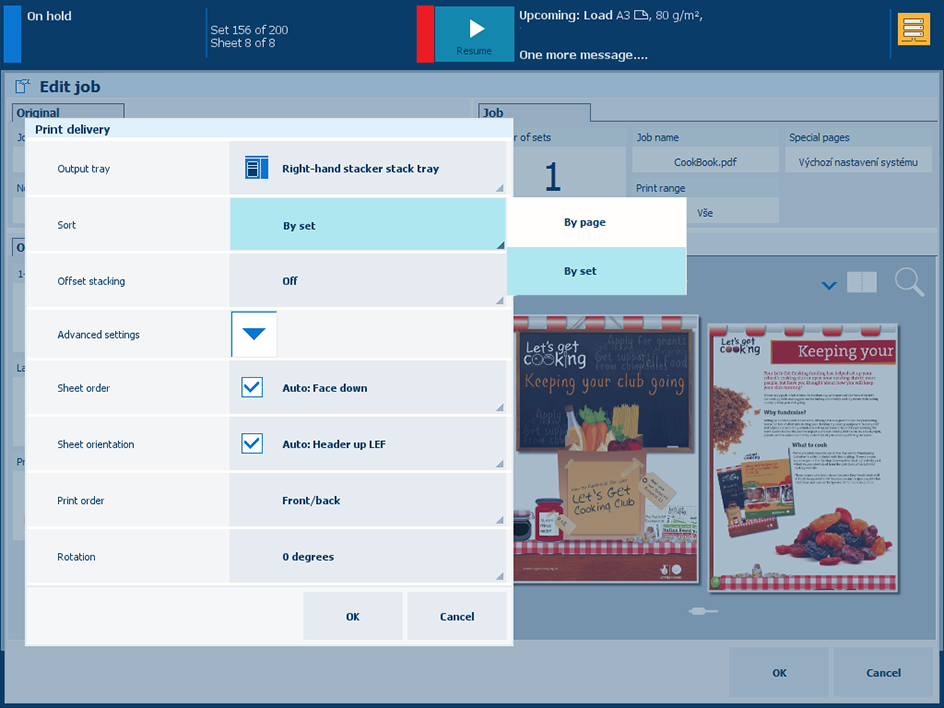 Change the way of sorting
Use the [Offset stacking] setting to indicate if you want to apply offset stacking for each delivered set or per group of sets.
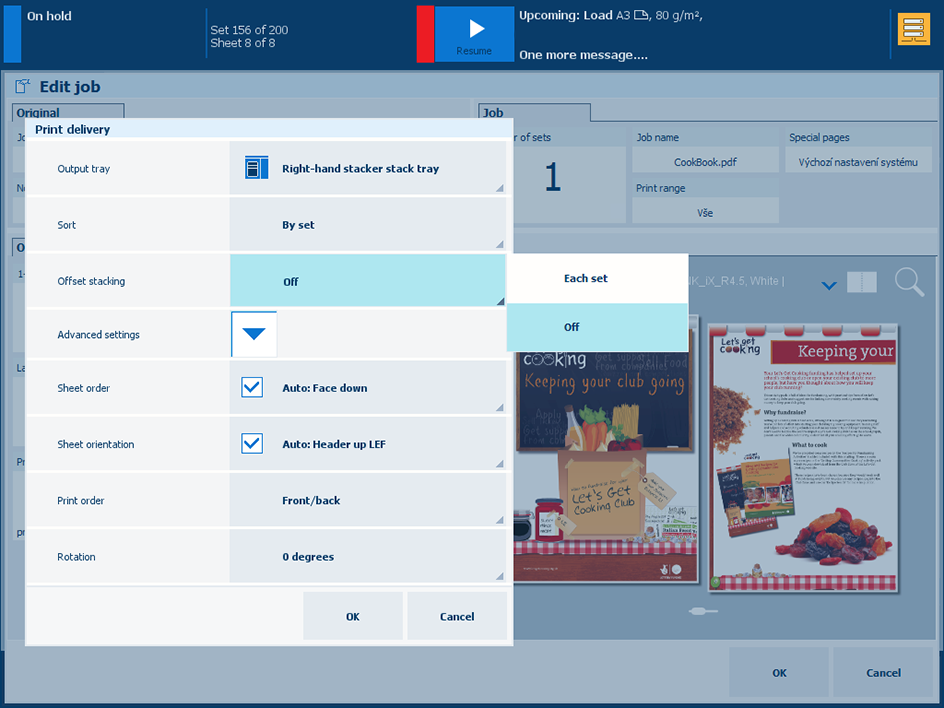 Change the way of stacking
Touch .
Use the [Sheet order] setting to define the sheet order in the output tray:
[Face up]: front side of first printed sheet is visible.
[Face up reverse]: front side of last printed sheet is visible.
[Face down]: back side of last printed sheet is visible.
[Face down reverse]: back side of last document page is visible.
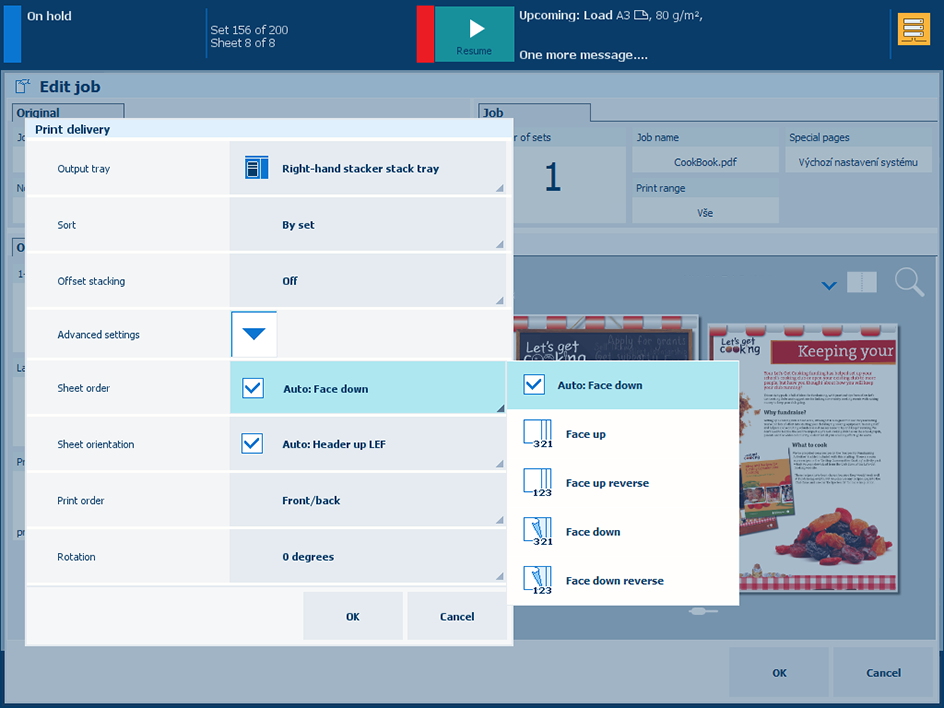 Change the sheet order
Use the [Sheet orientation] setting to define the sheet orientation in the output tray.
[Header up LEF]: long-edge feed direction, header of printed document pages points to the back side of printer.
[Header up SEF]: short-edge feed direction, header of printed document pages points to the back side of printer.
[Header down LEF]: long-edge feed direction, header of printed document pages points to the front side of printer.
[Header down SEF]: short-edge feed direction, header of printed document pages points to the front side of printer.
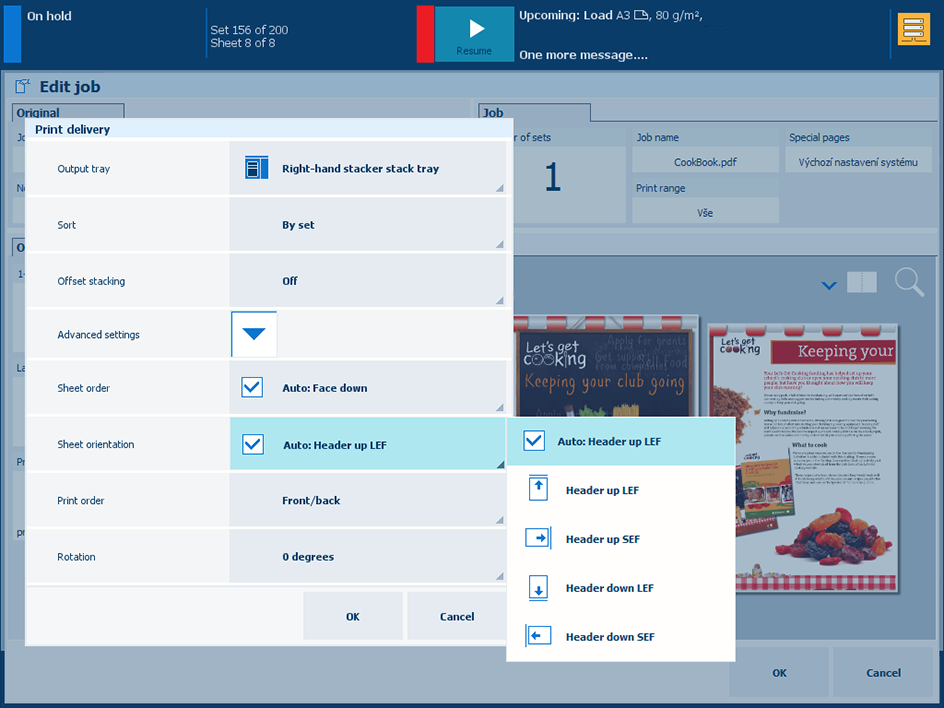 Change the sheet orientation
Use the [Print order] setting to define which source file page is printed first.
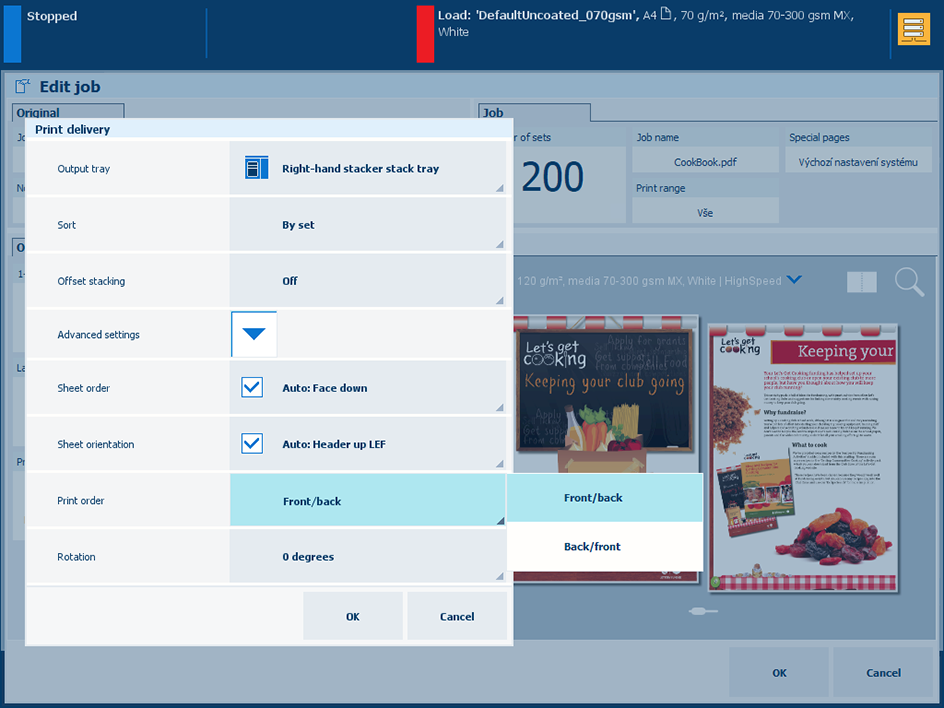 Change the print order
[First sheet first]: the first source file page is printed first.
[Last sheet first]: the last source file page is printed first.
Use the [Rotation] setting to indicate if the imposition must be rotated.
[0 degrees]: the imposition is not rotated.
[180 degrees]: the imposition is rotated 180 degrees.
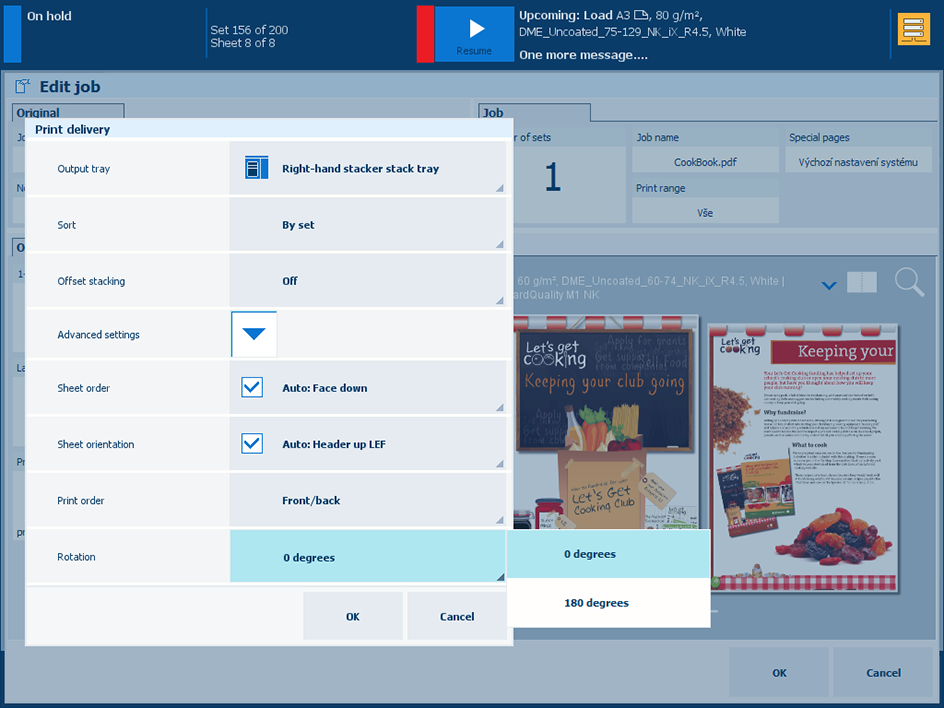 Rotate the imposition
Touch [OK] to save the changes.