
The [Files] tab shows the imported files of your application.
You can import new files, change the size of the input files, select the content of the PDF box, and define how to handle the spot colors.
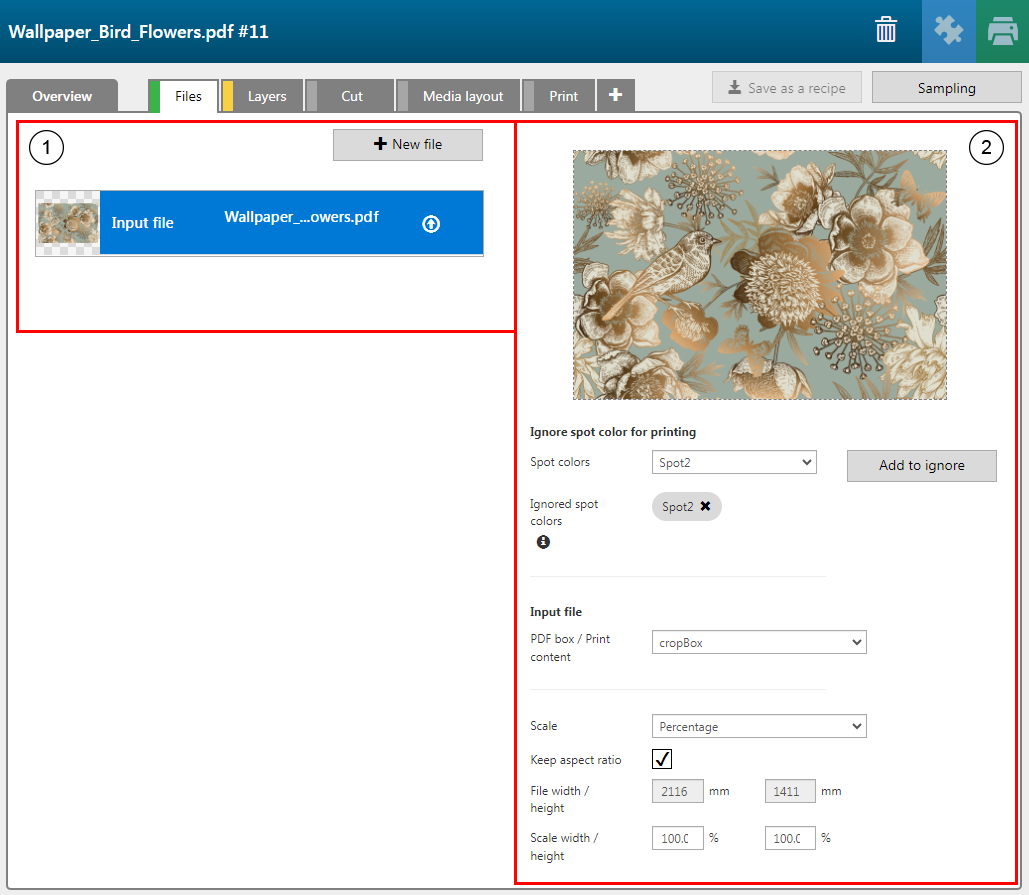
To add a new file to the application, click on the button [New file].
To select a specific file, click on the file.
The icons allow you to select, change or delete a file.
|
Settings category |
Setting |
Description |
|---|---|---|
|
[Ignore spot color for printing] |
[Spot colors] |
The list of spot colors that are present in the input files. |
|
[Add to ignore] |
To ensure that spot data does not become part of the CMYK layers, click the button [Add to ignore]. The spot data will still be available for layers and cut paths. |
|
|
[Ignored spot colors] |
The list of ignored spot colors. |
|
|
[PDFbox] |
Choose which PDF box to use for your application: |
|
|
mediaBox |
The [mediaBox] is the largest size. It can include area for bleed an printing marks. |
|
|
artBox |
The [artBox] defines the design as intended by the designer. |
|
|
bleedBox |
The [bleedBox] defines the design and the defined bleed area. |
|
|
trimBox |
The [trimBox] defines the size of the finished print after trimming. |
|
|
cropBox |
The [cropBox] defines the design and the crop marks if present. |
|
|
[Scale] |
[Percentage] |
Enter the scale percentage in the [Scale width / height] text boxes. |
|
[Size] |
Enter the file size in [mm] / [in] in the [File width / height] text boxes. |
|
|
[Keep aspect ratio] |
Tick the check box [Keep aspect ratio], to scale the file size proportionally. |
|
|
[File width / height] |
Enter the file size in [mm] / [in]. |
|
|
[Scale width / height] |
Enter the scale percentage. |
|