
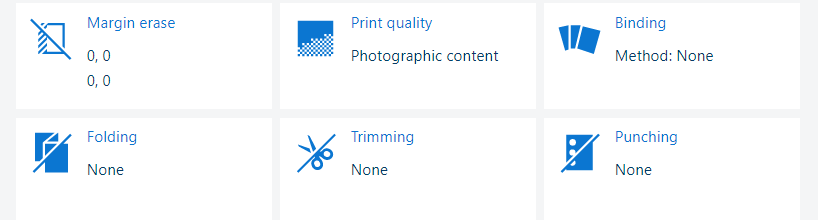
 Output settings
Open the job in the [Edit job] app.
Click [Binding].
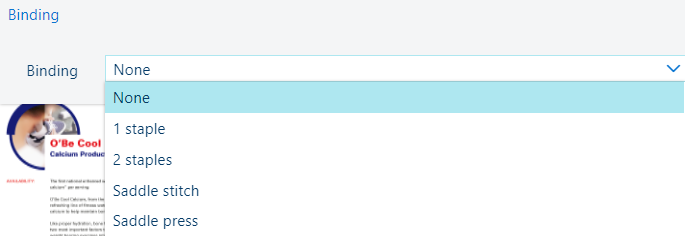 Binding settings
Select one of the [Binding] settings.
[None]: no binding method.
[1 staple]: bind with one staple. Define the [Location] value.
[2 staples]: bind with two staples. Define the [Location] value.
[Saddle stitch]: staple folded booklets. Define the [Location] value.
[Saddle press]: staple booklets with a compressed spine. Define the [Location] and [Pressure strength] values.
The binding settings depend on the finisher and booklet maker that is connected to the printer.
Close the pop-up window.
Click [OK] to save the changes.
Open the job in the [Edit job] app.
Click [Folding].
Select one of the [Folding] settings.
The folding settings depend on the folder that is connected to the printer.
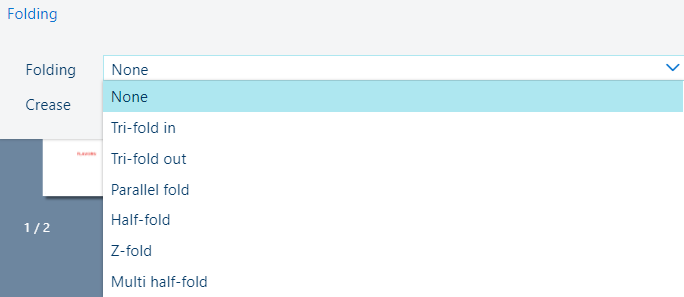 Folding settings
Close the pop-up window.
Click [OK] to save the changes.
Creasing is performed by an inline finisher that can also punch hole patterns.
Creasing facilitates the folding process. The quality of the physical fold can improve when the sheets have been creased beforehand.
Open the job in the [Edit job] app.
Click [Folding].
Select one of the [Crease] settings.
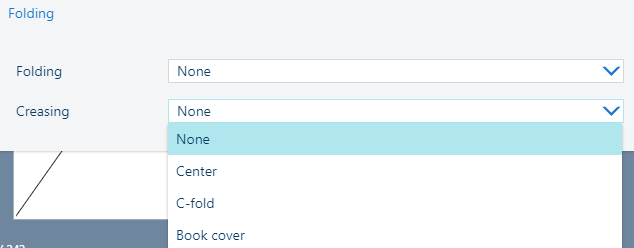 [Crease] setting
With the [Sheets] setting, indicate which sheets need to be creased.
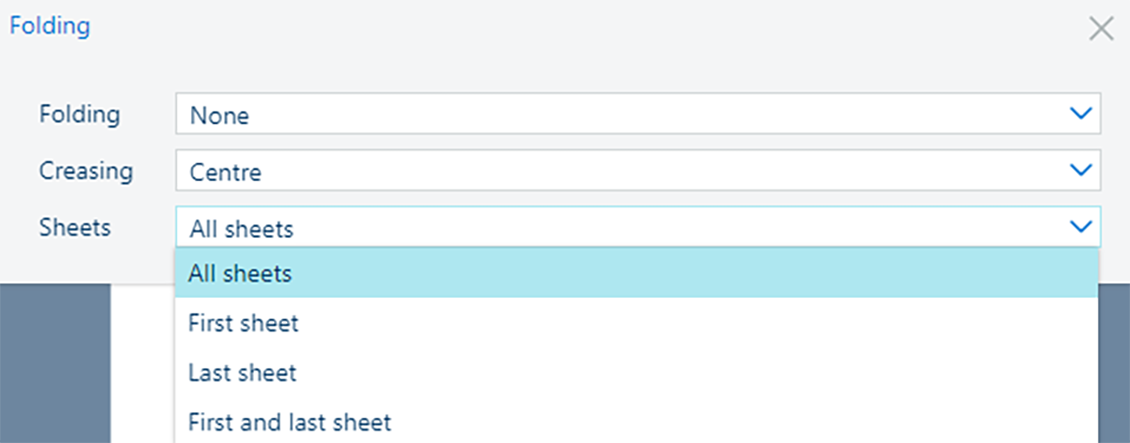 [Sheets] setting
Close the pop-up window.
Click [OK] to save the changes.
Open the job in the [Edit job] app.
Click [Punching].
Select one of the [Punching] settings.
The punching settings depend on the finisher that is connected to the printer.
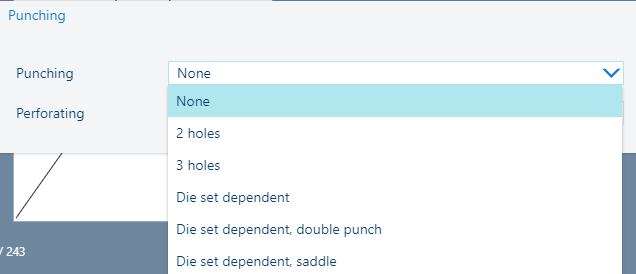 Punching settings
Close the pop-up window.
Click [OK] to save the changes.
Open the job in the [Edit job] app.
Click [Punching].
Select one of the [Perforating] settings.
The perforating settings depend on the finisher that is connected to the printer.
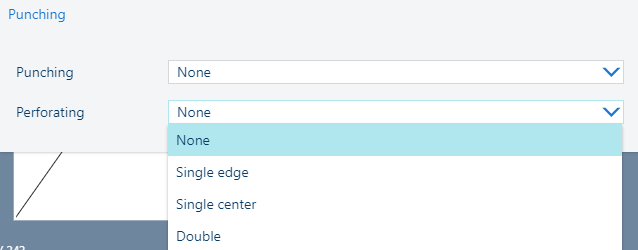 Perforating settings
If you select [Single edge] or [Double], define the [Location] value.
Close the pop-up window.
Click [OK] to save the changes.
Use the [Trimming] setting to indicate how to trim the printed documents.
 Trimming settings
Open the job in the [Edit job] app.
Click [Trimming].
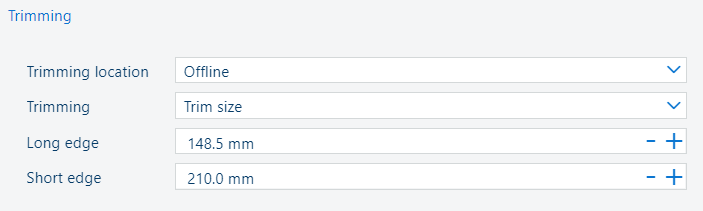
In the [Trimming location] setting, select [Inline] or [Offline].
In the [Trimming] setting, select [Finishing size] or [Trim size]
If you select [Finishing size], select the required size from the [Size] list.
If you select [Trim size], use the [Long edge] and [Short edge] fields to enter a value.
The notation {0} refers to the trim size in mm or inches.
Close the pop-up window.
Check the result in the realistic preview.
 Trim marks
Click [OK] to save the changes.