
This topic contains the following instructions
Go to the print quality settings
Define the print quality of small text
Define the print quality of graphics
Define the print sharpness
Give priority to image quality or productivity
Define the default halftone screens for the rasters
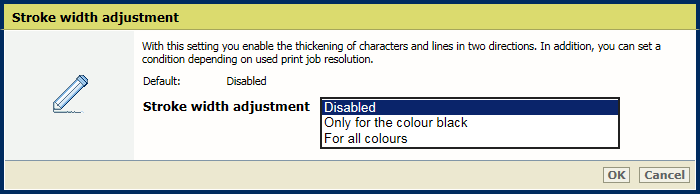
Define the print thickness for characters and lines
Be aware that the print quality settings affect all print jobs.
Open the Settings Editor and go to: .
 [System settings] tab
Go to [Print quality settings].
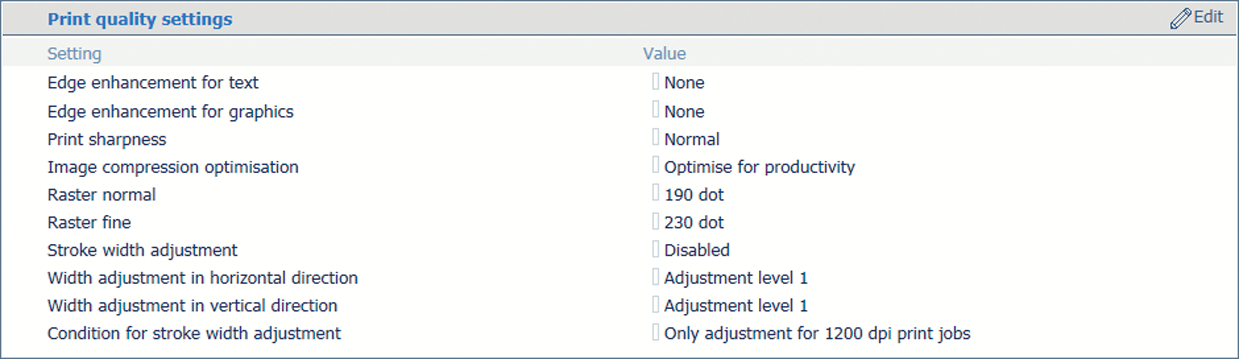 [Print quality settings] section
Use the [Edge enhancement for text] option to improve the print quality of small text.
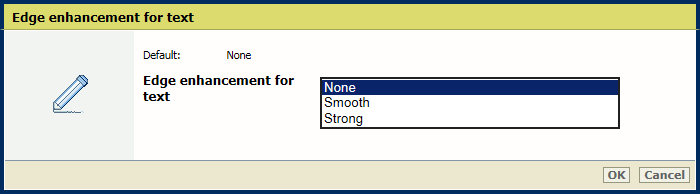
Click [OK].
Use the [Edge enhancement for graphics] option to improve the print quality of graphics.
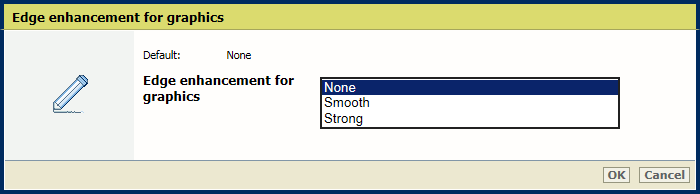
Click [OK].
Use the [Print sharpness] option to increase or decrease the print sharpness.
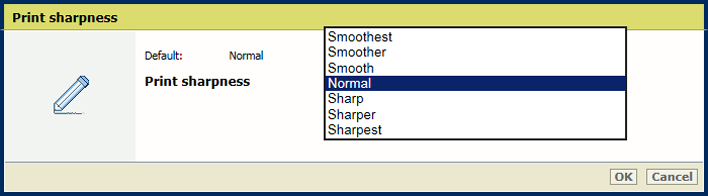
Click [OK].
Use the [Image compression optimisation] option to give priority to image quality or productivity.
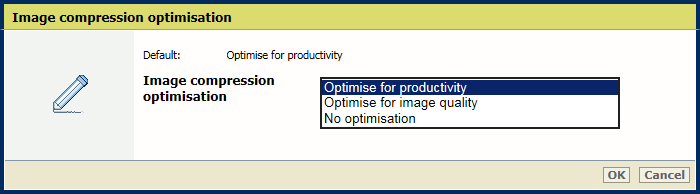
Click [OK].
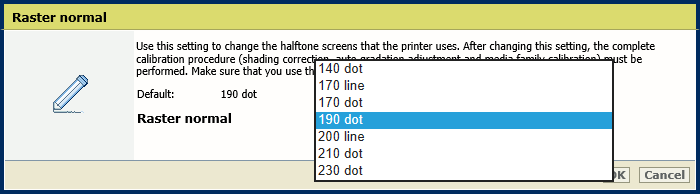
Use this setting to change the halftone screens that the printer uses. After changing this setting, the complete calibration procedure (shading correction, auto gradation adjustment and media family calibration) must be performed. Make sure that you use the matching output profiles in the media family.
Use the [Raster normal] option to define the normal halftone screen.
Use the [Raster fine] option to change the fine halftone screen.
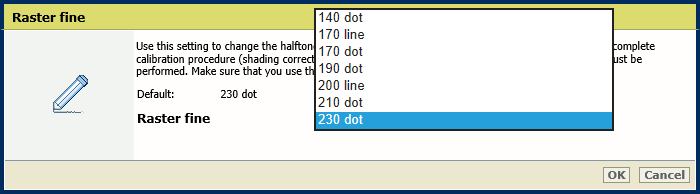
Click [OK].
Calibrate the printer and default media families.
Use the [Stroke width adjustment] option to indicate for which colours you want thicker lines.
[Only for the colour black]
[For all colours]
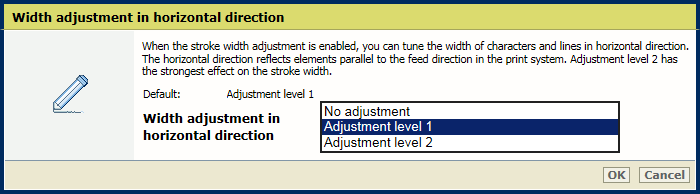
Use the [Width adjustment in horizontal direction] option to indicate the width adjustment of characters and lines in horizontal direction.
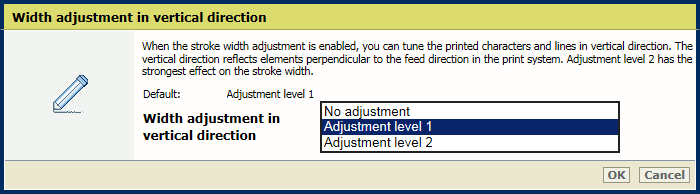
Use the [Width adjustment in vertical direction] option to indicate the width adjustment of characters and lines in vertical direction.
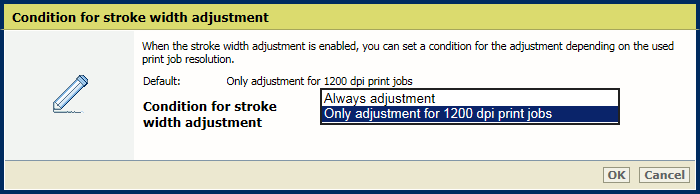
Use the [Condition for stroke width adjustment] to indicate if you want thicker characters and lines for all jobs or for 1200 dpi jobs only.
Click [OK].