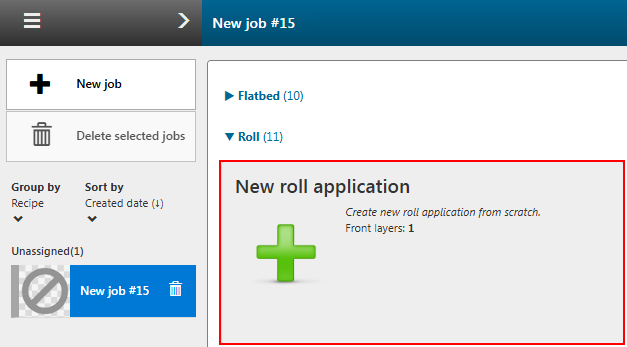
In this example, we are creating a double-sided application with a separate logo placed on the front side.
The application can be saved as a recipe. The logo is saved as a locked file within the recipe.
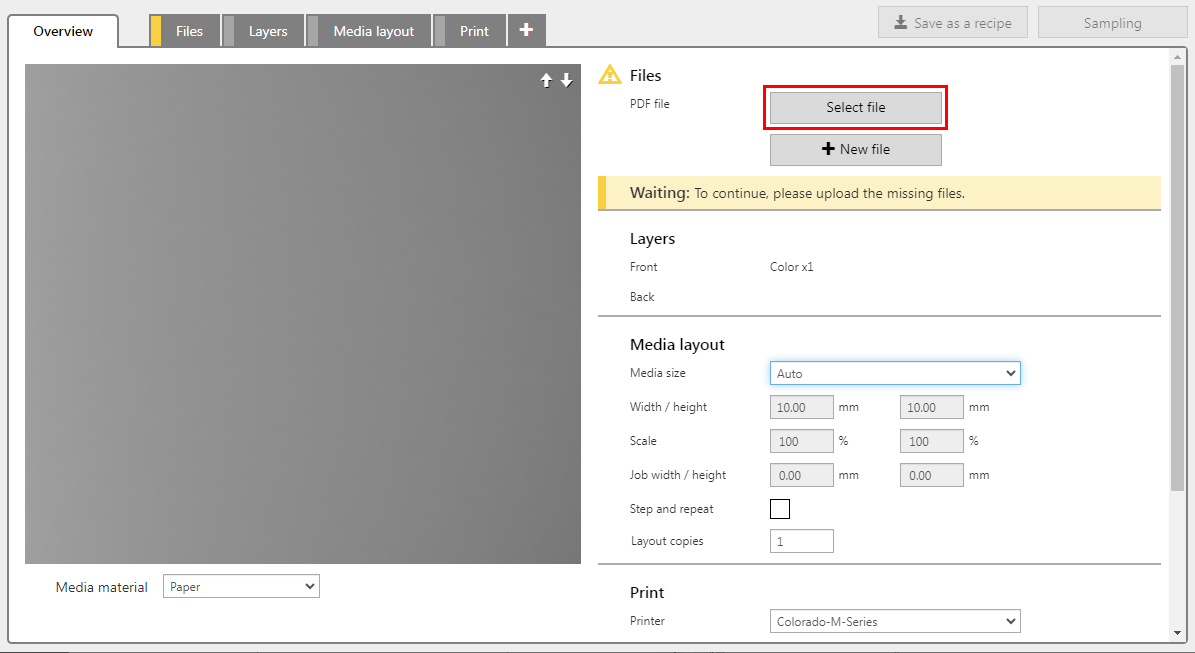
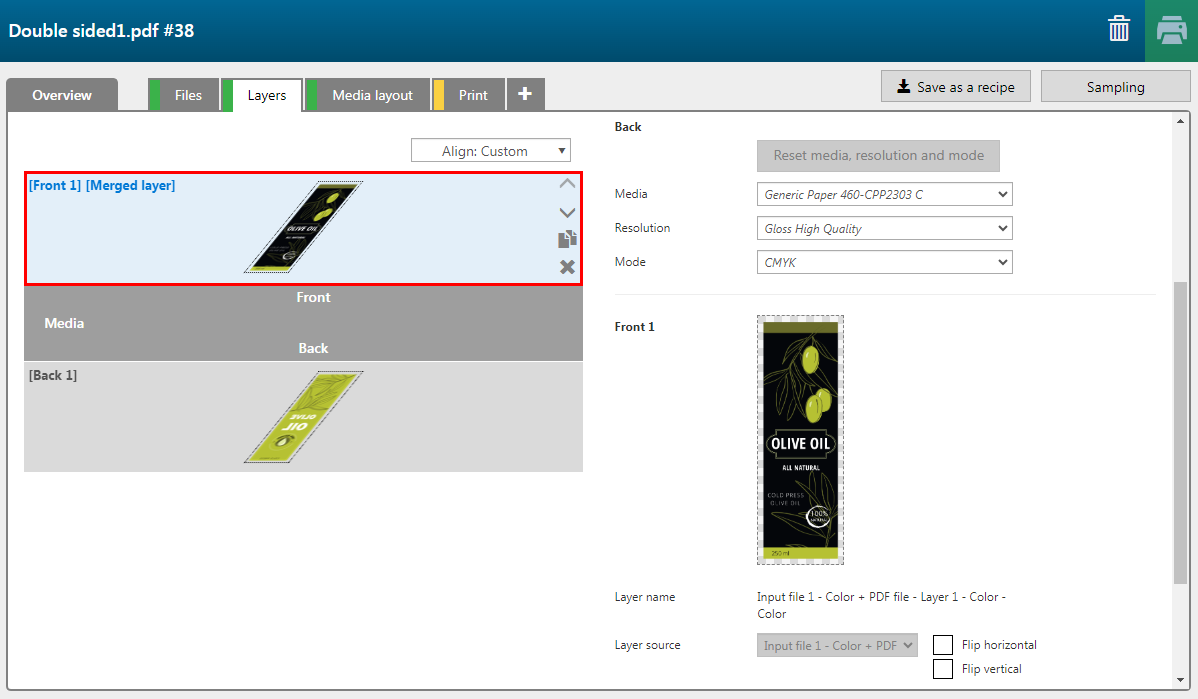
Check / select the settings for:
[Preset]
[Media]
[Resolution]
[Mode]
In this example the PDF has two layers, one intended for the front and one for the back side.
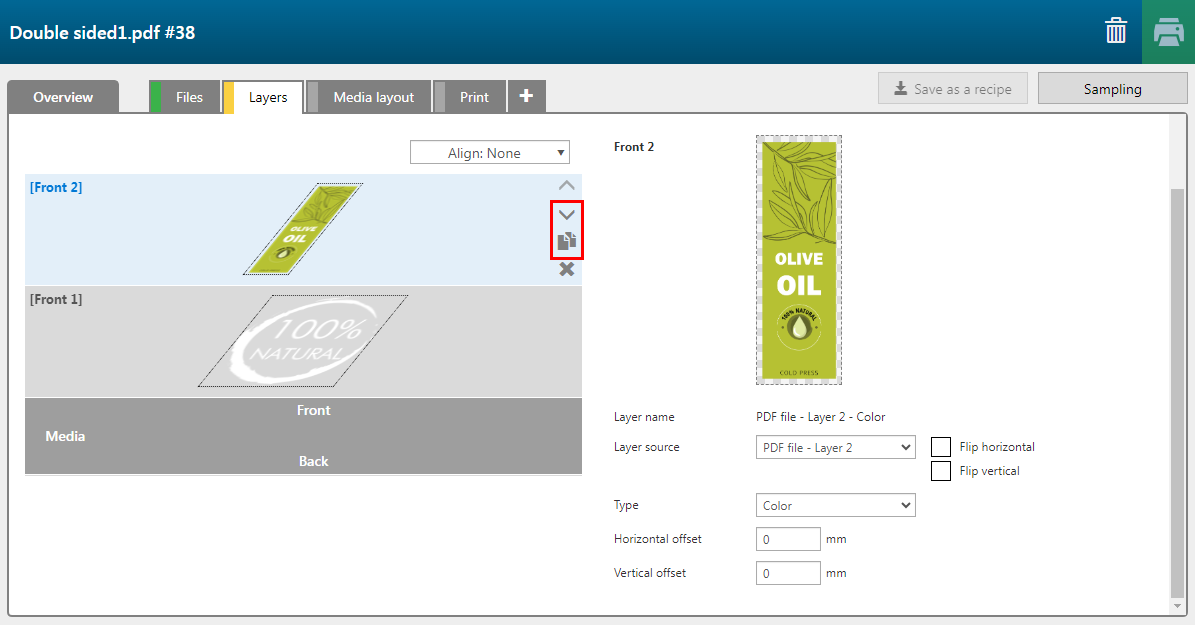
For each input file, a single layer is created.
Click on the duplicate button to create an extra layer.
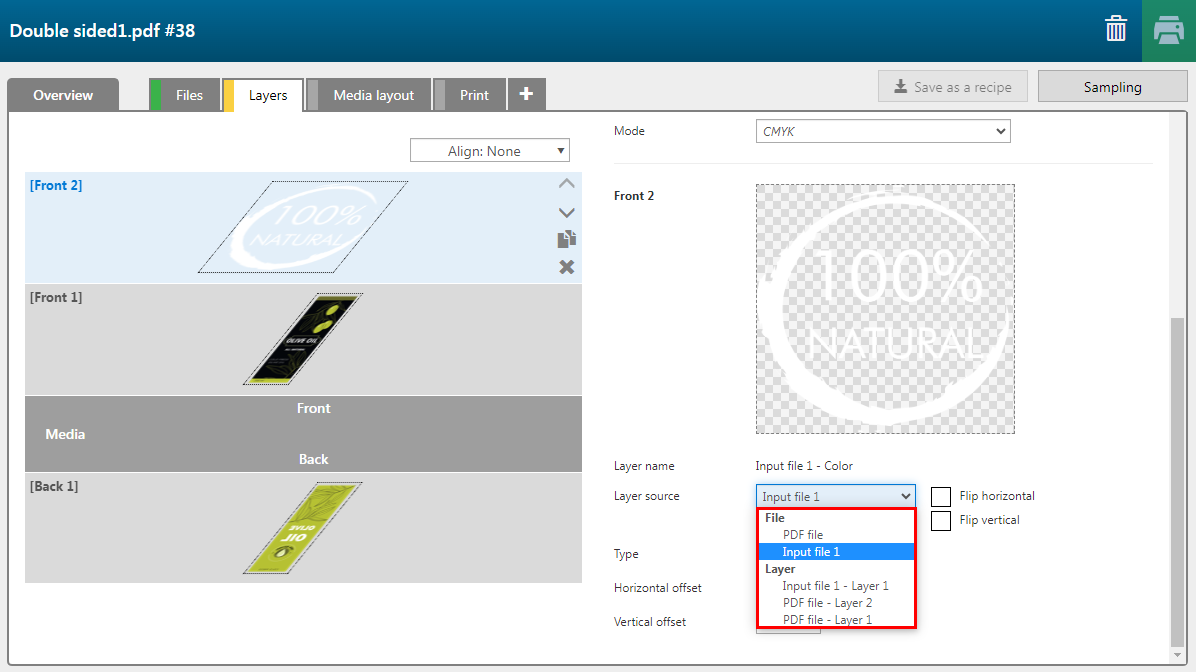
You can assign pages, layers or spot colors, present in the input file(s) as input to a print layer.
|
Layer |
[Layer source] |
[Type] |
Remark |
|---|---|---|---|
|
[Front] 2 |
Input file-Layer-1 |
[Color] |
The image is printed in CMYK. The layer will be merged with the other [Front] layer. |
|
[Front] 1 |
Double_sided.pdf-Layer-1 |
[Color] |
The image is printed in CMYK. |
|
[Back] 1 |
Double_sided.pdf-Layer-2 |
[Color] |
The image is printed in CMYK. |
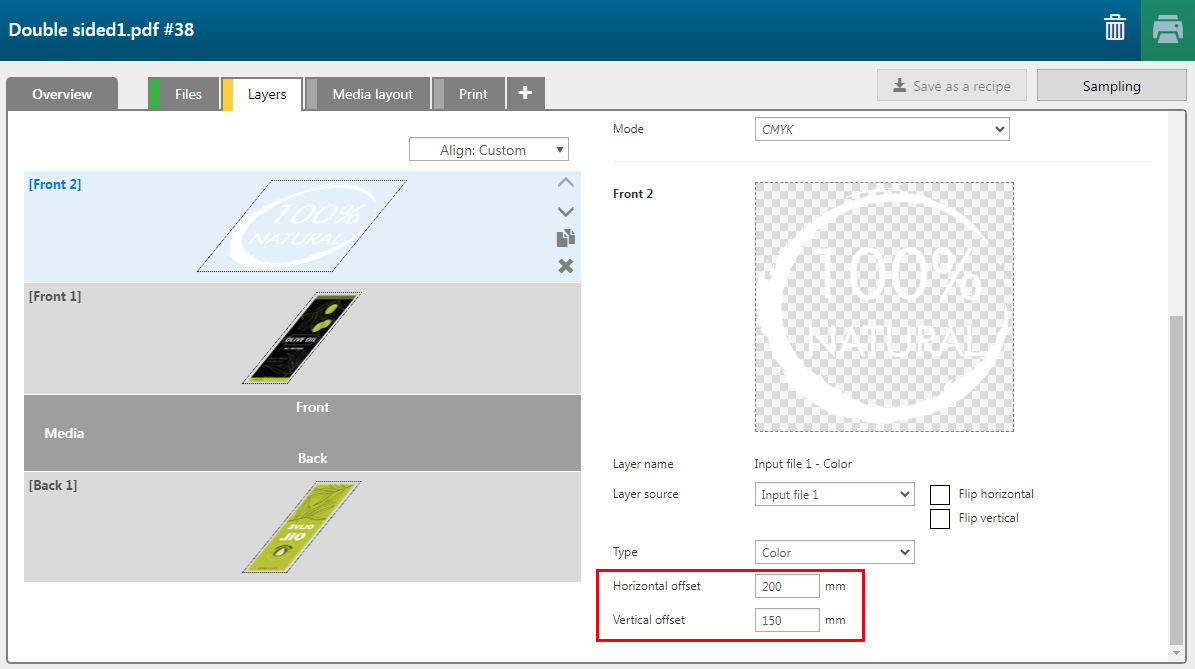
Select the [Front] 2 layer and change the offset values of the image. Check the preview in the [Overview] tab to see the result.
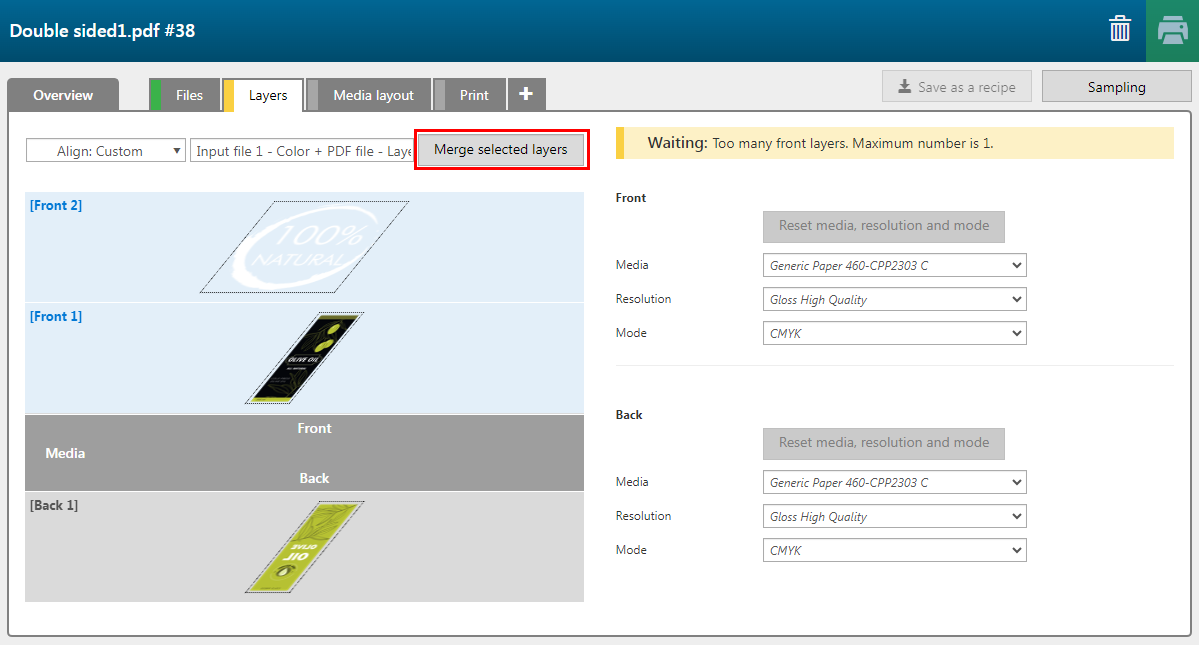
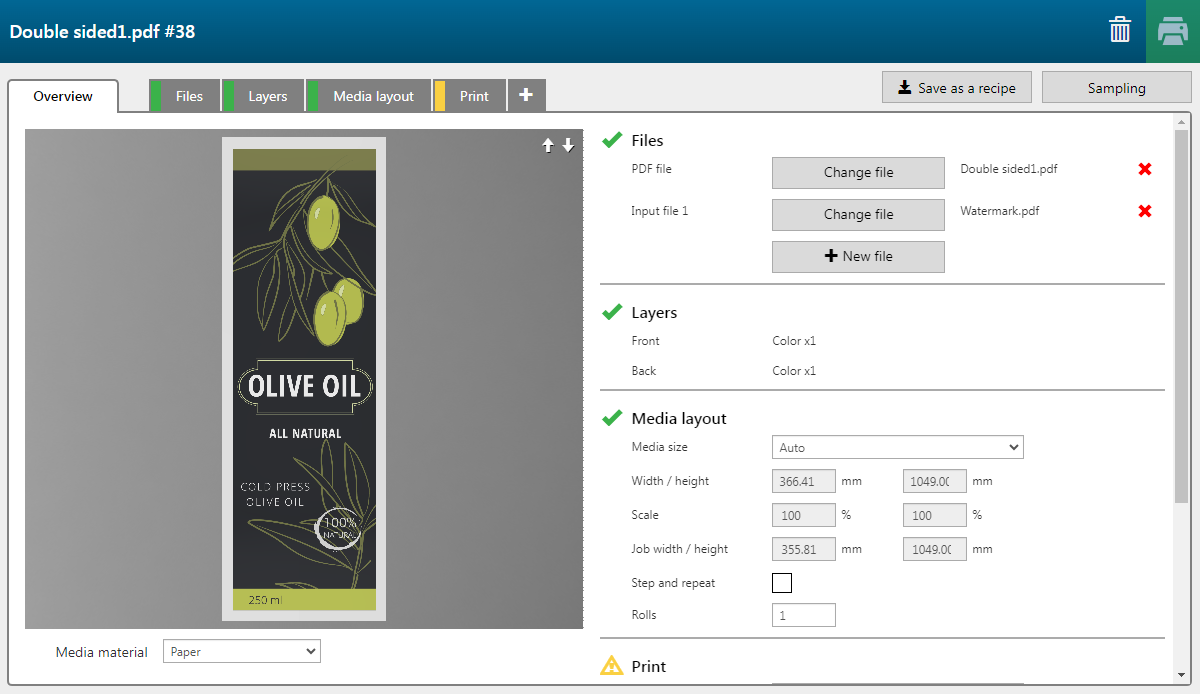

You can save the application as a recipe for future use. The recipe will include the logo on the front side, its offset values, and the merging of Front 1 and Front 2 layers. See: Save a custom application as a recipe.