
This topic contains the following instructions.
Go to the printer calibration settings
Set a reminder for the shading correction procedure
Change the standard calibration level for automatic gradation adjustment (AGA)
Change the standard calibration method for automatic gradation adjustment (AGA)
Use custom media for automatic gradation adjustment (AGA)
Change the number of sheets for automatic gradation adjustment (AGA)
Set a reminder for the automatic gradation adjustment (AGA)
Define the reference media
Define the settings of the media family calibration
Enable G7 support
Open the Settings Editor and go to: .
 [Color calibration] tab
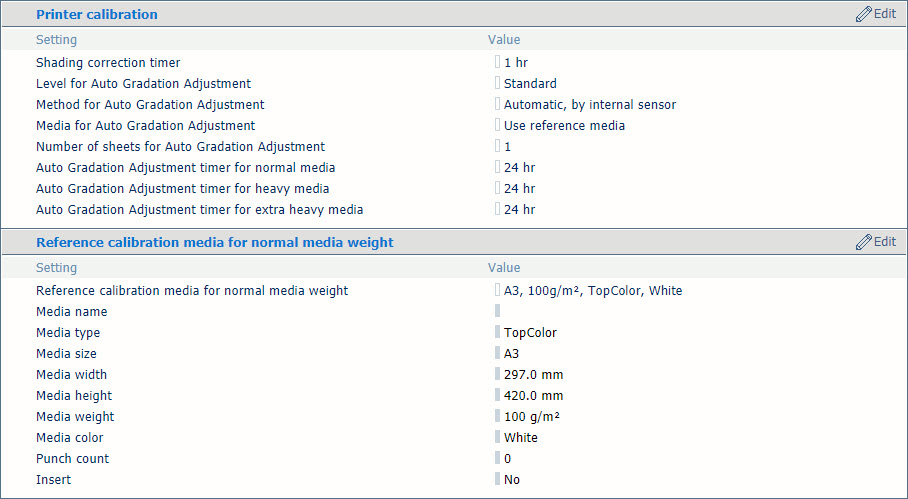 Printer calibration settings
Go to [Shading correction timer].
Set the required time interval.
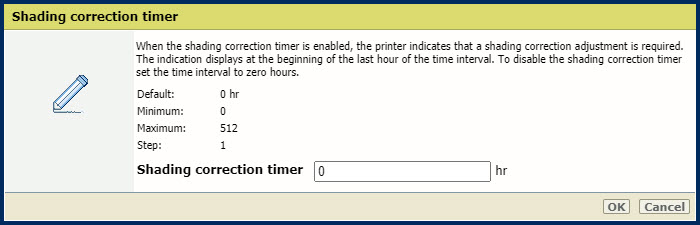 Timer for shading correction procedure
Click [OK].
Go to [Level for Auto Gradation Adjustment].
Select [Professional (per paper type group)].
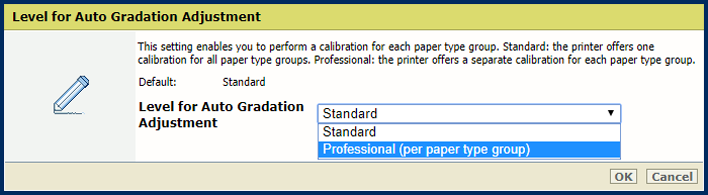 Calibration levels for automatic gradation adjustment (AGA)
 Click [OK].
Go to [Method for Auto Gradation Adjustment]
Select [Manual, from glass plate].
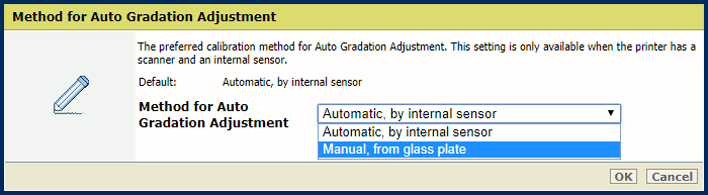 Calibration methods for automatic gradation adjustment (AGA)
Click [OK].
Go to [Media for Auto Gradation Adjustment].
Select the registered custom media for automatic gradation adjustment (AGA).
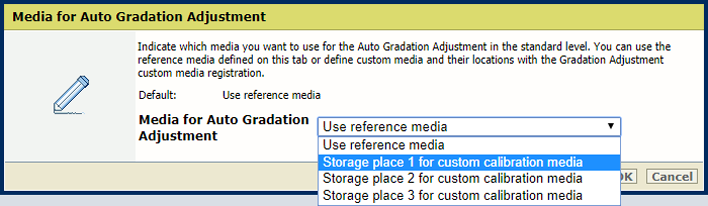 Media for automatic gradation adjustment (AGA)
Click [OK].
More sheets increase the print quality but extends the duration of the procedure.
Go to [Number of sheets for Auto Gradation Adjustment].
Indicate the numbers of sheets for auto gradation adjustment.
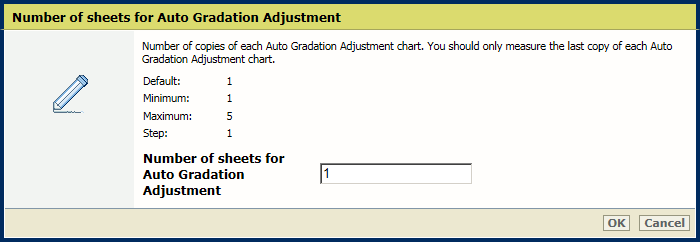 Number of sheets for automatic gradation adjustment (AGA)
Click [OK].
Select the media for which you want to set the reminder:
[Auto Gradation Adjustment timer for normal media]
[Auto Gradation Adjustment timer for heavy media]
[Auto Gradation Adjustment timer for extra heavy media]
Set the required time interval.
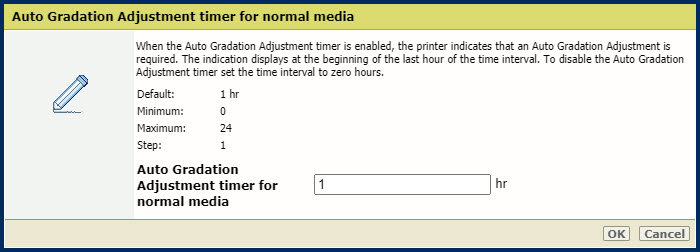
Click [OK].
Go to the reference media you want to define:
[Reference calibration media for heavy media weight]
[Reference calibration media for heavy media weight]
[Select reference calibration media for heavy media weight]
Select the reference media from the media catalog.
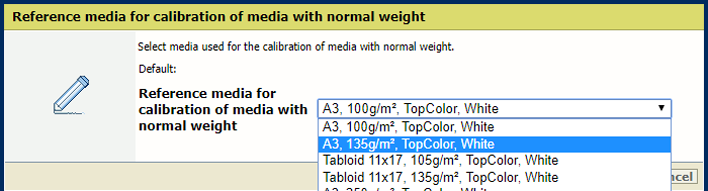 Media for reference media
 Media family calibration
Define how the media family uses the halftones.
Go to [Calibration of media family halftones].
Indicate how the media family calibration uses the halftones.
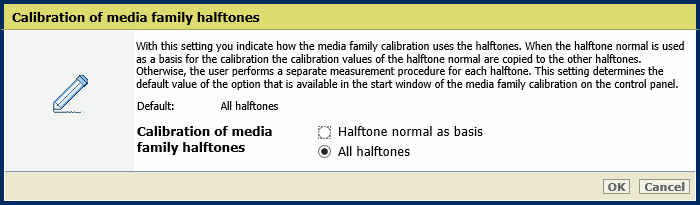
Click [OK].
Enable the evaluation of the media family calibration on the control panel
Only the service operator can change this setting.
Go to [Evaluation of media family calibration].
Indicate if you want to show the results of the media family calibration on the control panel at the end of the procedure.
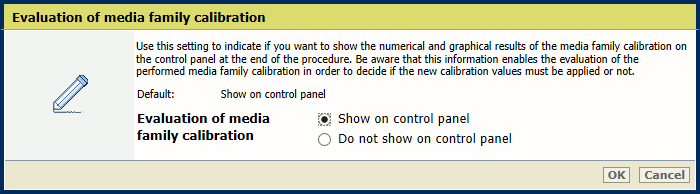
Click [OK].
Go to [G7®].
 [G7®] setting
Indicate that you want to enable G7 support.
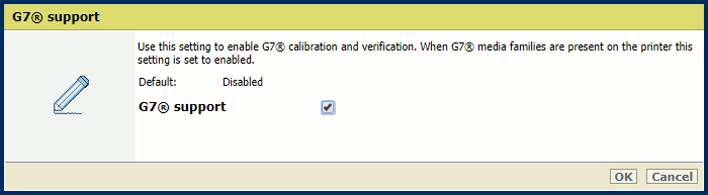 [G7® support] option
Click [OK].
You can only disable G7 support when all G7 media families are removed.