|
Go to the printer calibration settings
|
-
Open the Settings Editor and go to: .
|
|
Set a reminder for the shading correction procedure
|
-
Go to [Shading correction timer].
-
Set the required time interval.
-
Click [OK].
|
|
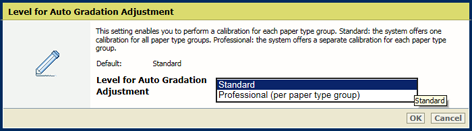
Calibrate heavy and extra heavy media
|
-
Go to [Level for Auto Gradation Adjustment].
-
Select [Professional (per paper type group)].
-
Click [OK].
|
|
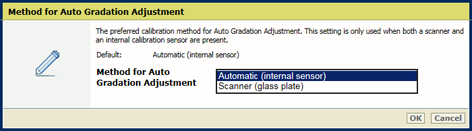
Calibrate automatically
|
-
Go to [Method for Auto Gradation Adjustment]
-
Select [Automatic, by internal sensor]
-
Click [OK].
|
|
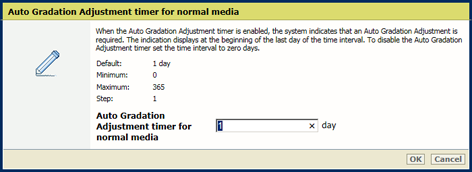
Set reminders for the Auto Gradation Adjustment procedure
|
-
Go to [Auto Gradation Adjustment timer for normal media], [Auto Gradation Adjustment timer for heavy media] and [Auto Gradation Adjustment timer for extra heavy media].
-
Set the required time interval.
-
Click [OK].
|
|
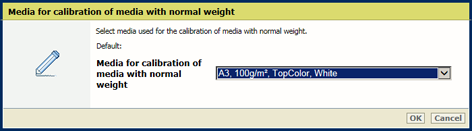
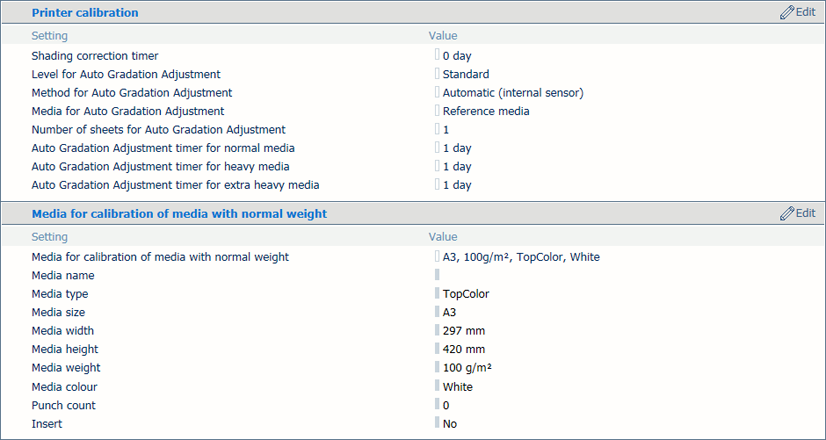
Define the media for printer calibration
|
-
Go to [Reference media for calibration of media with normal weight], [Reference media for calibration of media with heavy weight] and [Reference media for calibration of media with extra heavy weight].
-
Select the media for printer calibration.
-
Click [OK].
-
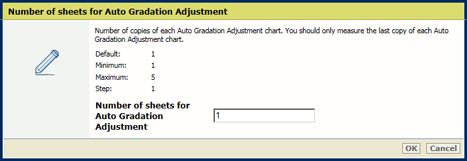
Go to [Number of sheets for Auto Gradation Adjustment].
-
Indicate the numbers of sheets for Auto Gradation Adjustment. More sheets increase the print quality but extends the duration of the procedure.
-
Click [OK].
|
|
Enable G7 calibration
|
-
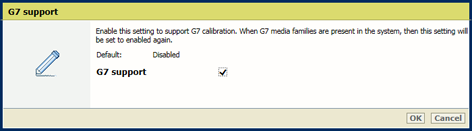
Go to [G7® support].
-
Indicate that you want to enable G7 calibration. [G7® support].
-
Click [OK].
You can only disable G7 support when all G7 media families are removed.
|

 Printer calibration settings